How to use the virtual card? How to add it to the digital wallet?
 Updated
If you have been assigned a virtual card by your employer, you can use it in two ways: you can either use the card details for online payments or manually add the virtual card to your digital wallet (Apple Wallet or Google Wallet).
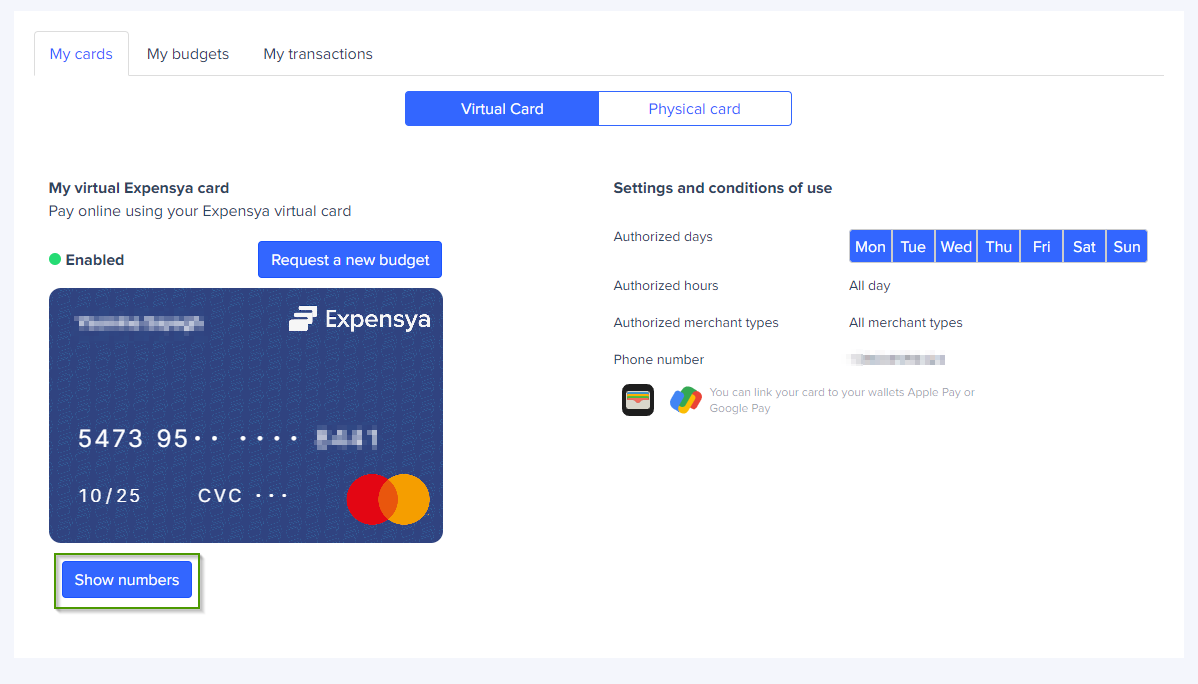
Retrieve your virtual card details by following these steps:
- Head over to Expensya Card menu
- Go to My cards
- Virtual Card option will be automatically chosen
- Click on Show numbers and follow the steps to authenticate
- The card details will be displayed on the screen
If you prefer the convenience of using your virtual card directly from your digital wallet, follow these steps:
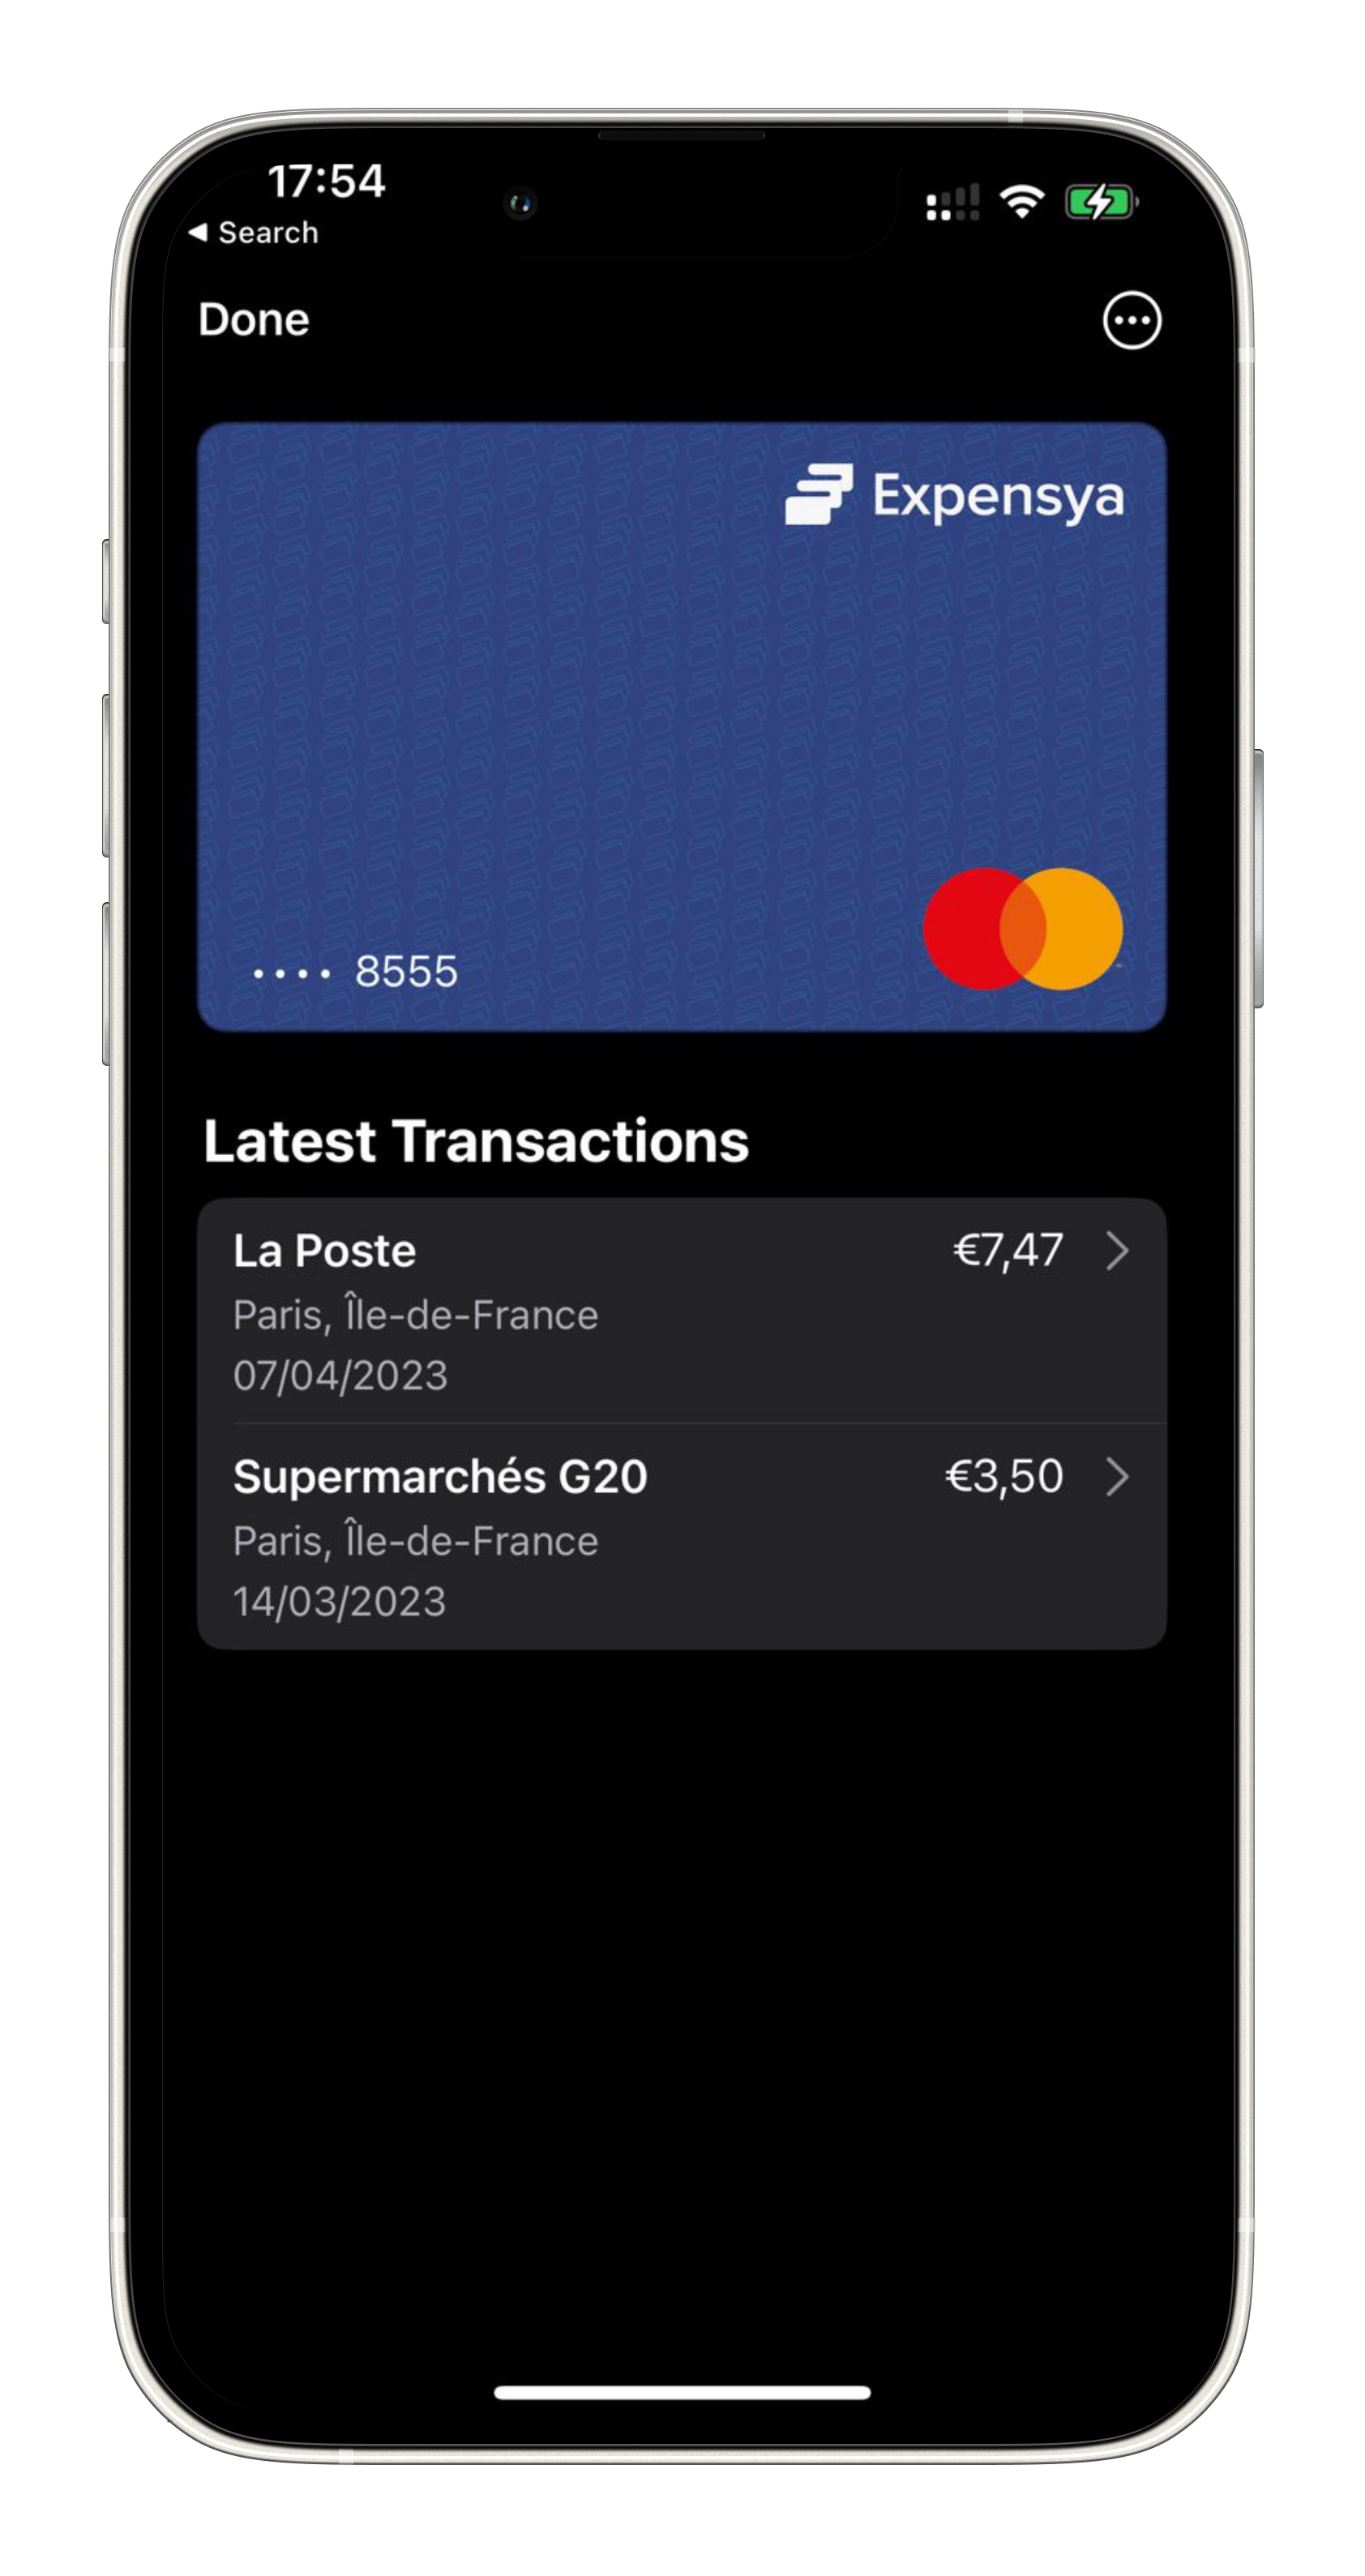
For Apple Wallet (iPhone users)
- Open the Apple Wallet app on your iPhone.
- Tap the + button or the Add button to add a new card.
- Select the option to add a credit or debit card.
- Enter the card details provided for your virtual card, including the card number, expiration date, and CVV.
- Follow the on-screen instructions to verify your card, which may involve providing additional information or undergoing a verification process.
- Once verified, your virtual Expensya card will be added to your Apple Wallet, ready for use in various supported apps and websites.
For Google Wallet (Android users)
- Launch the Google Wallet app on your Android device.
- Tap on the + icon to add a new card.
- Choose the option to add a credit or debit card.
- Enter the virtual card details, such as the card number, expiration date, and CVV, as provided.
- Follow any additional prompts or verification steps to authenticate the card.
- Once verified, your virtual Expensya card will be added to your Google Wallet and can be used for transactions within compatible apps and websites.