Using Dimensions for Customized Employee-Data Management
 Updated
Expensya provides you with the ability to easily implement Dimensions for each employee. These can be created and modified directly from each employee's profile, allowing you to associate as many dimensions as needed based on your requirements for analysis, reporting, or accounting integration.
These dimensions can then be directly utilized through Expensya's standard exports, accounting exports, or via the Business Intelligence module with dashboard visualizations.
Dimensions in Expensya are designed to group users within a tenant and impact accounting, exports, custom fields, and various other aspects.
They enable the addition of specific data to employees, such as tenant, entity, subsidiary, geographical area, etc. With dimensions, the administrator can create user groups on their account and assign multiple attributes to distinguish them from one another.
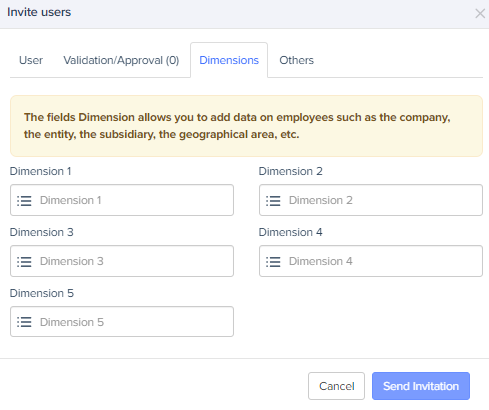
How to Create Dimensions:
- Go to the Admin tab, Users and Access menu, and then the Users submenu.
- Access the user update form of an employee from the list of users,

- Go to the Dimensions window.
Case Study:
Let's consider a scenario where an administrator wants to group users by department: HR, Support, Marketing, and Product. In a simple case, each collaborator would be assigned the name of their department as Dimension 1.
In a more complex scenario, Dimension 1 might represent the name of the tenant (e.g., Paris, Tunis), and Dimension 2 could represent the department name.
After creating dimensions based on your needs, you can create user groups. Refer to this article for a better understanding of the steps for creating groups.
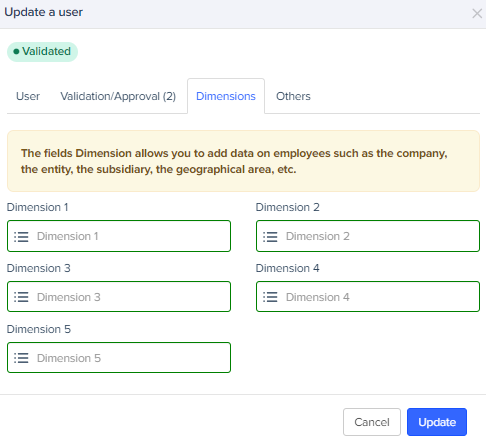
How to Update Employees' Dimensions:
- Go to the Admin tab.
- Click on the Users and Access menu > Users submenu.
- Select the user you want to update.
- Access Dimensions.
- Make the desired changes and update the user.