Linking Custom Fields to Projects From Expensya's Web Interface
 Updated
Administrators can effortlessly link custom fields to projects directly from the web administration interface. This enhancement has been designed to simplify administrative tasks, reduce reliance on customer support, while providing administrators with more control.
How It Works:
The feature seamlessly integrates by adding a Project field to the custom field creation interface in the form of a dropdown menu. This menu lists all available projects, facilitating an easy association between a custom field and the chosen project.
Steps to Associate a Custom Field with a Project:
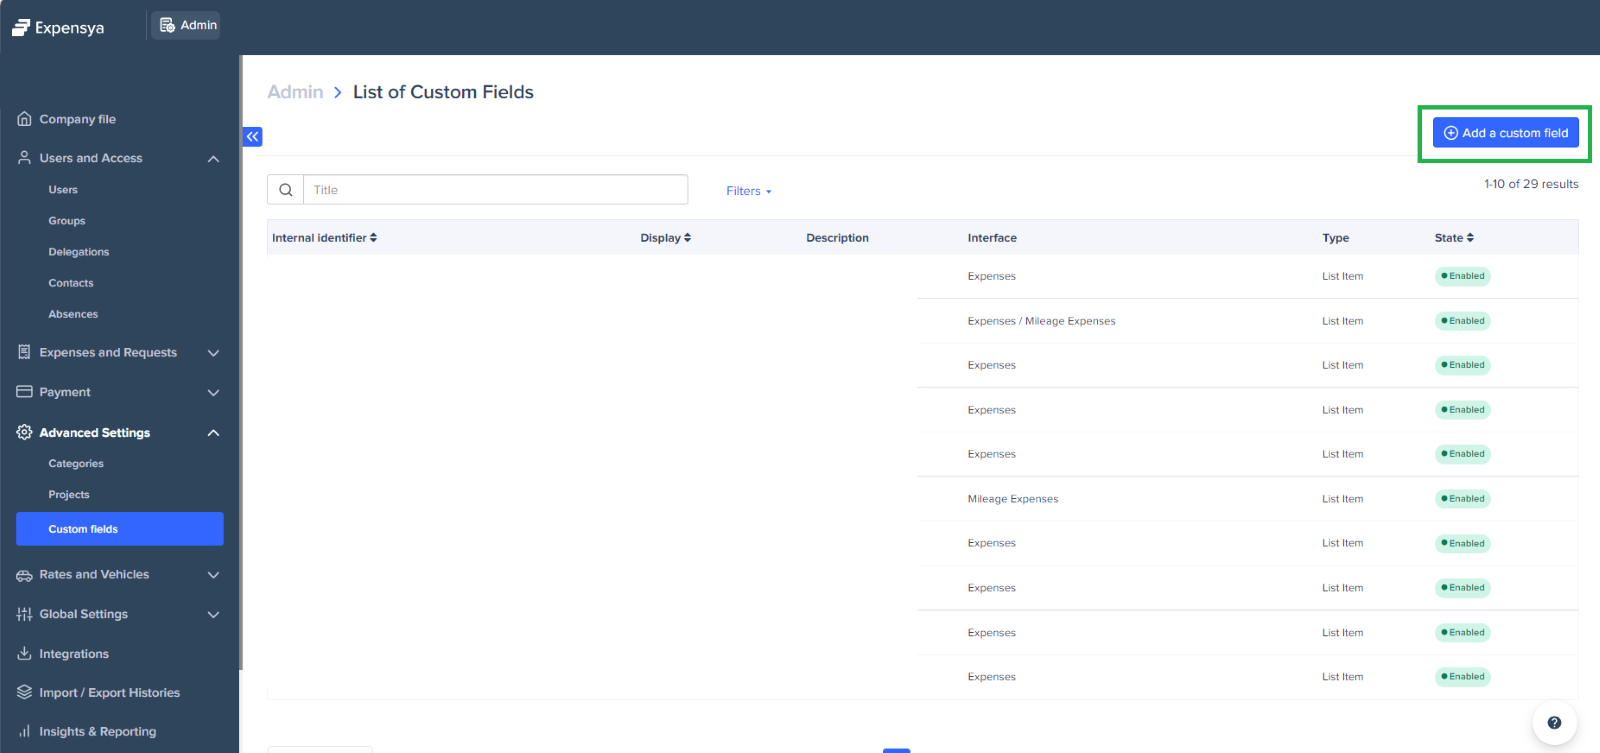
- Navigate to the Admin tab on your Expensya interface.
- Click on the Advanced Settings menu.
- Select the Custom Fields submenu.
- Click on Add a custom field.
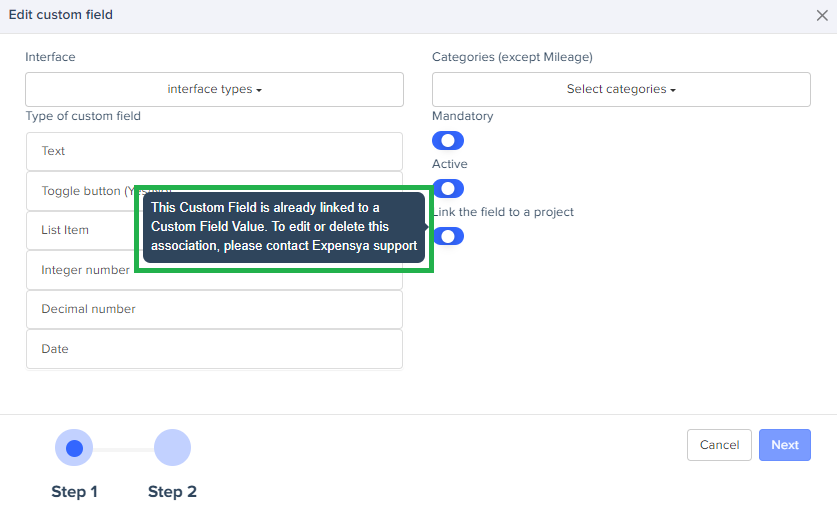
A dialogue box will appear, presenting a form for adding a custom field.

- Enable the Link the field to a project option.

- Choose the relevant project from the dropdown menu.

- Click Next, fill in the form fields, and then click Save to apply the changes.