Creating a Project in Expensya
As an Expensya Administrator, you are able to add Projects from the web.
In Expensya, a Project is a powerful organizational tool that brings focus and structure to your expense management. It's like a designated category for each cost, helping you label and analyze spending accurately. Each Project has attributes like a reference, title, manager, and period, offering context and clarity. By using Projects, you can track expenses more precisely, assign accountability, and gain insights. They're your expense management allies, making sure every cost finds its place and purpose
A project on Expensya is an analytical pivot; in other words it is an additional field used for adding each cost, that you configure in advance.
To create Projects:
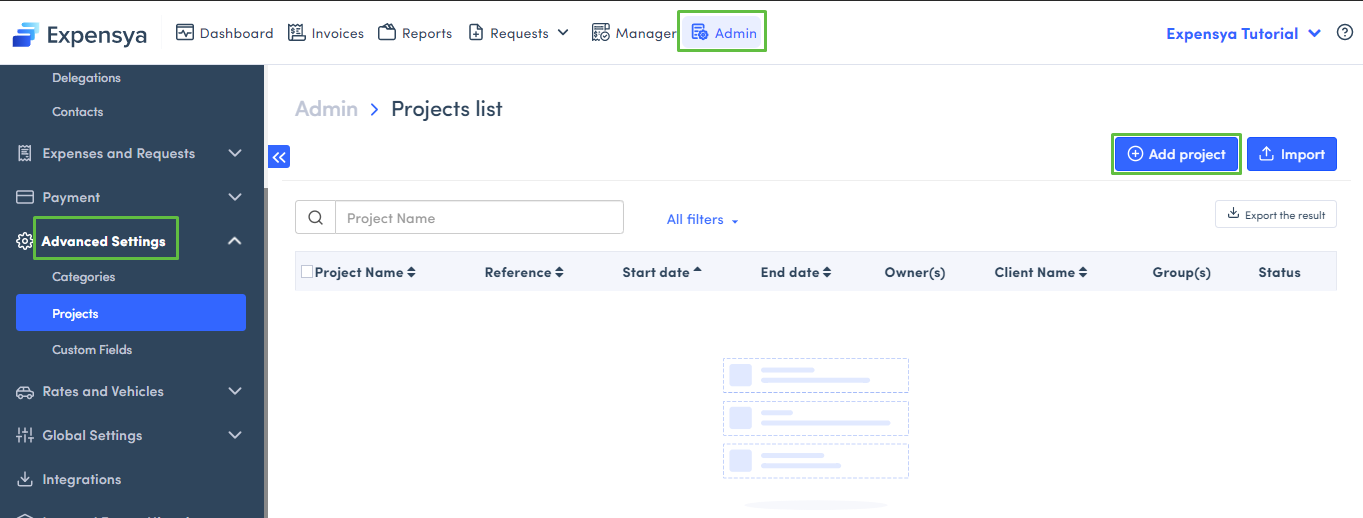
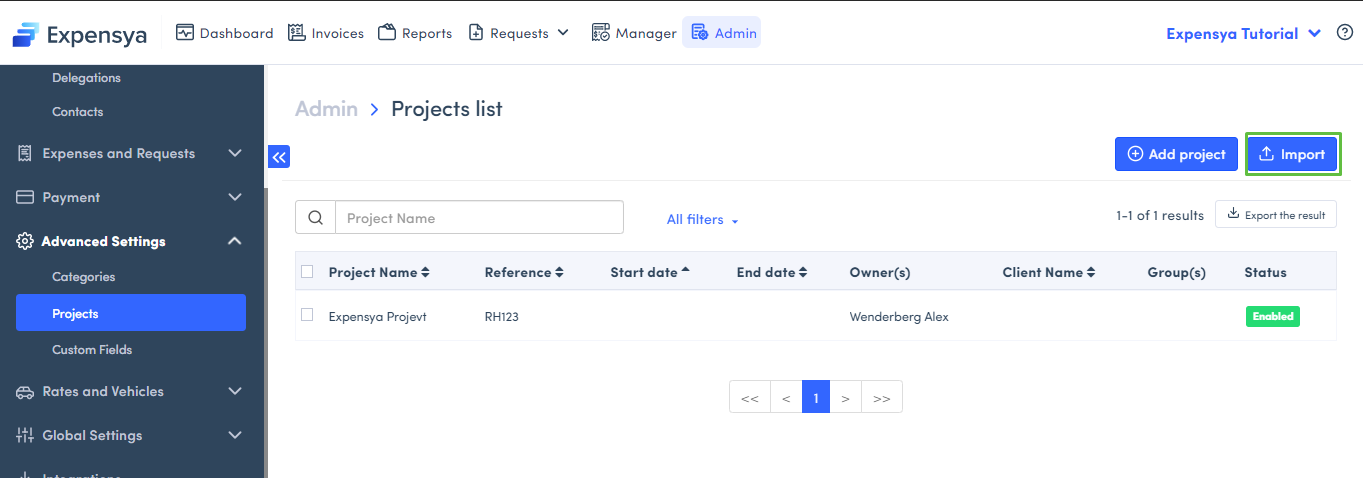
- Press the Admin tab, Advanced Settings sub-menu, then Projects.
- Click on +Add a project.
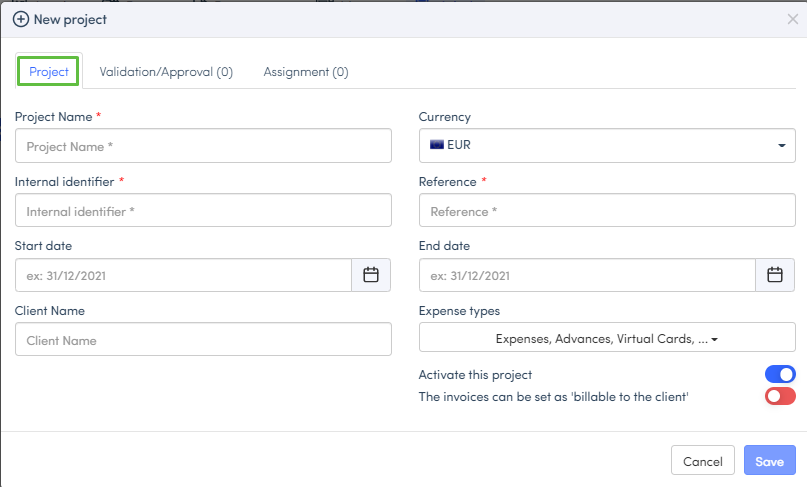
- Fill in the different fields such as title, currency, internal identifier, reference, customer name. You can also define this project using a start or end date and indicate whether the expenses can be billed to the customer or not.
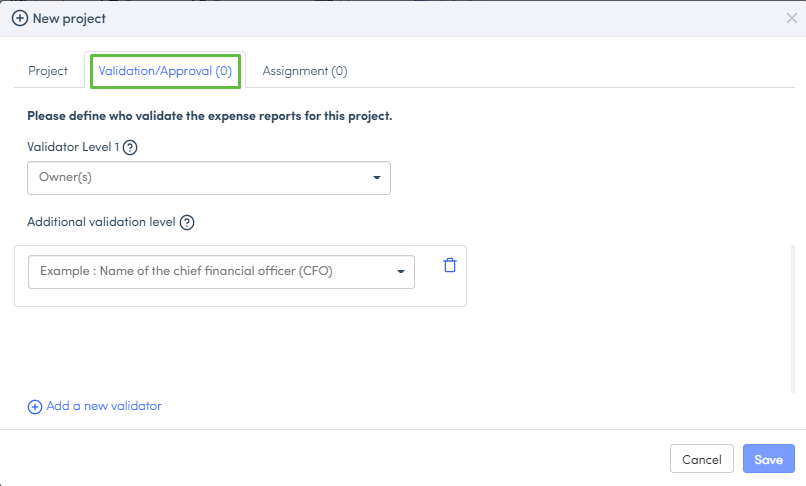
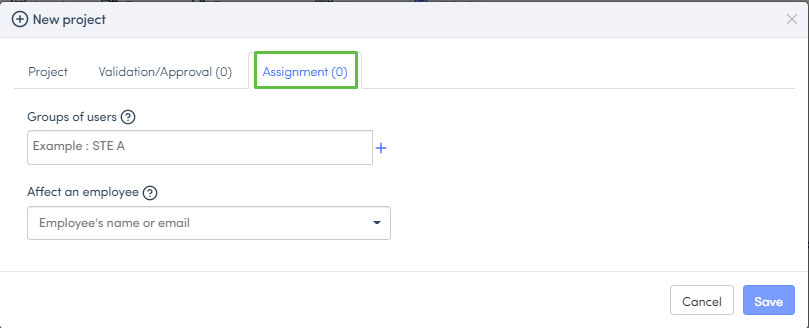
It is possible to assign a level 1 approver, who will be the principal project manager. You can also add additional approvers, depending on your tenant’s approval levels.
You can assign the project to a user group or one specific user.
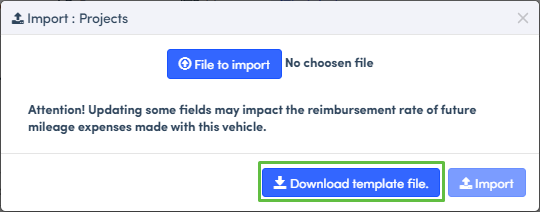
To import a project list from a CSV file:
- Click on Import
- Import the file if it is already available
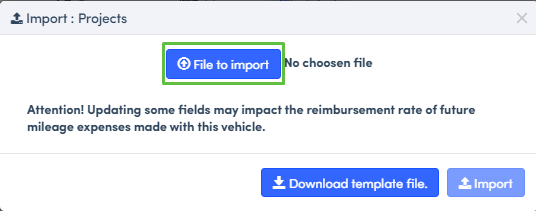
OR
Download a copy of a pre-defined CSV file by clicking on Import followed by Download the template file. Then fill it in and import it back into Expensya.