Creating a Category and Configuring my Chart of Accounts
The creation of categories and configuration of the chart of accounts are actions reserved for the administrators of the tenant.
To create a category:
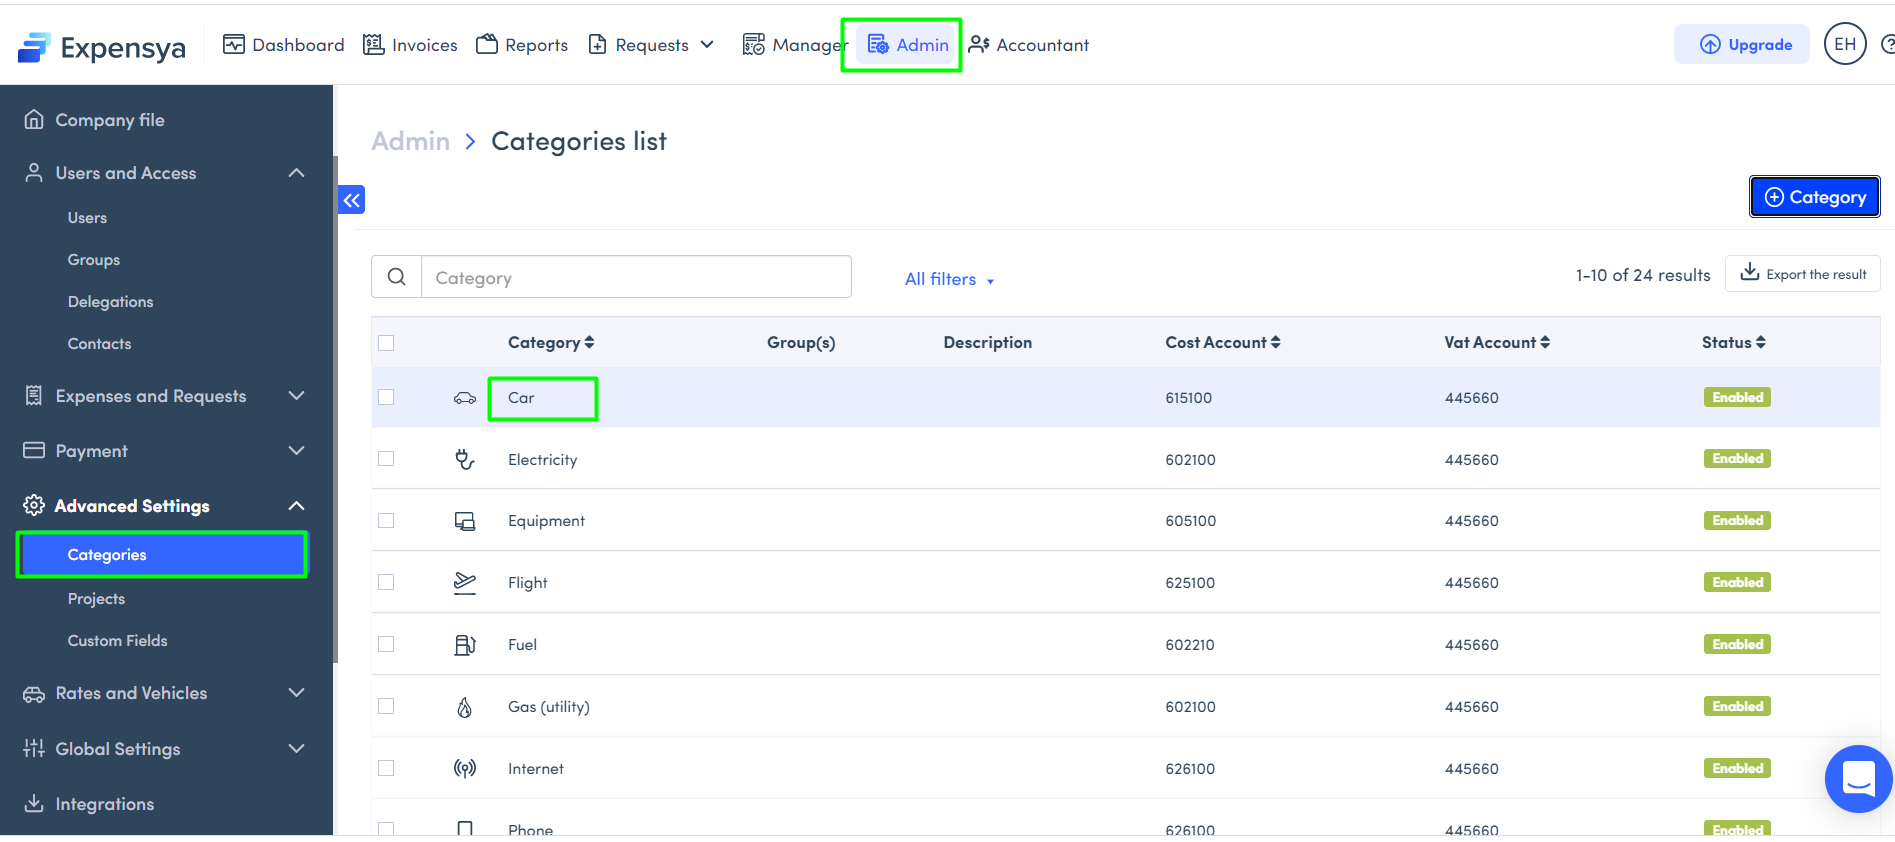
- Go to the Admin tab > Advanced Settings > Categories sub-menu,
- Press the + Category button,

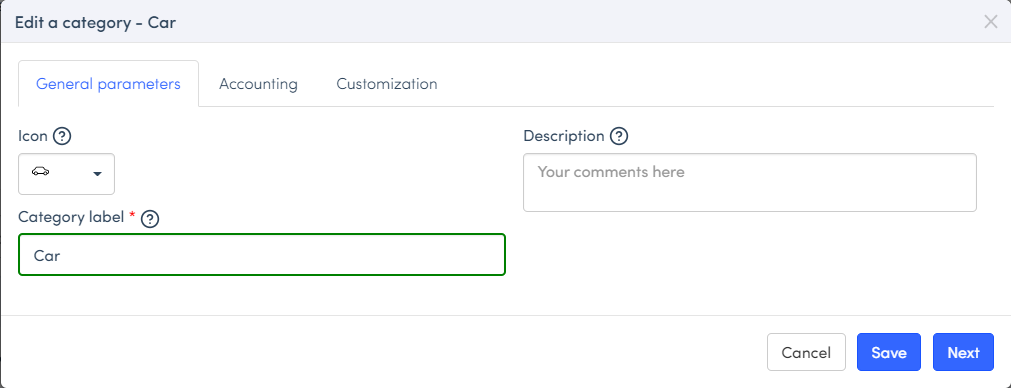
- Choose the category, title and icon,

The primitives in Expensya act as intelligent tags for your expenses. When you submit an expense, the OCR technology analyzes key terms like "restaurant" or "fuel," automatically triggering the associated primitives. This approach ensures quick and accurate categorization while minimizing human errors.
To configure an expense account, VAT account and a recovery rate for a category:
- Click on the Accounting tab,
- Fill in the expense account, VAT account and VAT recovery rate.

Adding a VAT code/ account per rate:
Admins are also able to manually set VAT accounts per rate for categories on the Web interface, to do this they must follow these steps:
- Click on Add a VAT rate button

- A new section will appear, which contains three fields by Vat Rate:
- Rate (percentage field): Mandatory and unique, allows admins to enter a numeric value representing the VAT rate associated with the category as a percentage.
- Code/Accountant (free field): Mandatory, field accepts alphanumeric input, allowing for a combination of letters and numbers to define a unique identifier for the VAT rate.
- Claim rate (percentage): Optional, allows admins to enter a numeric value representing the percentage of VAT that is recoverable for the category.

These VAT settings can be updated by admins for existing categories.
To customize the fields in your expense form:
- Click on the Customization tab,
- You can hide the title, make the image mandatory (payment receipts), hide VAT, etc.

You can subsequently configure scan technology of this category and save it.
You can consult this page to find out “How to configure scan technology of a category”.
OCR, or Optical Character Recognition, becomes an essential ally in creating and customizing categories in Expensya.
By merging OCR with category customization, Expensya automatically transforms key receipt information into organized data within personalized categories. This enhances the efficiency of category management.
To modify a category:
- Go to the Admin tab, > Advanced Settings > Categories sub-menu,
- Select the category you want to modify (e.g. “Car”)

You can make your changes from the General parameters tab, Accounting, Customization and Scan technology if necessary.
- Save.


