Expenses Management
Expensya allows you to add expenses in several ways both on the website and the app.
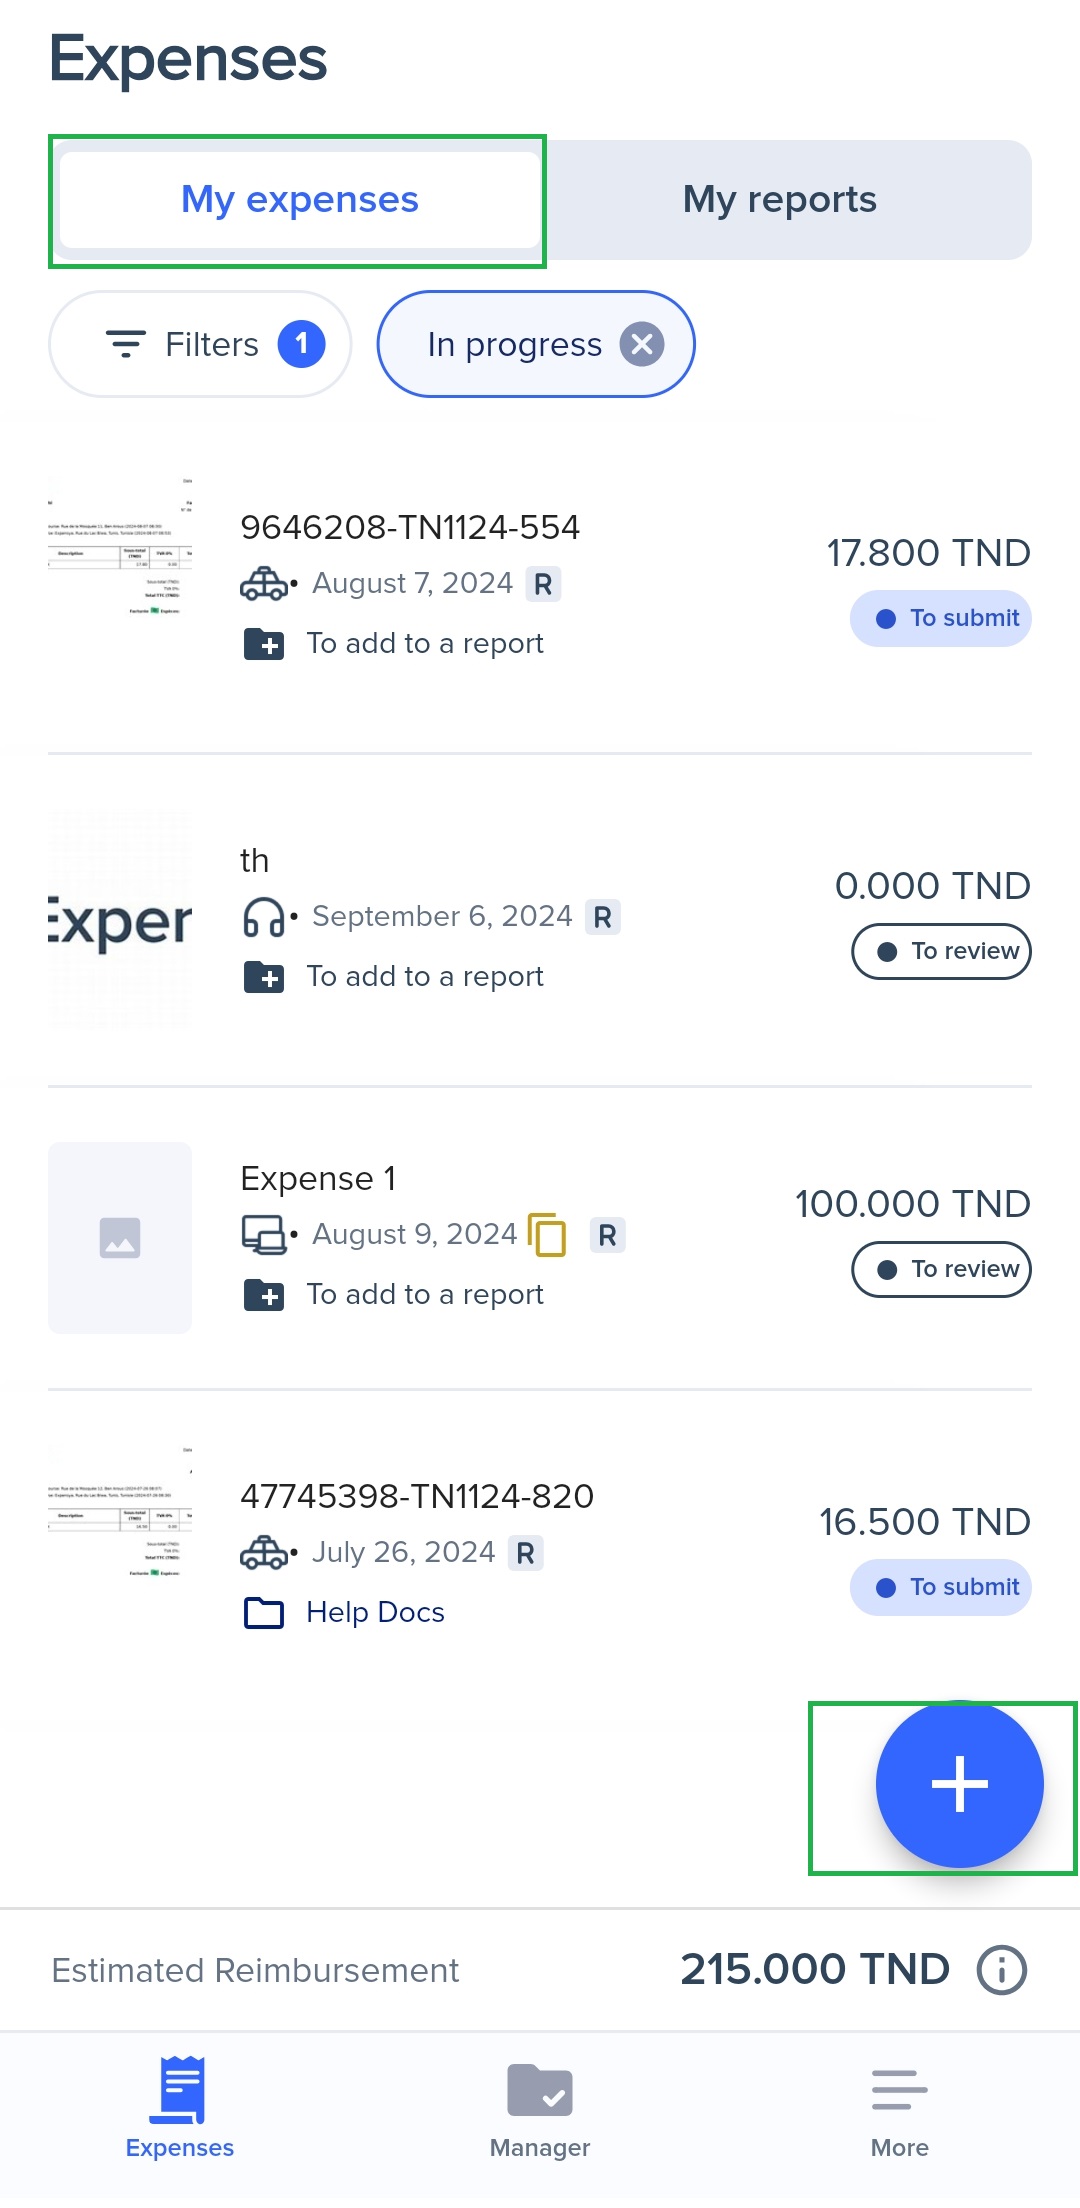
- On the website :
- Go to the Expenses tab
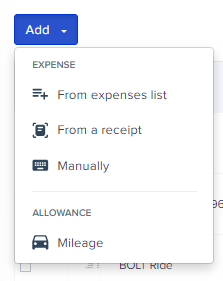
- Click on + Add. You can then pick between three different ways:
- From a receipt: Add an image or a PDF and Expensya will automatically extract all the relevant data for you.
- Manually: Manually fill in an invoice form.
It is also possible to use Email processing: Just forward the email directly to expenses@expensya.com and the invoice will magically appear in the list of your invoices, pre-entered! Just make sure that it’s sent from the same email you’re signed in with.
To add a mileage expense, follow the same steps and select Mileage from the +Add list.
To add expenses from the report tab:
- Go to the Reports tab,
- Click on the Report to add your expense,
- Click on the Add button.
To delete an expense:
- Check the expense you wish to delete,
- Click on Delete.
- From the app:
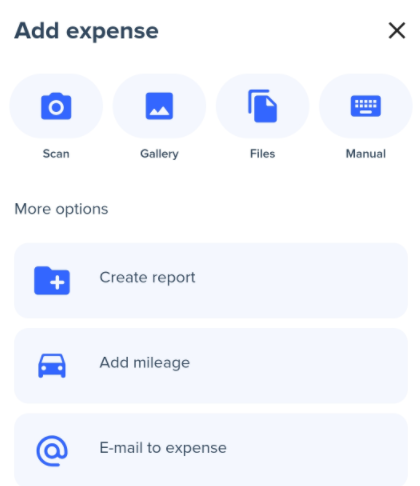
To add your expenses: Go to the My Expenses menu and click on the + button.
Adding expenses can be done in two ways:
- Fast Scan
- Manual entry
If you are going to use the fast scan, here are the different models:
- Simple expense: to take a picture of a simple receipt.
- Several expenses: for multiple pictures of several receipts to be treated separately.
- Multi-page expense: if the expense is on more than one page, select this option to have several pictures treated as one expense by Expensya
To delete an expense:
- Access the Expenses menu,
- Long press on an expense,
- Once the bin icon appears, tap it.