Managing Professional Vehicles in Expensya
Managing professional vehicles and their expenses is more than just an administrative duty. It's a strategic effort that influences a company's finances, employee productivity, and overall brand image. Taking a proactive approach to monitor and control these expenses not only saves costs but also enhances operational efficiency.
As an administrator, you can manage professional vehicles from the web version.
The users have the ability to add professional vehicles.
To activate this feature, please contact Expensya support.
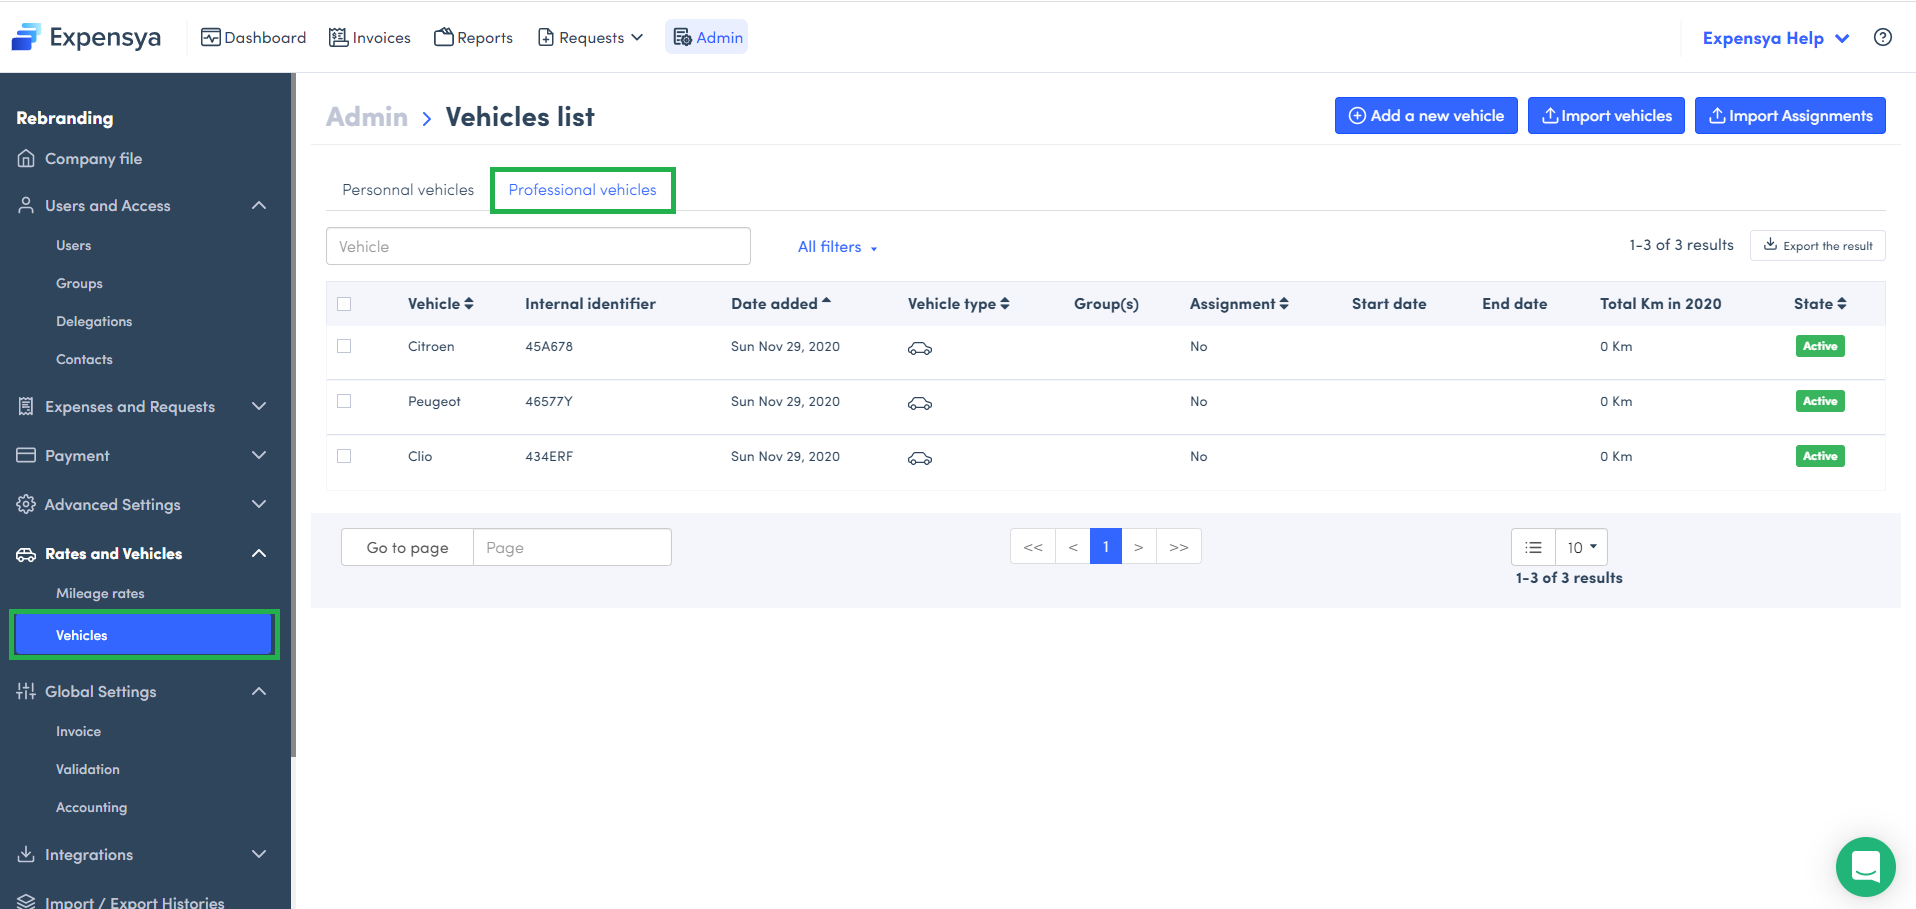
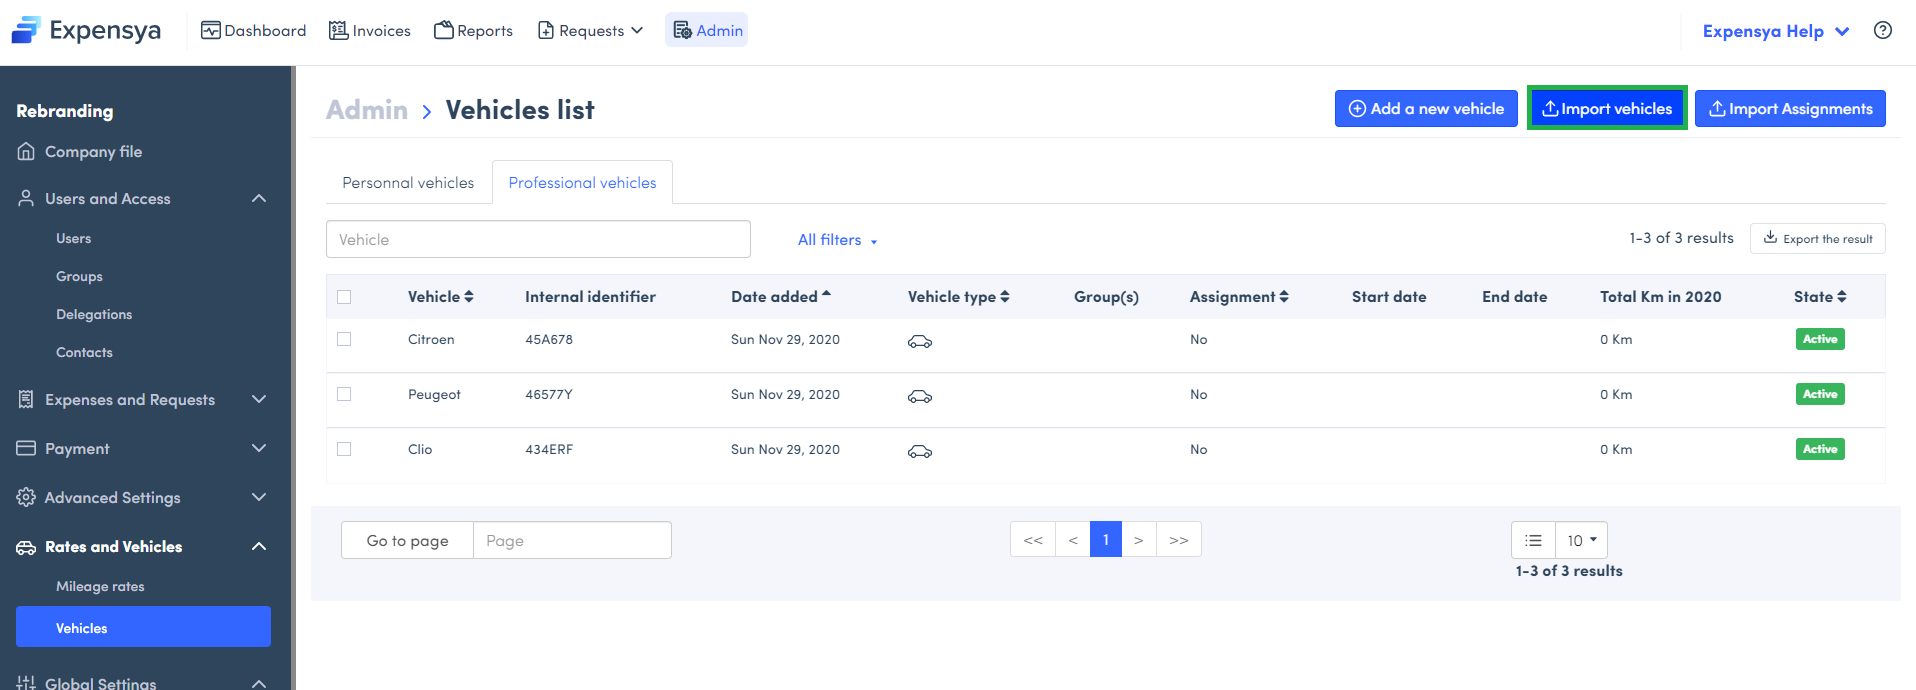
- Go to the Admin tab, Vehicles submenu,
- Click on the Professional vehicles widget.
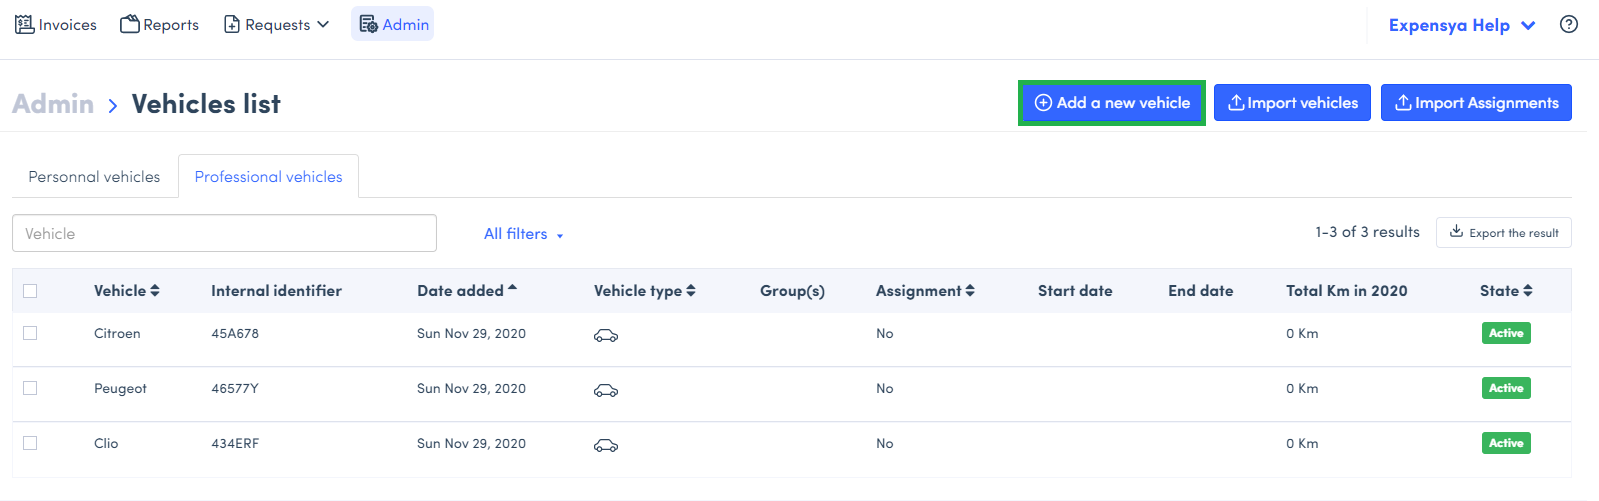
Manually add a professional vehicule
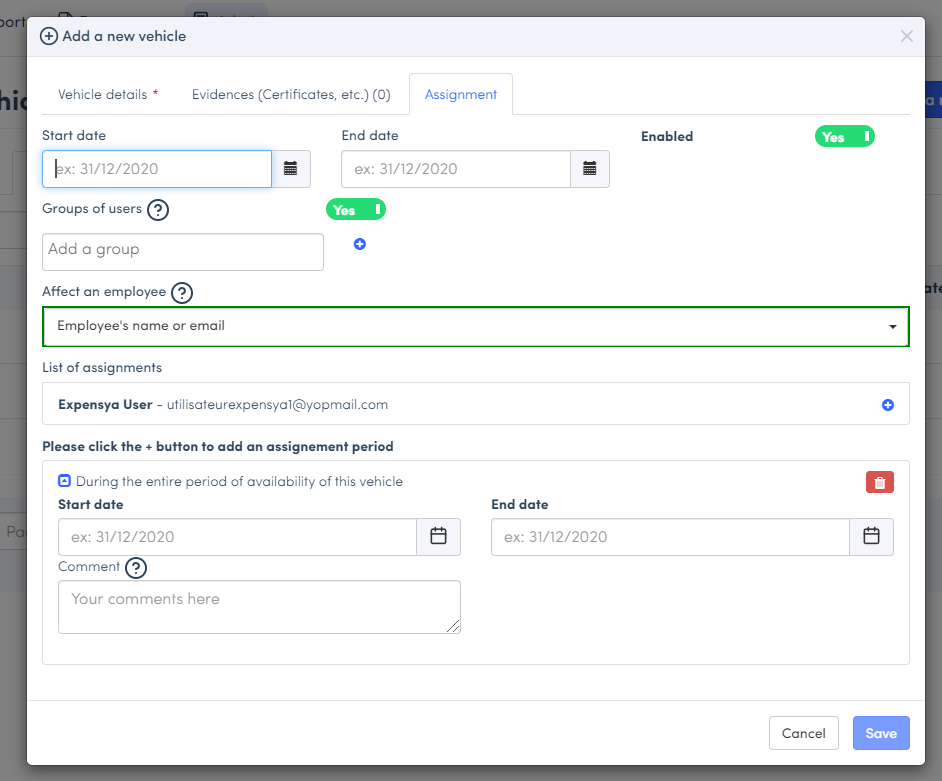
- Click on Add a new vehicle,
- Fill in the fields and save.
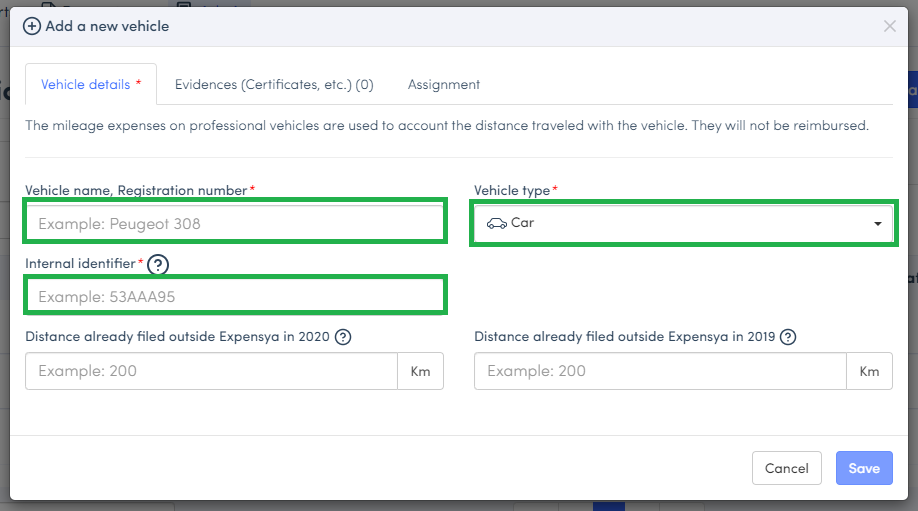
The fields marked by an asterisk are mandatory.
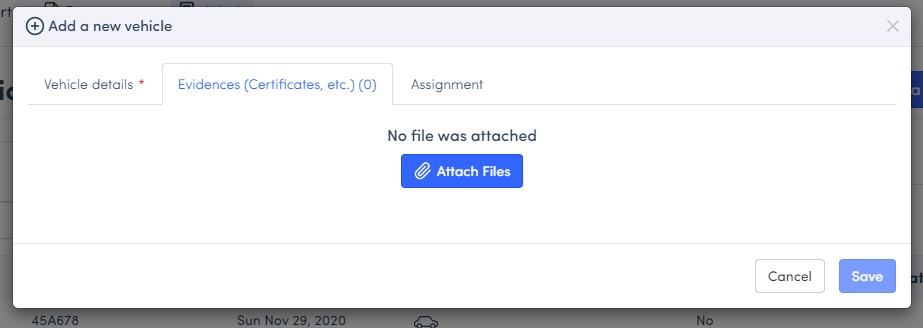
- Insert the registration document from Evidence.
- And assign the vehicle to an employee (not mandatory)
Import professional vehicles
Another way to enter professional vehicles is importing them via our excel template. To import a list of professional vehicles:
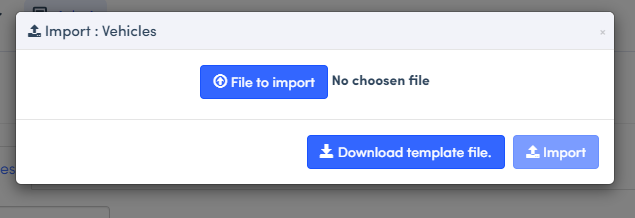
- Click on Import vehicles, then Download template file,
You can find below an explanation of the columns, to easily fill out the template:
- VehicleExternalId : is the vehicle's identifier in your tenant
- VehicleName: is the name of the vehicle.
- VehicleType: mention if it's a car, motorcycle, etc.
- CurrentYearKm: is the distance traveled during the current year.
- LastYearDistanceKm: is the distance traveled during the previous year.
- Click on Import, a message will pop-up as displayed below, confirming the import and a summary of imported vehicles and those updated if applicable:
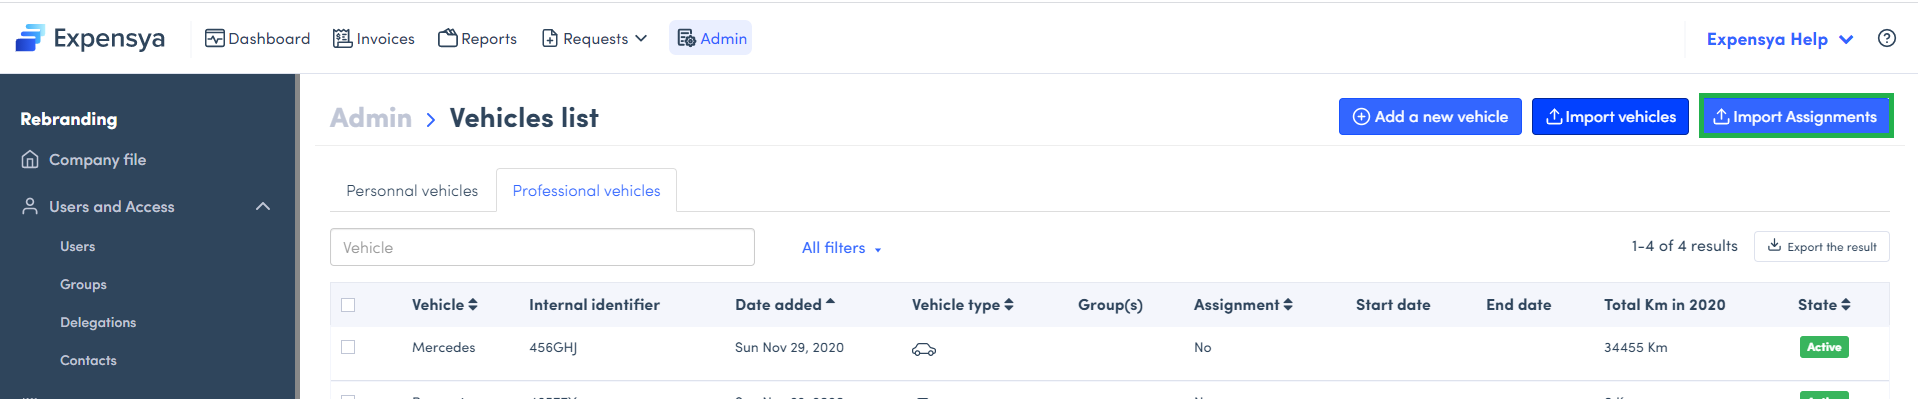
To import the list of assignments
- Click on Import Assignments
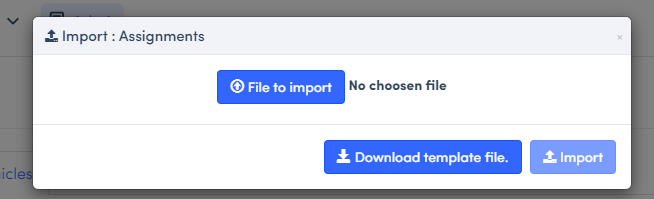
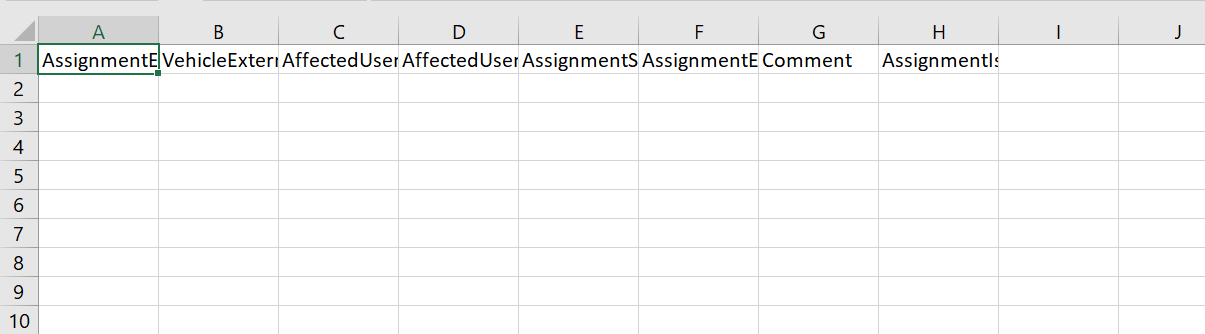
- Download the template and fill it out, here's how:
- AssignmentExternalId: assignment's identifier.
- VehicleExternalId : the vehicle's identifier within your organization
- AffectedUserMail : email of the affected user for this vehicle.
- AffectedUserPayId : affected user unique ID
- AssignmentStartDate: assignment start date
- AssignmentEndDate: assignment end date
- AssignmentIsActive: Yes if should be applied, No if not.
- Click on Import and a notification will pop-up Import successfully done.
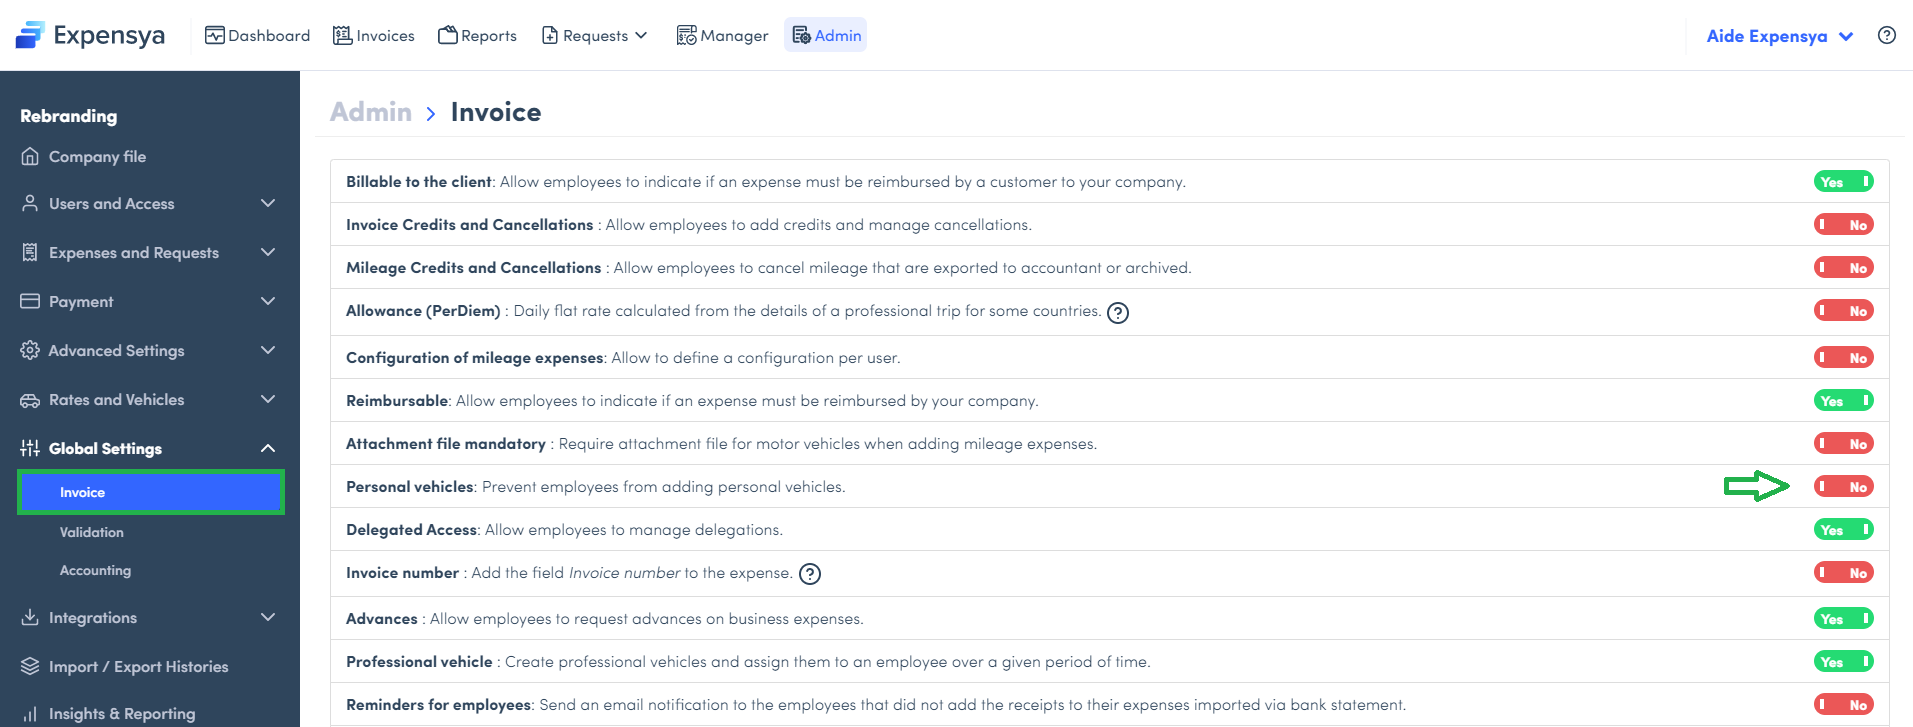
You can prevent employees from adding personal vehicles from the Tenant settings submenu.