Add or Delete a User or an Administrator
The administrator of an account can add other users to the tenant from the website.
To add a user:
- Go to the Admin tab then the Users submenu,
- Click on Add
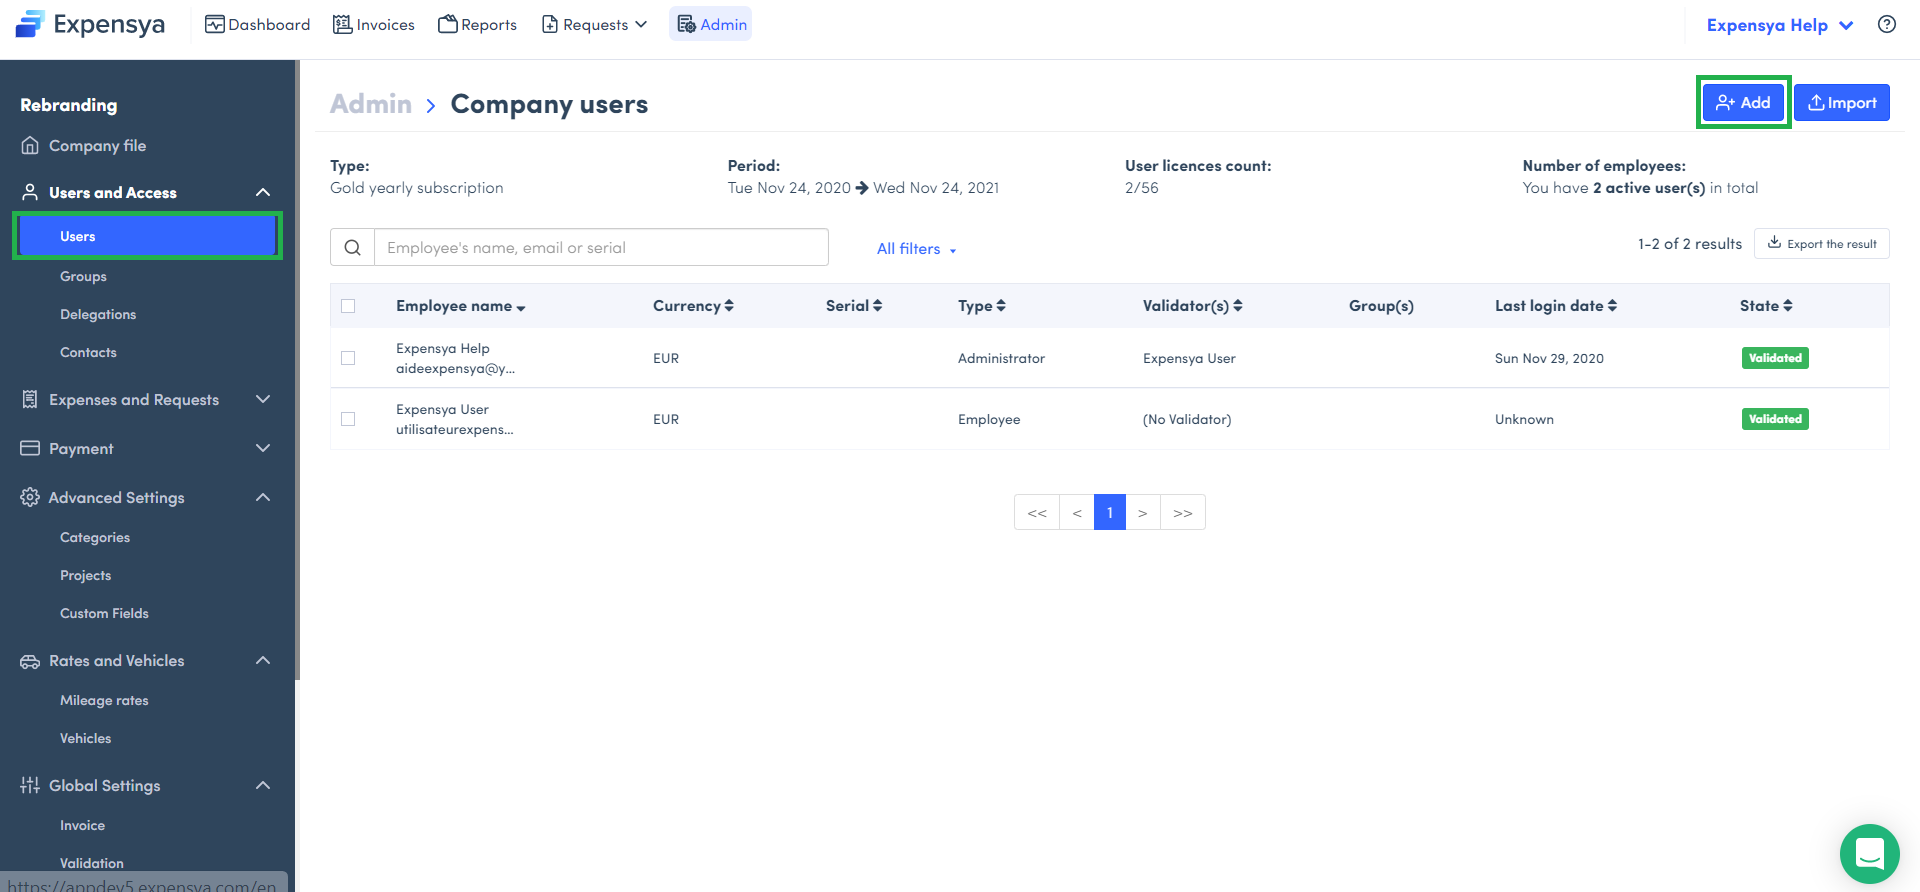
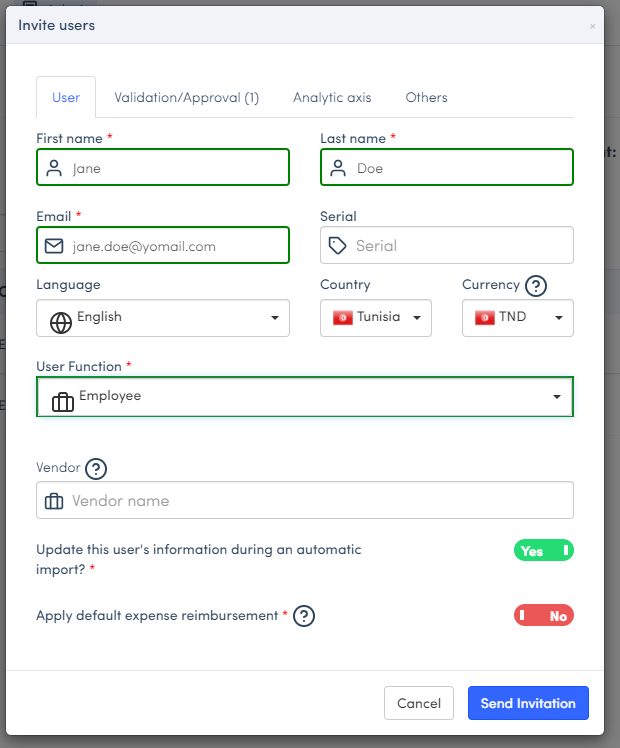
- Fill in the form and choose Employee in the user function,
- Click on the Approval tab to define user's invoice approver:
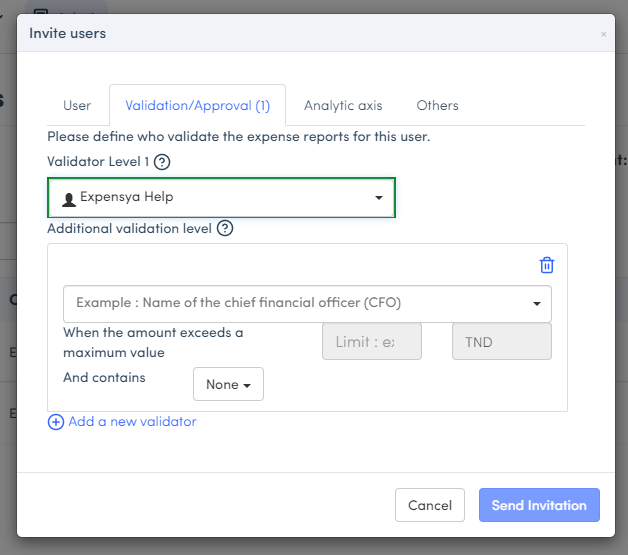
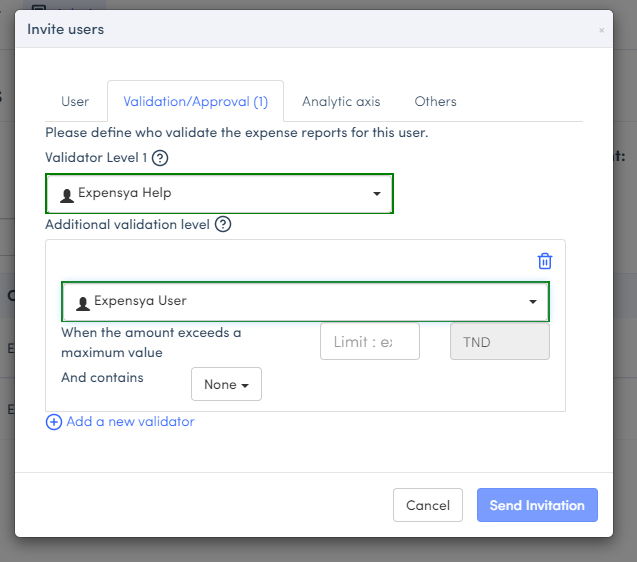
You can also insert other additional approvers if you have several approval levels
If you add a threshold to this additional approver, the invoice will be sent directly to this approver.
You have the possibility of inserting analytical axes by user to indicate information on the user such as the tenant, the entity, the subsidiary, the department, the geographical area, etc.
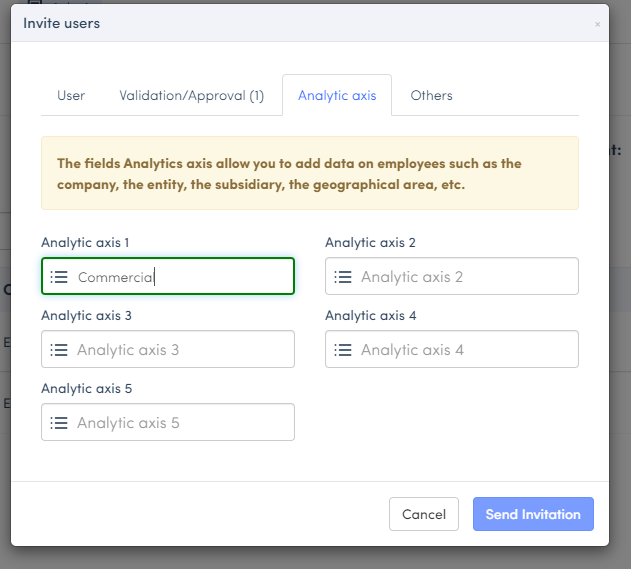
Expensya allows you to easily implement analytical axes for each employee. These are created and modified directly from the employee's file, allowing you to associate as many analytical axes as you wish per employee according to your needs in terms of analysis and reporting, or accounting integration. This analytical data can be used directly from the standard Expensya exports, accounting exports, or the Business Intelligence module via dashboards.
It is also thanks to the analytical axes that you can create user groups. You can find more details in the following article: How to create users groups un Expensya
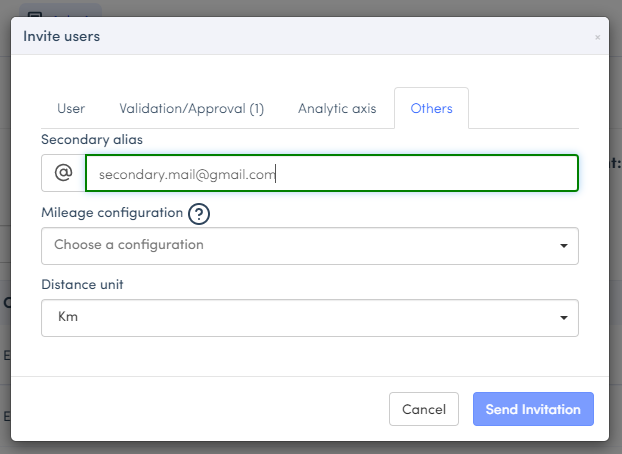
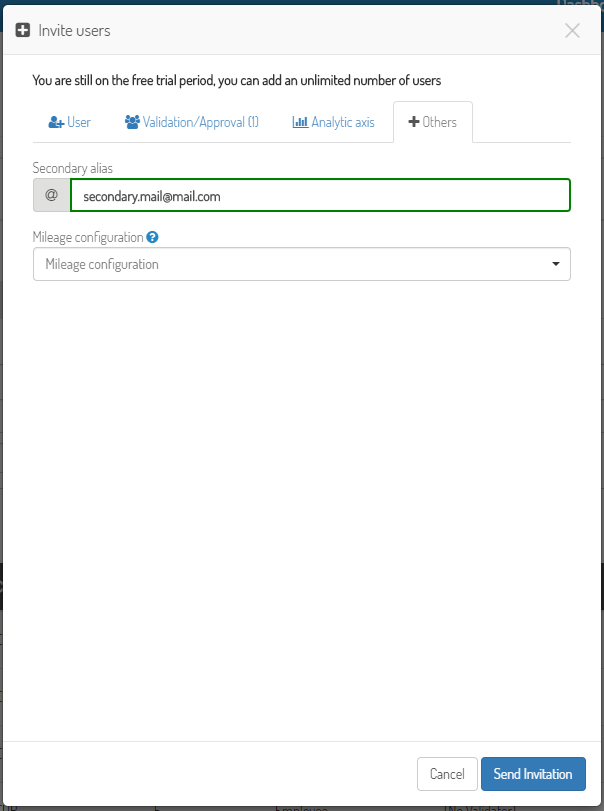
You can add a secondary email address for automatic email processing of your invoices when sent to expenses@expensya.com from a secondary email address.
- To finalize the addition of your user, click on Send Invitation.
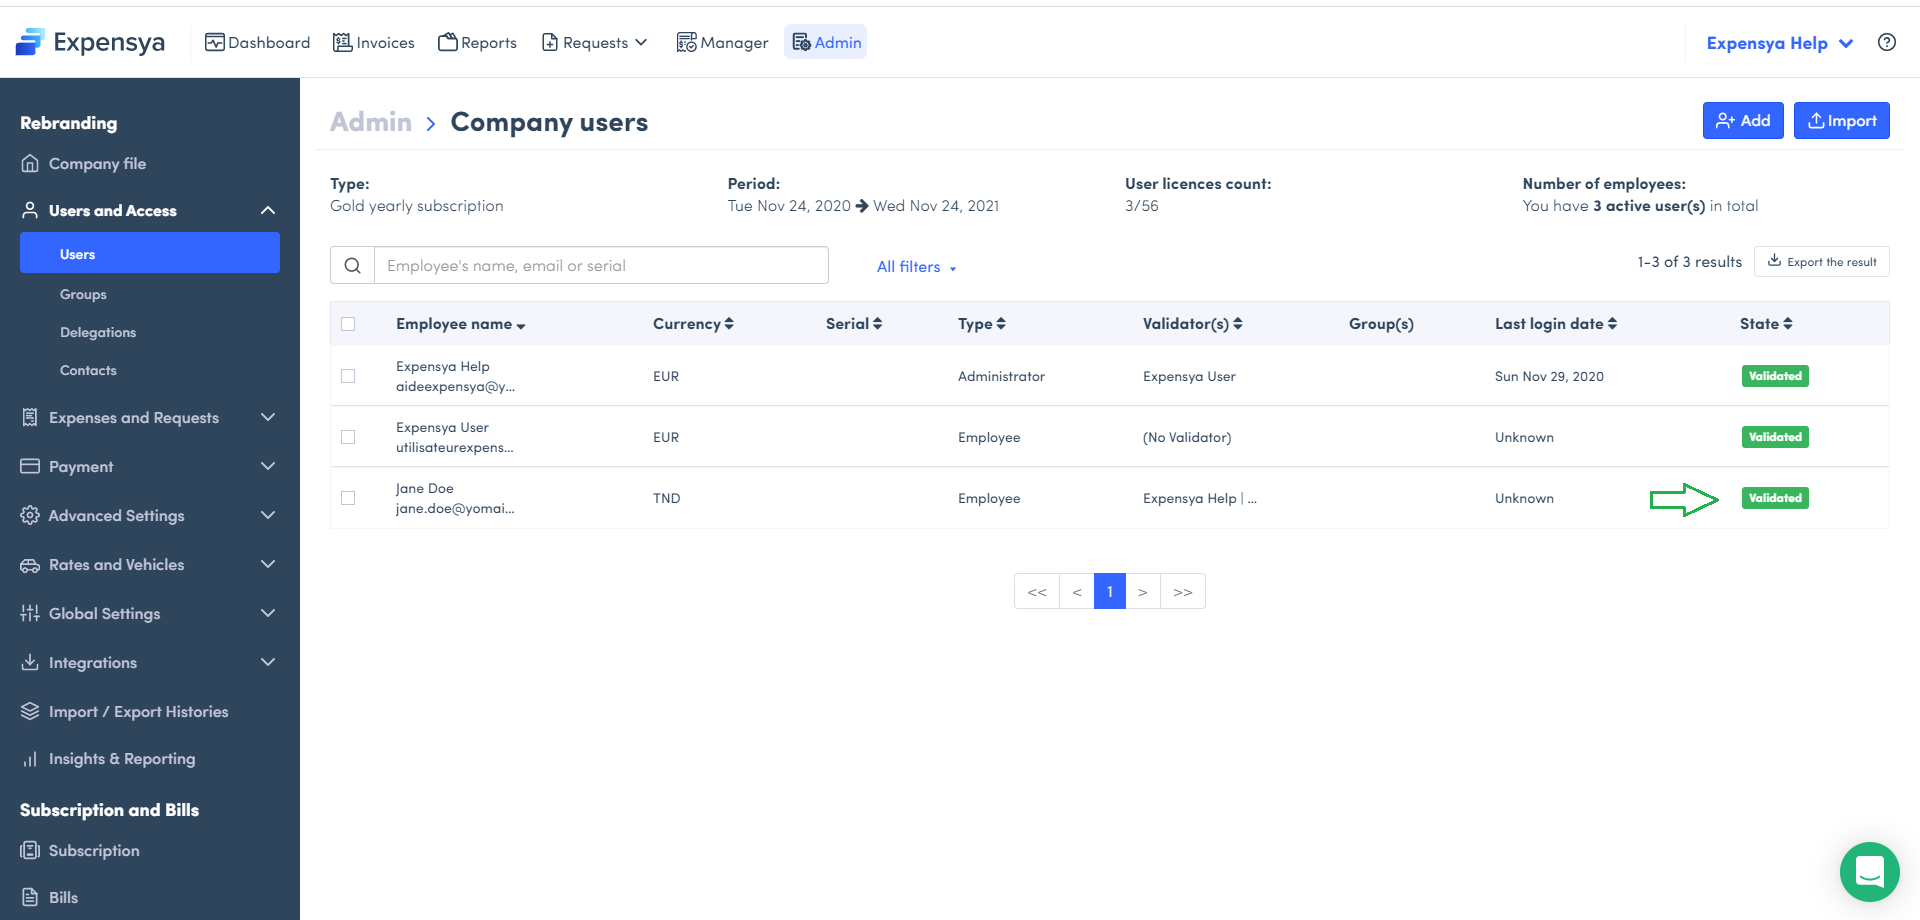
The added user will receive a link by email to validate their account and generate a password. As soon as they validate the account, the status will switch to validated.
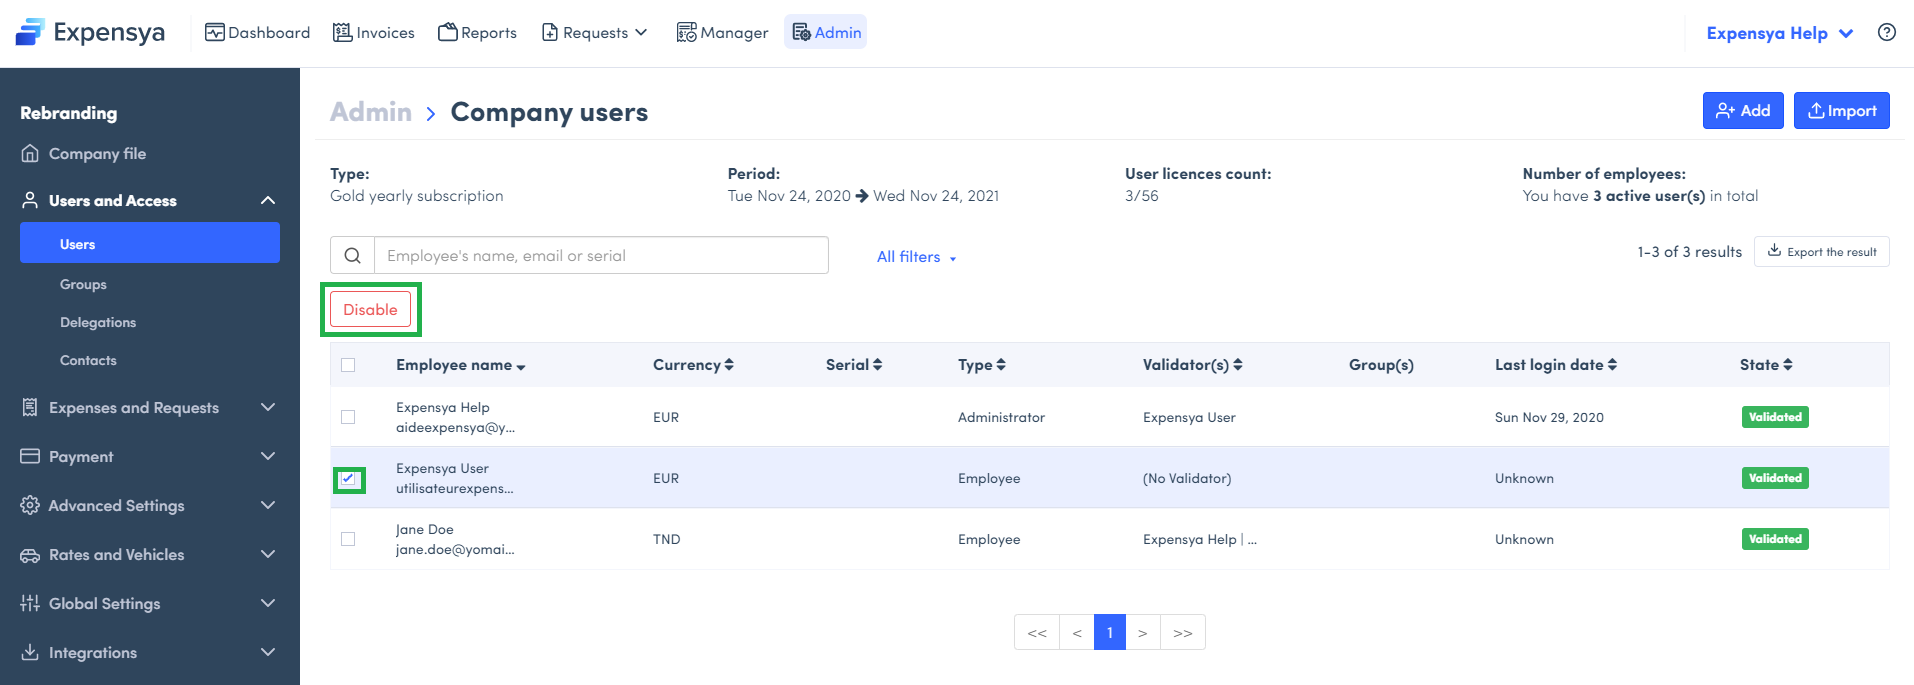
To disable a user
- Select the user to disable
- Click on Disable
It is not possible to completely delete a user with expense reports and expenses, as their history must always remain associated with the tenant.