Splitting Transaction-linked Expenses
 Updated
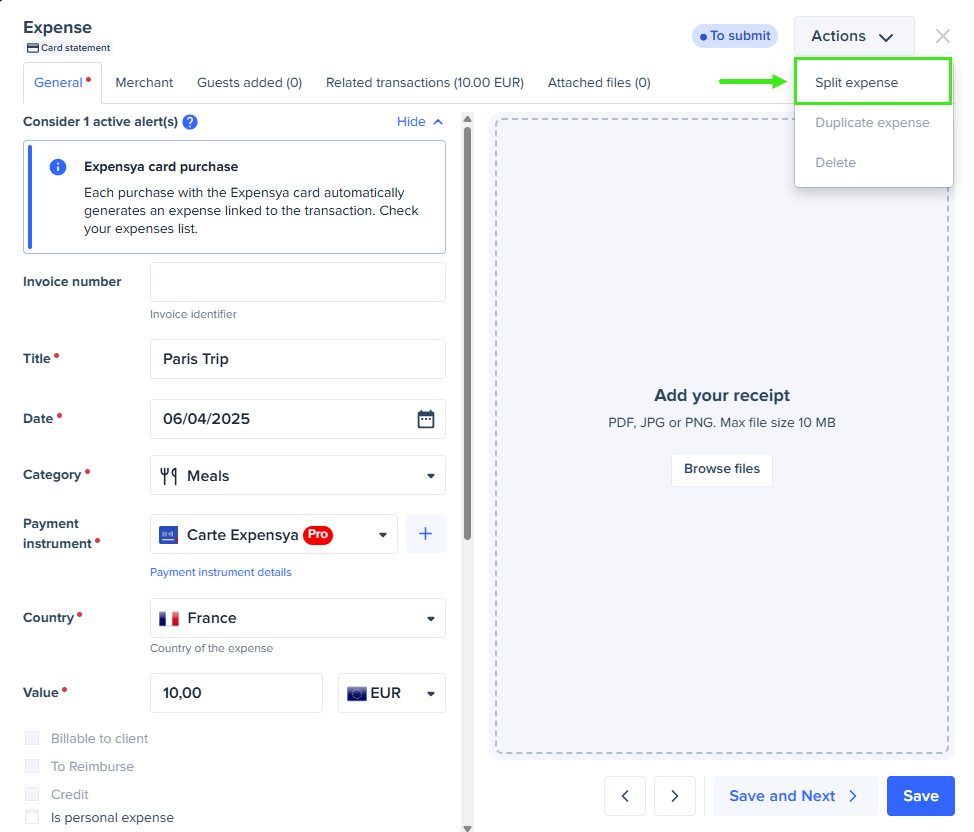
You can split expenses linked to transactions only after the transaction is validated. The Split expense button remains disabled if the transaction is not validated.
Step-by-Step Instructions to Split a Transaction-linked Expense:
- Locate the expense to split in the expenses list.
- Ensure the transaction is validated.
- Click Split expense to start the process.
- Split the total amount among different expenses.
- The first line is the main expense that retains the transaction.
- Lines 2 to 10 are the sub-expenses.
A split expense cannot be split again.
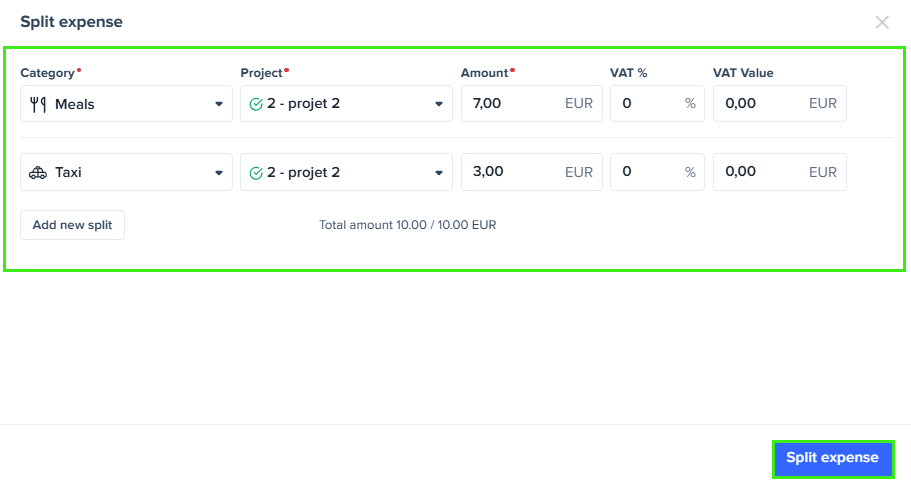
You can assign a different category to each line. You can also assign each line to a different project if the expense relates to more than one project.
- Review the splits to ensure accurate allocation of amounts.
- Click Split expense to save your changes.
- The system will create new expense entries linked to the original transaction.
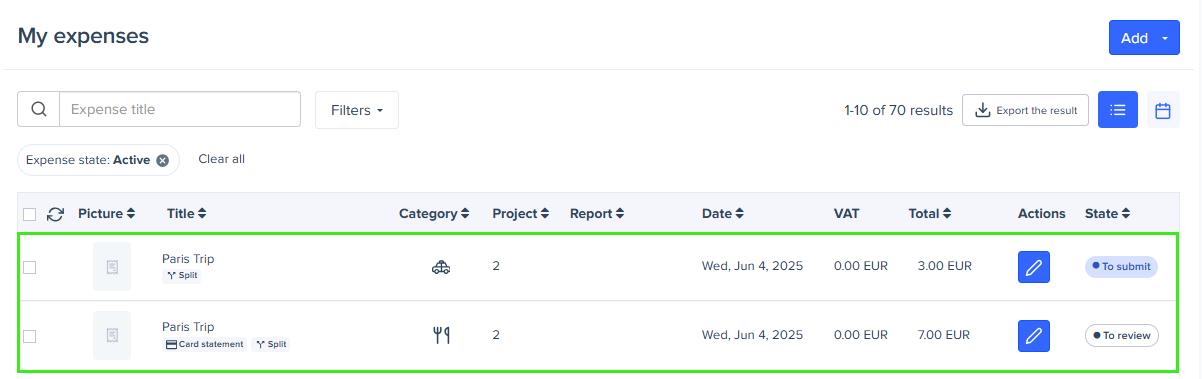
The original transaction remains linked to the first expense created, which is the first line of the split.
Deleting a Split Expense
- You can delete the main expense linked to a transaction only if none of the related expenses have been submitted.
- You can delete a sub-expense from a split only if the main expense has not been submitted.

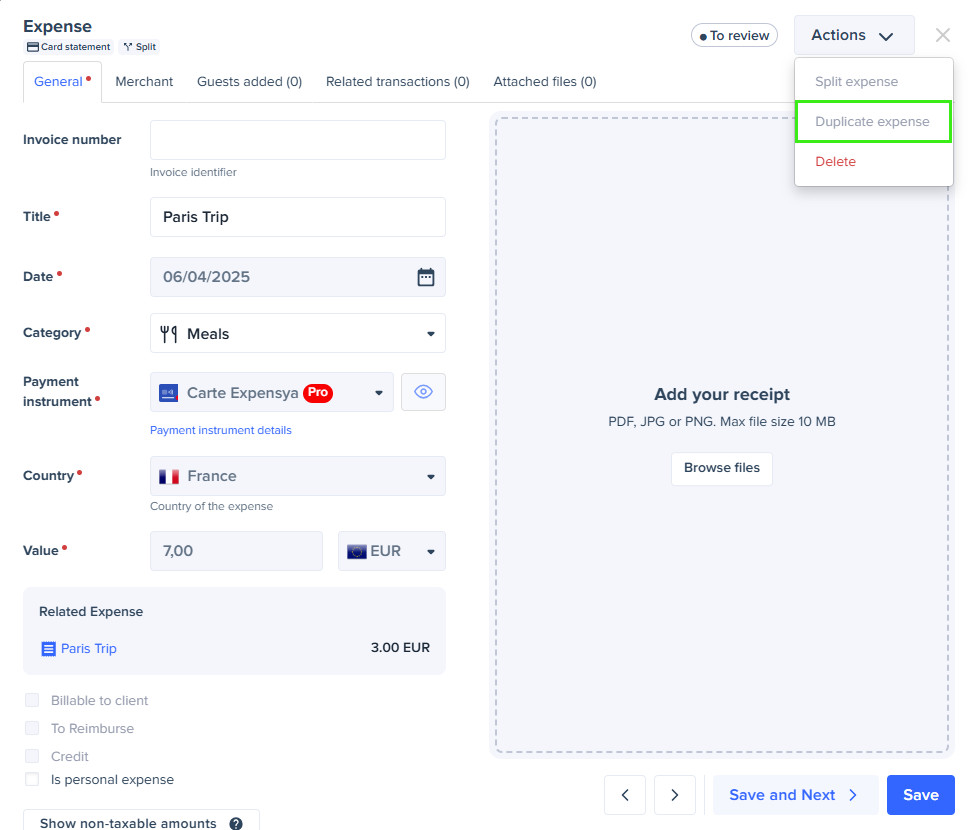
Duplication Restrictions
- The duplication option is disabled for expenses linked to a transaction or those that come from a split.
- Any attempt to duplicate through other means (e.g., API) will result in an error message.
Administrators can review all related split expenses from the main expense in the transactions list to ensure they are visible and accurate.