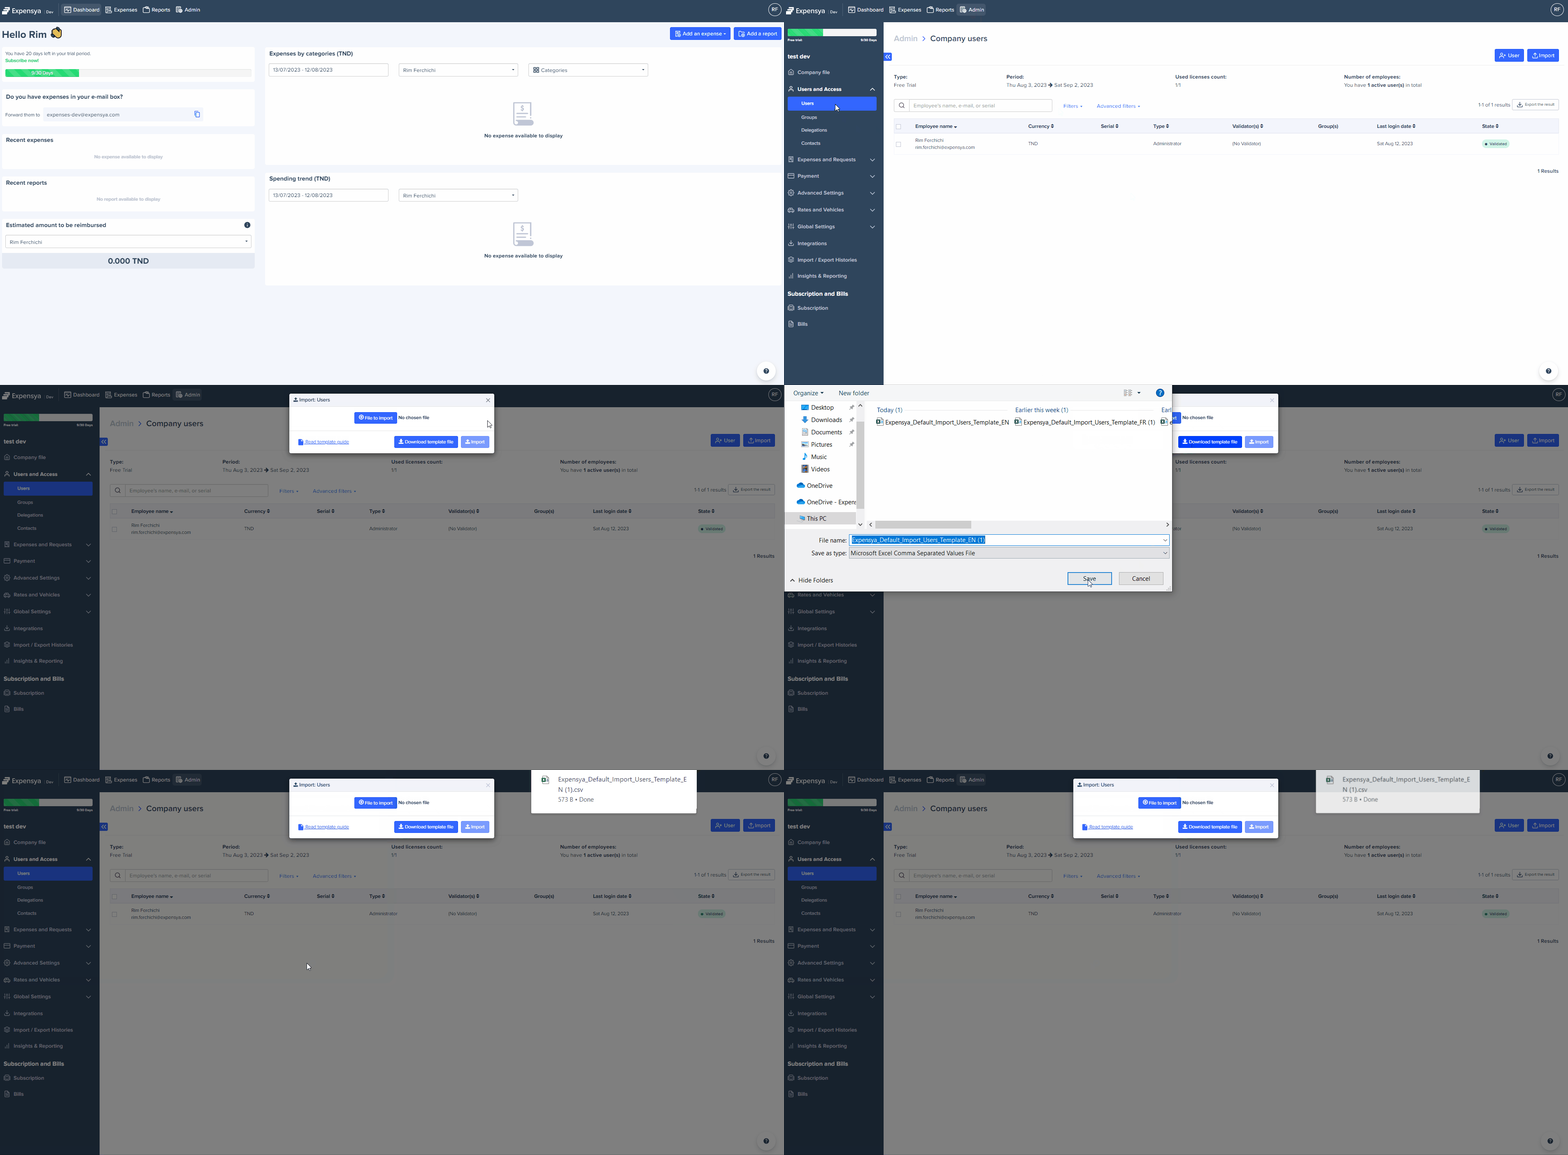
Template File for User Import
Adding users to Expensya can be done through an import file, which is easy to fill out and quick to integrate.
To download the user import template file:
- Go to the Administration tab > Users submenu.
- Click on Import
- Download the template file.

Here are the different fields present in the template file. You can download the explanatory file of the template to learn more about the meaning of each field.
- Last Name
- First Name
- Serial
- Language
- Country
- Currency
- Status
- Admin Role
- Accounting Role
- Analytic axis 1
- Analytic axis 2
- Analytic axis 3
- Analytic axis 4
- Analytic axis 5
- Validator mail Level 1
- Validator serial number Level 1
- Additional validator mail-0
- Additional validator serial number-0
- Additional validator minimum amount-0
- Additional validation conditions-0
- Internal identifiers of assigned rules-0
- Tags
Tags should be separated by commas
- Default project
- Secondary alias
- Mileage configuration
- Address
- Zip Code
- Phone number
- Fax
- Vendor
- Additional Data-(Name)
If you need to add additional validation levels, you can create new columns in the import file as follows:
Level 2 Validator:
ValidatorMail-1: Enter the email address of the level 2 validator here.
ValidatorPayId-1: Enter the employee Serial of the level 2 validator here.
Level 3 Validator:
ValidatorMail-2: Enter the email address of the level 3 validator here.
ValidatorPayId-2: Enter the employee Serial of the level 3 validator here.
General Rules for Import Behavior in the case of default projects:
If the DefaultProjectExternalId Column is Present in the Imported File:
- Cell Contains a Value: The defaultProjectId will be updated with the provided value if it differs from the existing defaultProjectId.
- Cell is Empty:
- If Column is Optional: The defaultProjectId will be updated to an empty value (i.e., cleared).
- If Column is Mandatory: The specific line in the import file will be blocked, and the import will not proceed for that entry.
If the DefaultProjectExternalId Column is Not Present in the Imported File:
- If Column is Optional: The defaultProjectId remains unchanged.
- If Column is Mandatory: The import will be blocked, and an error will be raised, preventing the import from proceeding.

