Managing Professional Vehicles in Expensya
As an administrator, you can manage professional vehicles from the web version.
To activate this feature, contact Expensya support.
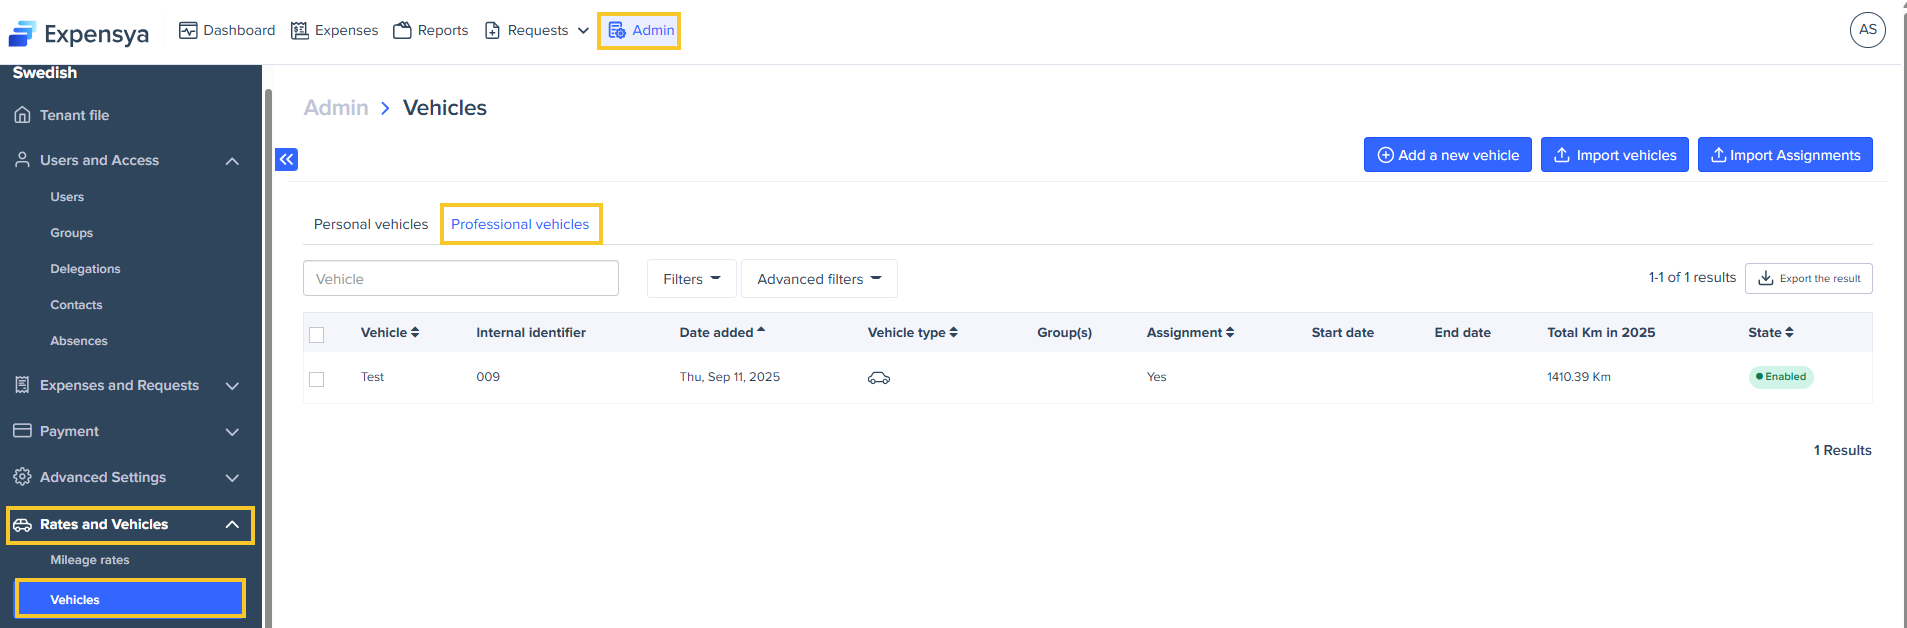
Access the professional vehicles section
- Go to the Admin tab, then open the Vehicles submenu.
- Click the Professional vehicles widget.
Add a professional vehicle manually
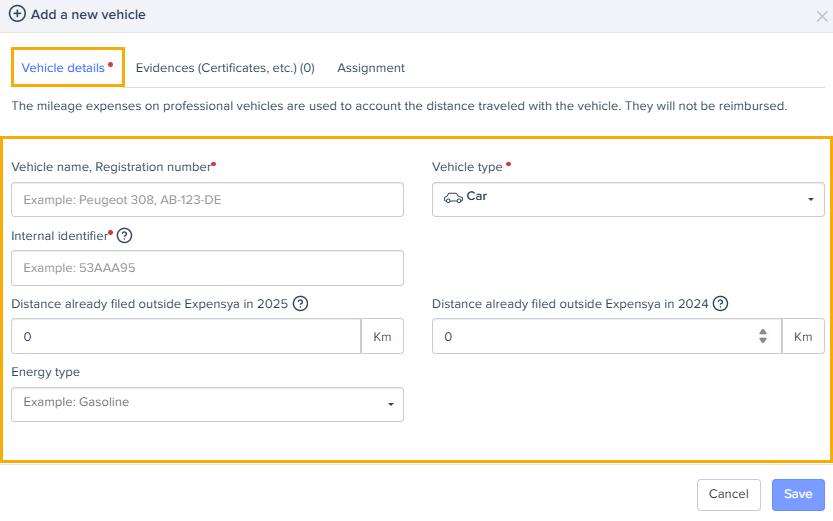
- Click Add a new vehicle.
- Fill in the fields in the Vehicle details tab. A red dot marks each mandatory field.
Note that the Energy type field may be required, optional, or hidden depending on the administrator’s settings.
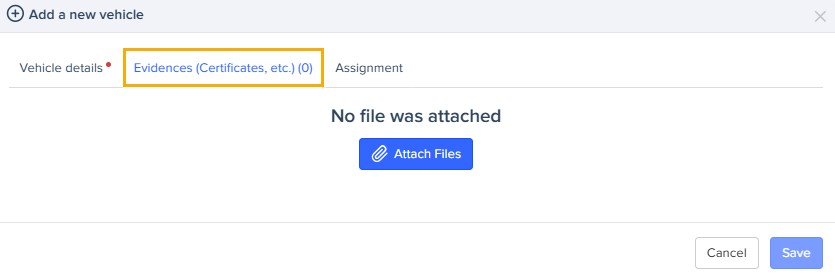
- Insert the registration document from Evidence.
- Assign the vehicle to an employee. This step is optional.
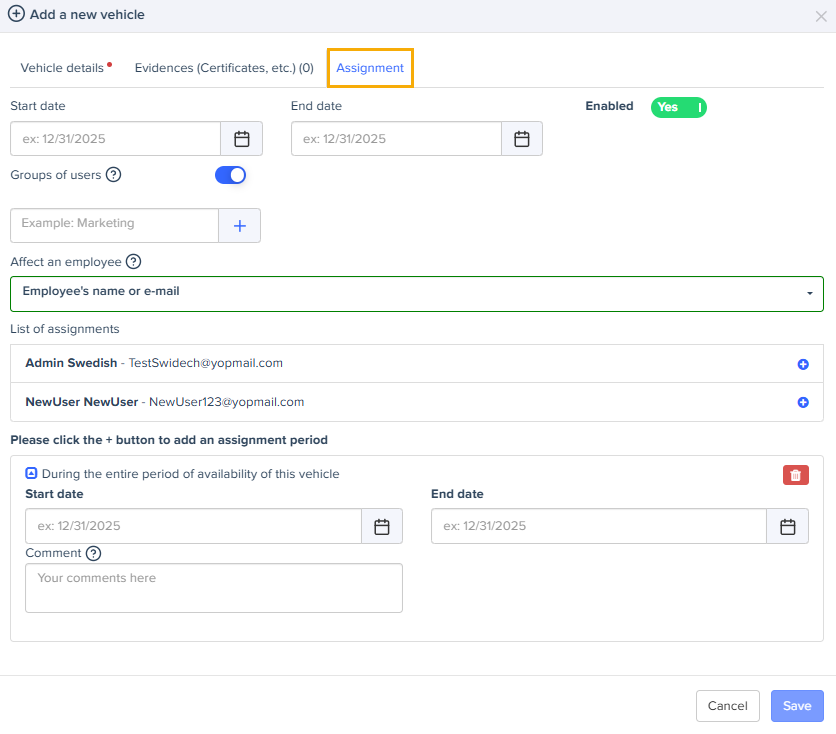
- Click Save.
Import professional vehicles
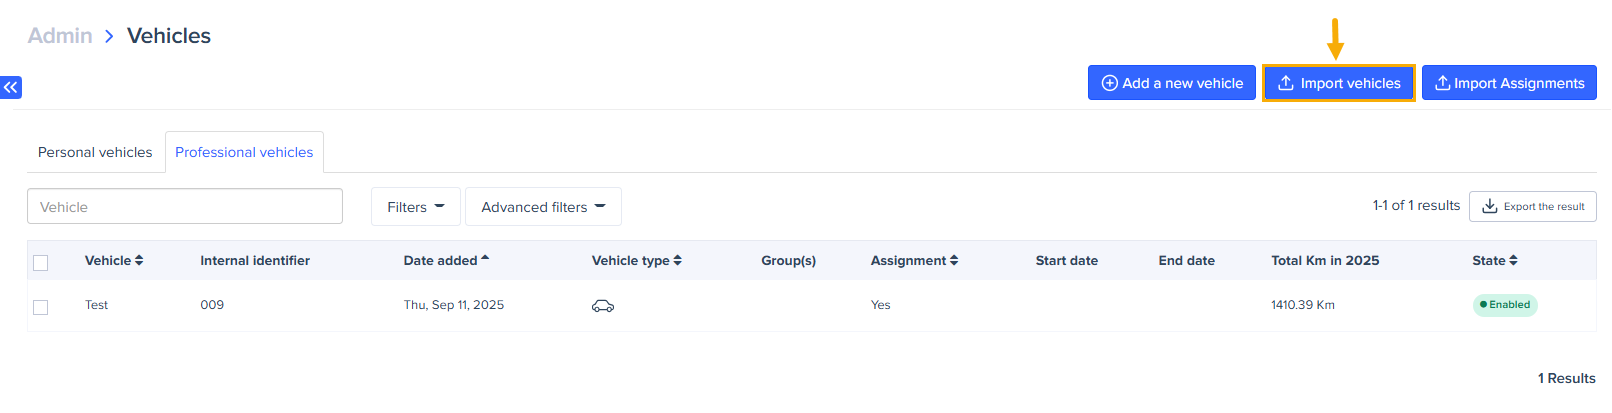
You can also import vehicles through an Excel template.
- Click Import vehicles.
- Click Download template file.
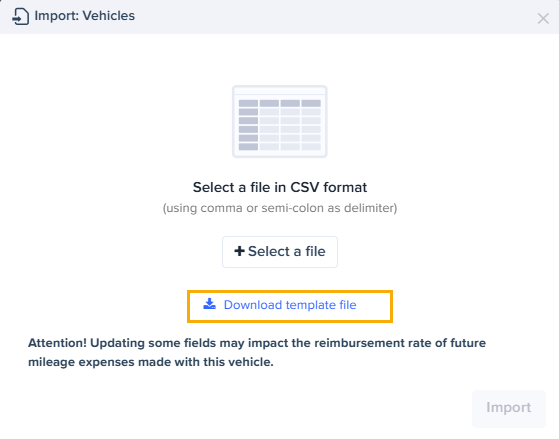
- Fill out the template:

- VehicleExternalId - identifier of the vehicle in your company.
- VehicleName - name of the vehicle.
- VehicleType - type of the vehicle, for example, car or motorcycle.
- AdministrativePower - fiscal power of the vehicle.
- CurrentYearKm - distance traveled during the current year.
- LastYearDistanceKm - distance traveled during the previous year.
- StartDate - assignment start date.
- EndDate - assignment end date.
- IsActive - set to True to enable the vehicle, set to False to disable it.
- Groups - groups linked to the vehicle, if applicable.
- EnergyType - energy type of the vehicle, for example, gasoline, diesel, hybrid, etc.
- After filling out the template, import it. A pop-up window will confirm the import and display a summary of imported and updated vehicles.
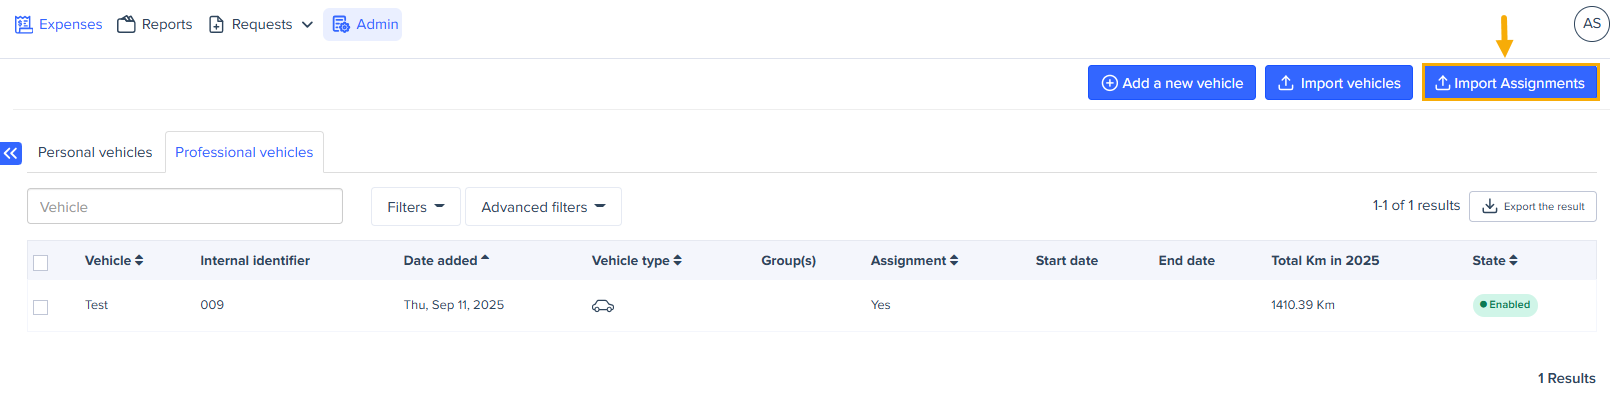
Import assignments
- Click Import assignments.
- Download the template and fill it out.

- AssignmentExternalId - identifier of the assignment.
- VehicleExternalId - identifier of the vehicle in your company.
- AffectedUserMail - email of the person assigned to the vehicle.
- AffectedUserPayId - unique ID of the person assigned to the vehicle.
- AssignmentStartDate - start of the assignment.
- AssignmentEndDate - end of the assignment.
- AssignmentIsActive - Yes to apply the assignment, No otherwise.
- After filling out the template, import it. A pop-up window will confirm the import.
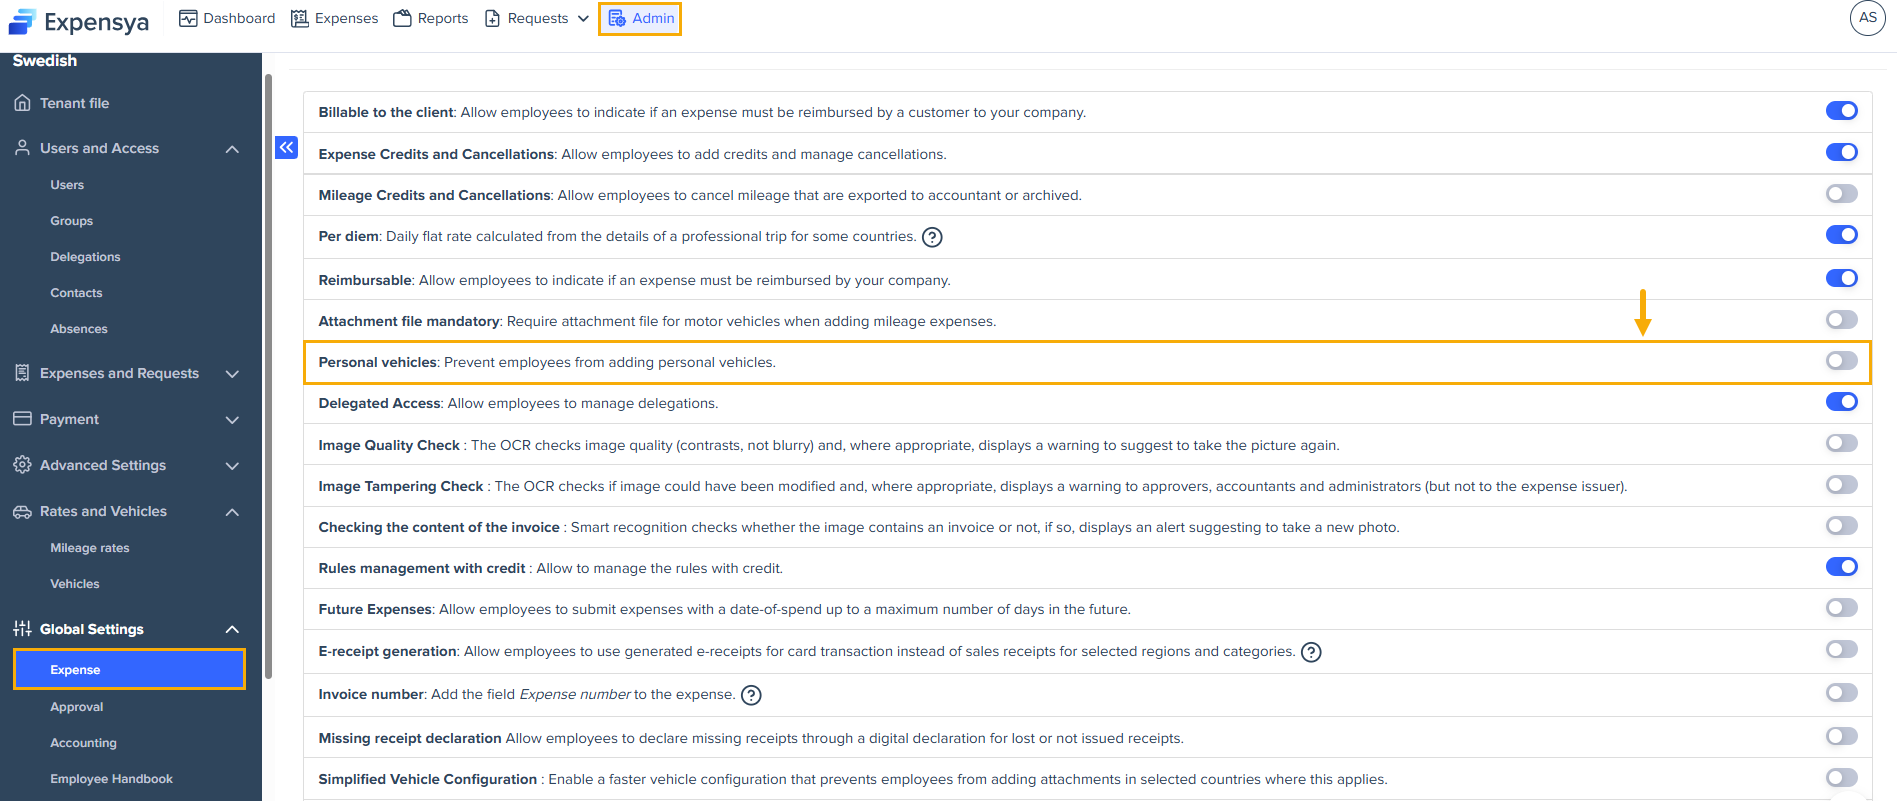
You can prevent employees from adding personal vehicles in the Tenant settings submenu.