The Main Exports to Generate From the Expensya Account
 Updated
Know that it's possible to export these lists for modification and then re-import them. These lists include:
- User list
- Reports and expenses
- Expense rules
- Categories
- Projects
- Personal and business vehicles
- etc.
In this article, we will see how to perform the export of these lists.
Exporting the User List:
- Go to Admin then select the submenu Users and Access.
- Click on Users.
- Then click on Export the result.
- Confirm by clicking the Continue Export button.
You can export the user list by applying a filter, as shown in the example below.
Exporting Notes and Expenses:
An article has been written about exporting reports and expenses. Click here to access it.
Exporting Expense Rules:
- Go to Admin then select the submenu Expenses and Requests.
- Click on Spending Policies.
- Then click on Export the result.
- Confirm by clicking the Continue Export button.

Exporting Categories:
- Go to Admin then select the submenu Advanced Settings.
- Click on Categories.
- Then click on Export the result.
- Confirm by clicking the Continue Export button.

Exporting Projects:
- Go to Admin then select the submenu Advanced Settings.
- Click on Projects.
- Then click on Export the result
- Confirm by clicking the Continue Export button.

Exporting Personal and Business Vehicles:
Exporting Personal Vehicles:
- Go to Admin then select the submenu Rates and Vehicles.
- Click on Vehicles.
- In the Personal Vehicles field, click on Export the result.
- Confirm by clicking the Continue Export button.

Exporting Business Vehicles:
- Go to Administration, then select the submenu Rates and Vehicles.
- Click on Vehicles.
- In the Business Vehicles field, click on Export Results.
- Confirm by clicking the Continue Export button.
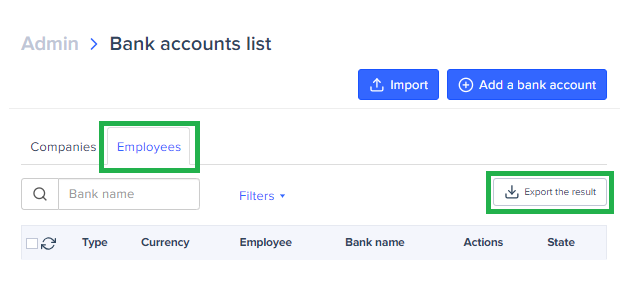
Exporting Users' Bank Account Details:
- Go to the Admin tab.
- Navigate to the Payment sub-menu > Bank Accounts.
- Access the Employees tab.
- Click on Export Result