Submitting an Expense for Approval
Automatic Submission of Expenses (AutoNDF):
You can now submit expenses without assigning them to reports through the AutoNDF feature, a process of retrieving verified expenses automatically at each given period, chosen or configured by you.

Case of submitting one expense:
Another way to skip the reports’ creation is by submitting your expenses one by one. In fact, once you upload your receipt and check all the mandatory fields, you can directly submit your expense by:
- Selecting the expense.
- Clicking on the Submit button.

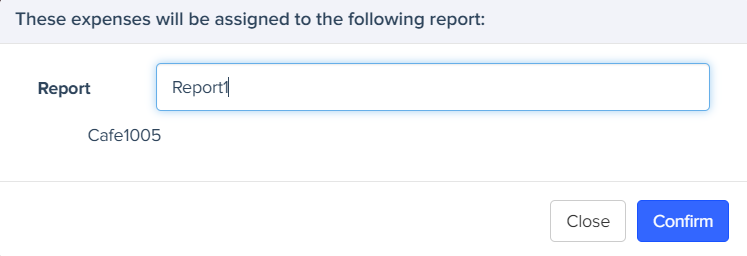
A report will be automatically created, and you can easily rename it before clicking on Confirm.
Case of submitting many expenses:
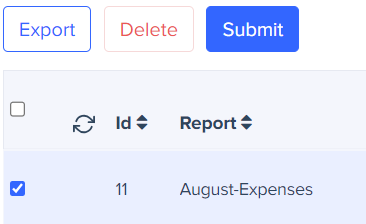
However, if you have more than one expense to submit, we advise you to assign them all to a report in order to save time.
For this, two options are possible:
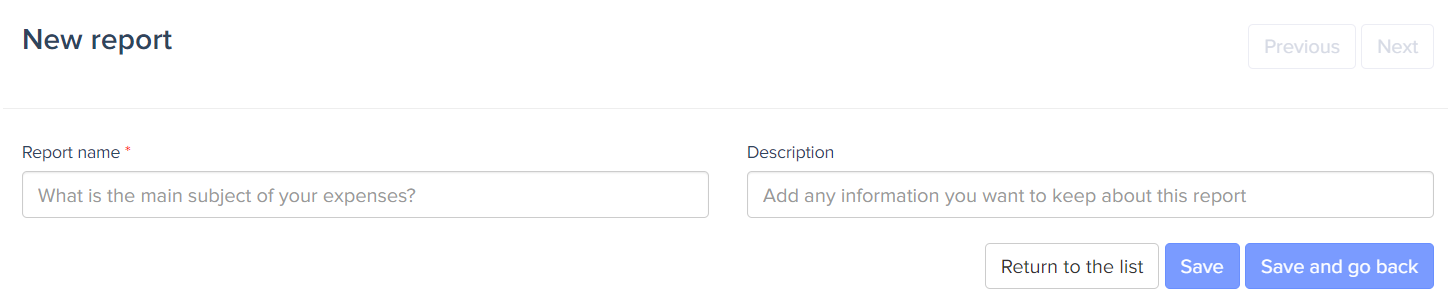
- Create a report from the report page:
- Select the Reports page from the navigation bar.

- Click on the + Report icon to create a new report.
- Choose an adequate name and save your report.
- Create a report from the expense page:
Another alternative is to start by creating an expense using the + Expense icon then choosing to add a report directly from the Expense details window.
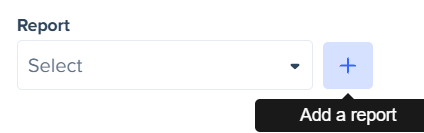
You will, therefore, be able to directly assign your expense to a report and submit in just one click!
The last step consists in submitting your report for approval!
And this is how Expensya helps you automate the entire spend management process!