Configuring Categories for TravelPerk Integration
 Updated
The TravelPerk integration guarantees an automatic, seamless transfer of your travel expenses directly into Expensya. For this streamlined process to work flawlessly, it's essential to have your categories in Expensya aligned with the service categories of TravelPerk.
For the purpose of preventing discrepancies and ensuring an accurate import process for your invoices, you should have these predefined categories added to your enabled categories in Expensya .
- Flight
- Train
- Car rental
- Hotel
- Travel fees
These predefined categories correspond to the services offered by TravelPerk, facilitating smooth and precise alignment during the expense import process
To add a predefined category, follow these simple steps:
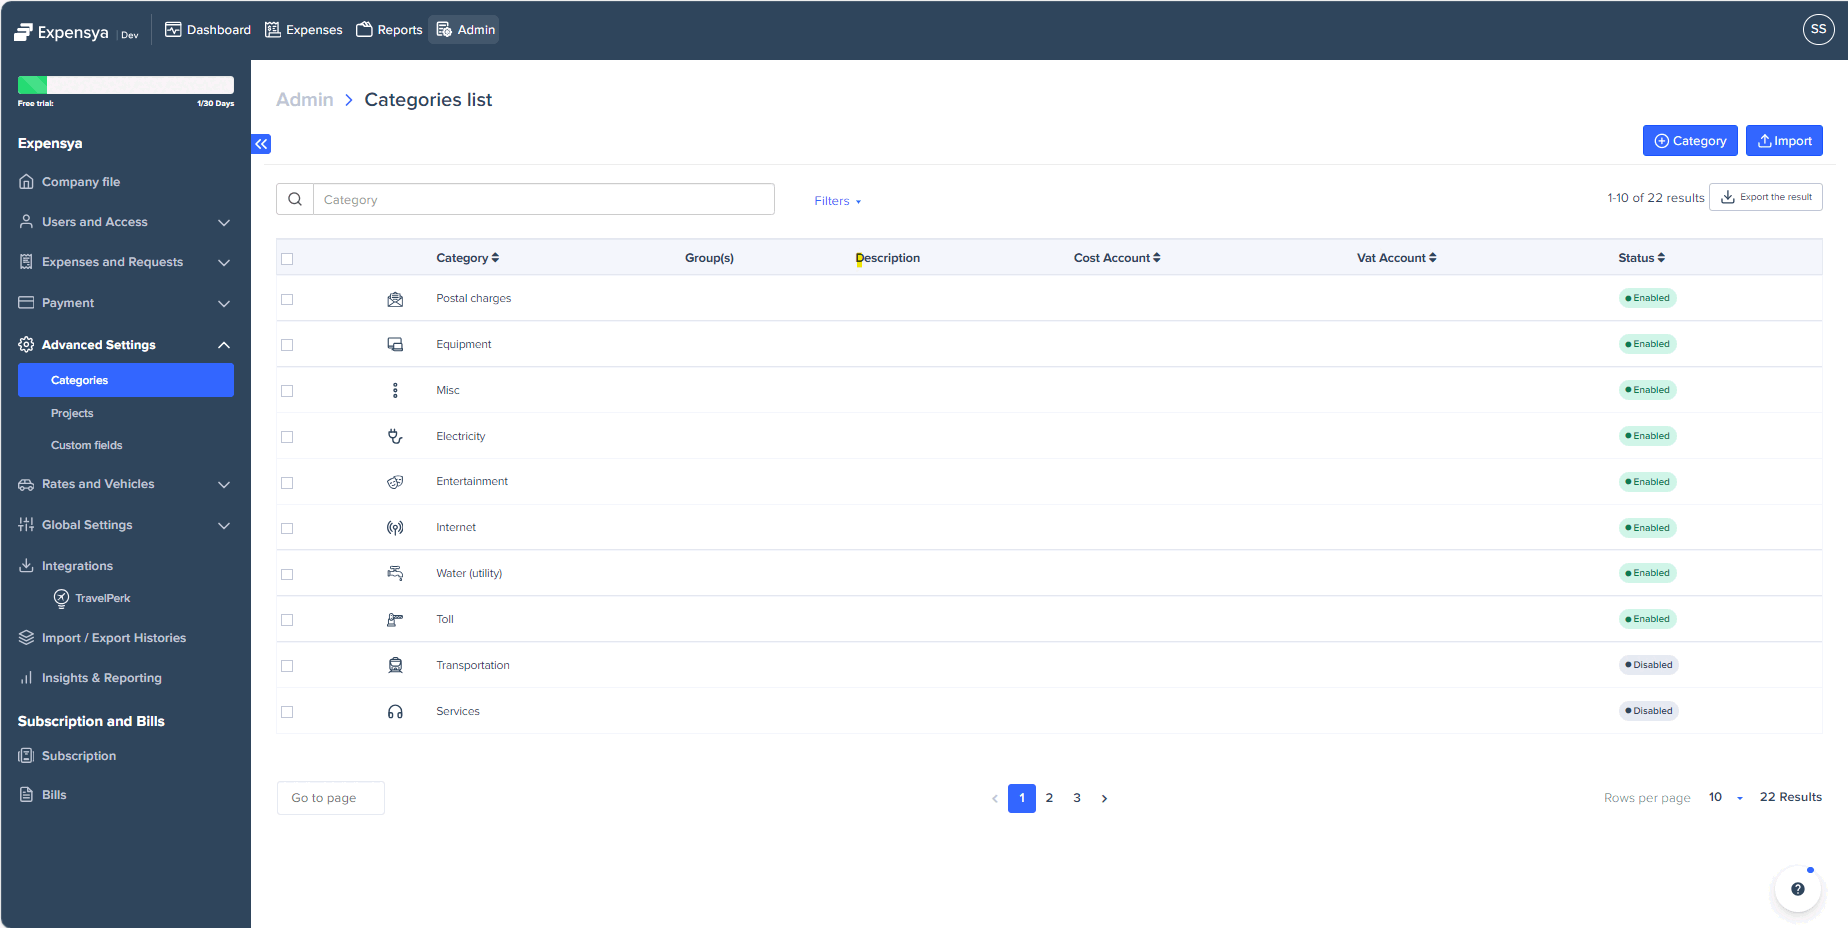
- On the Admin panel, navigate to the Advanced Settings section, then select the Categories tab.
- Select a category from the list.
- Add the necessary predefined category to the selected category.
- Save your changes.
You can add the predefined category to any category from the list that you see fit.
If you prefer not to add the predefined categories to any existing category, you can always create a new one. How to create a category and configure my chart of accounts? - Expensya - Expense Reports - Online Help
With these categories effectively set up, you guarantee a quick and precise association of all imported invoices from TravelPerk to the right categories in Expensya. This mitigates the risk of discrepancies, ensuring a successful completion of the import process.