Expensya Application on Teams: Tabs and Received Notifications
 Updated
Conversations Tab:
- Expense Review Notification: Employees and managers will receive notifications in the Conversations tab when their expenses are updated and transition to the To Verify status. This feature informs users and reminds them to review the information related to their expenses.
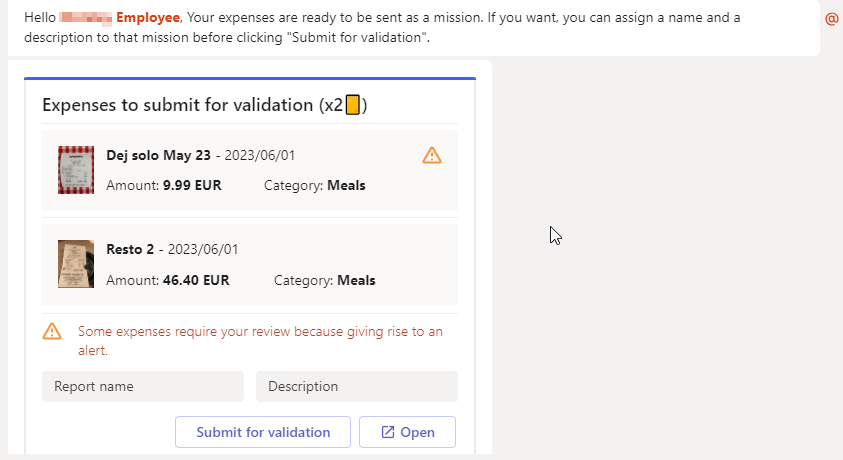
- Expense Submission Notification: Employees will receive notifications in the Conversations tab when their expenses are updated and transition to the To Submit status. This feature informs users and reminds them to submit their expense reports.
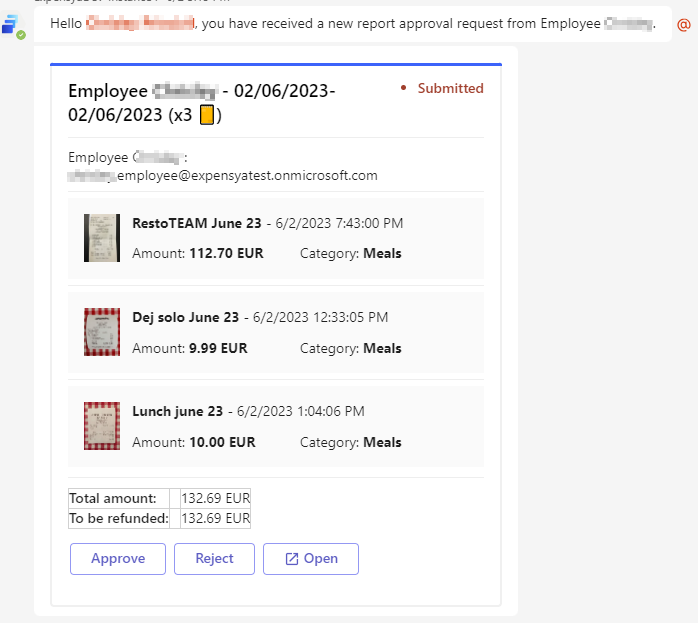
- Approve / Reject Expense Reports as a Manager from Teams Conversations: As a manager using the Expensya application within Teams, you can easily approve or reject expense reports directly from the conversation interface. This provides a convenient way to manage your team's expense reports within Microsoft Teams.
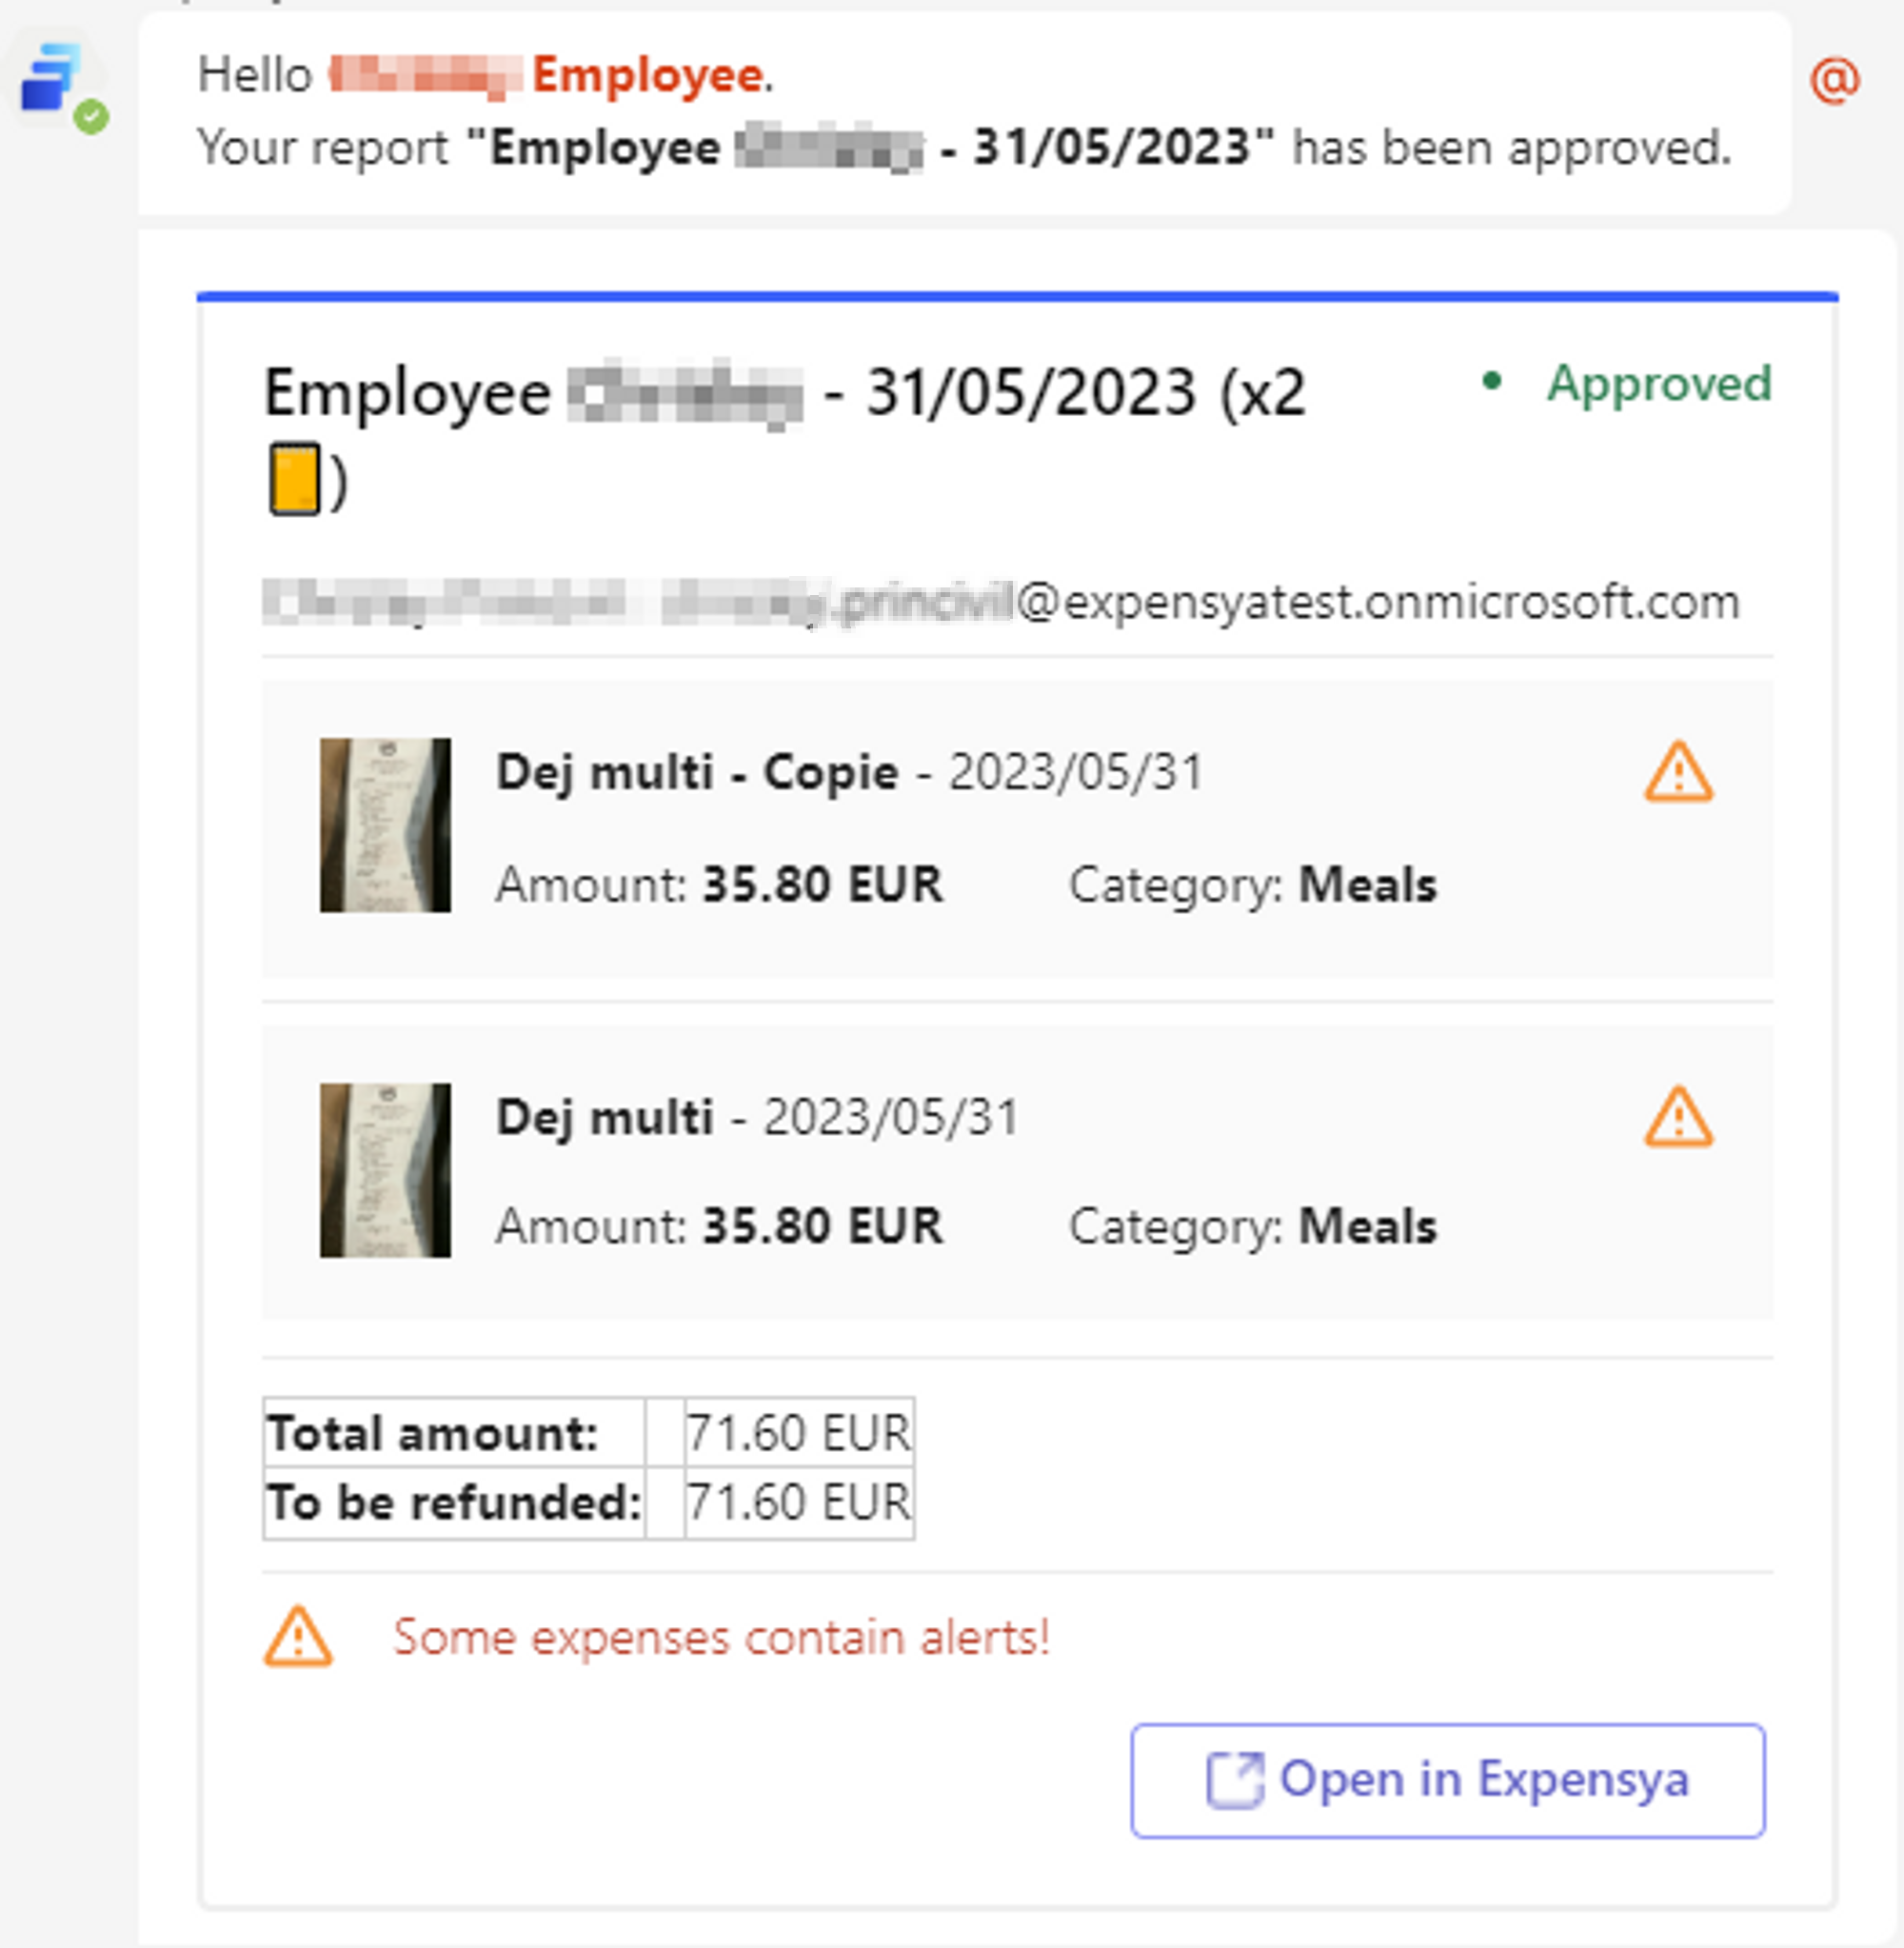
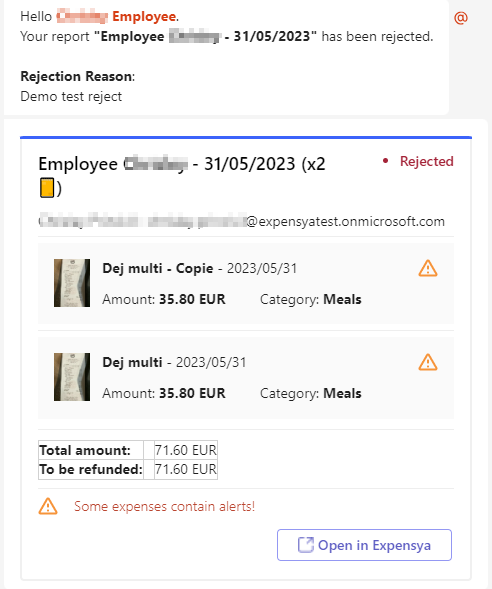
- Notification for Approved / Rejected Expense Reports: Employees will receive notifications in the Conversations tab when their expense reports are approved or rejected. This keeps users informed of the status of their expense reports without having to constantly check the application.
Please note that the Conversations tab is only available in the mobile version of Microsoft Teams. The tabs explained below are only available in the desktop version.
My Expenses Tab:
The My Expenses tab allows users to add, review, submit, and track their own expenses. Below are the different options provided by this tab:
- Data History: Expenses created in the Expensya application on the web or mobile are reflected in the My Expenses tab. This ensures transparent expense tracking across all platforms.

- Add Expense: From the My Expenses tab, you can easily add invoices from Microsoft Teams. Click on Add expense button then Select attachments from your personal folders, and the fast scan will be run automatically. Multiple files can be added at once.
Note that this feature is available only on the Microsoft Teams desktop version, but expenses added from Teams are accessible on all other platforms.

Expenses added from Teams are also accessible on other Expensya platforms (Web and Mobile).
- Review Expenses: In the My Expenses tab, you can review expenses from Microsoft Teams. By clicking the pen icon, you open the expense form, allowing you to update expenses with the statuses To Verify, Rejected, or To Submit.
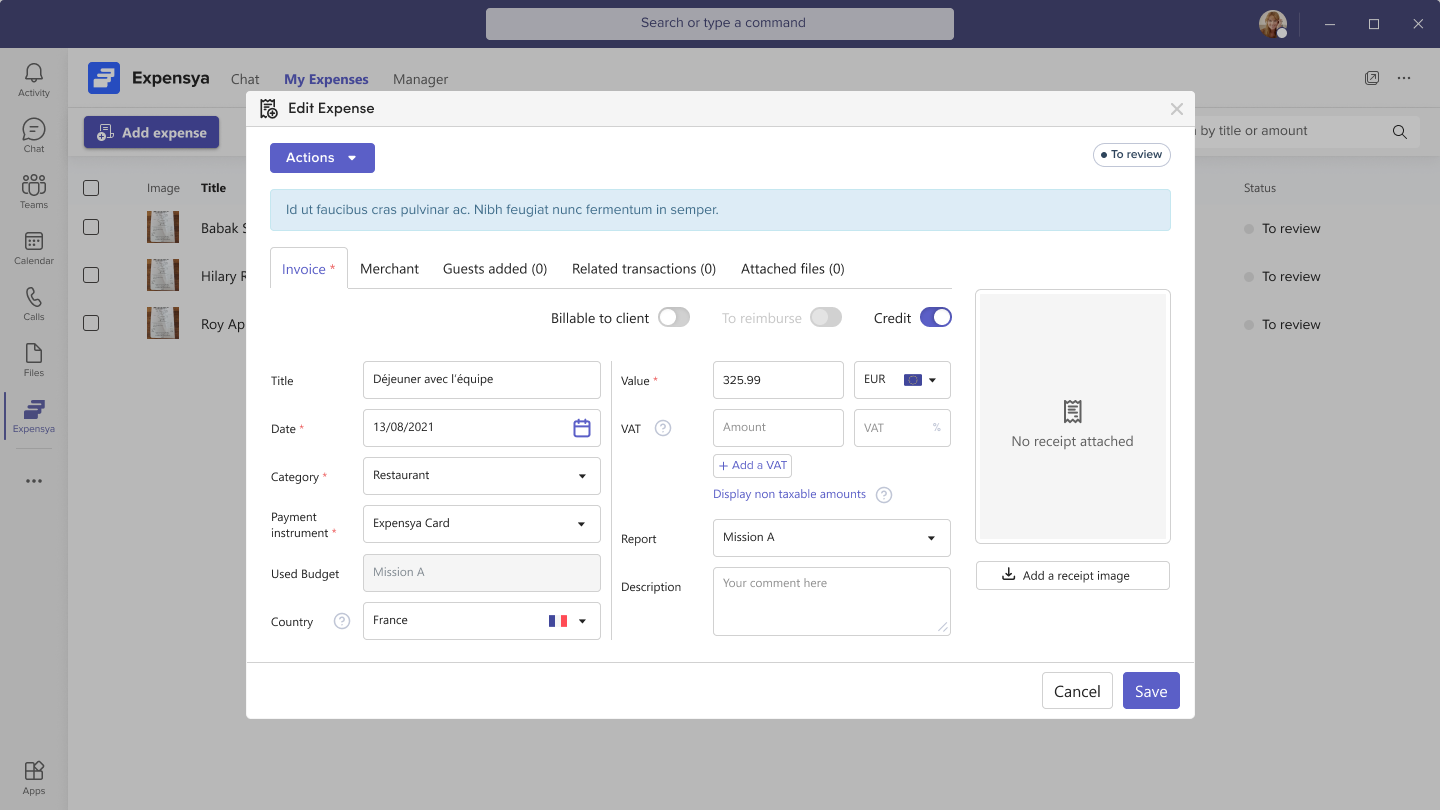
All expenses can be updated in the Expensya application for Microsoft Teams, regardless of their source (Microsoft Teams or Expensya Web or Mobile).
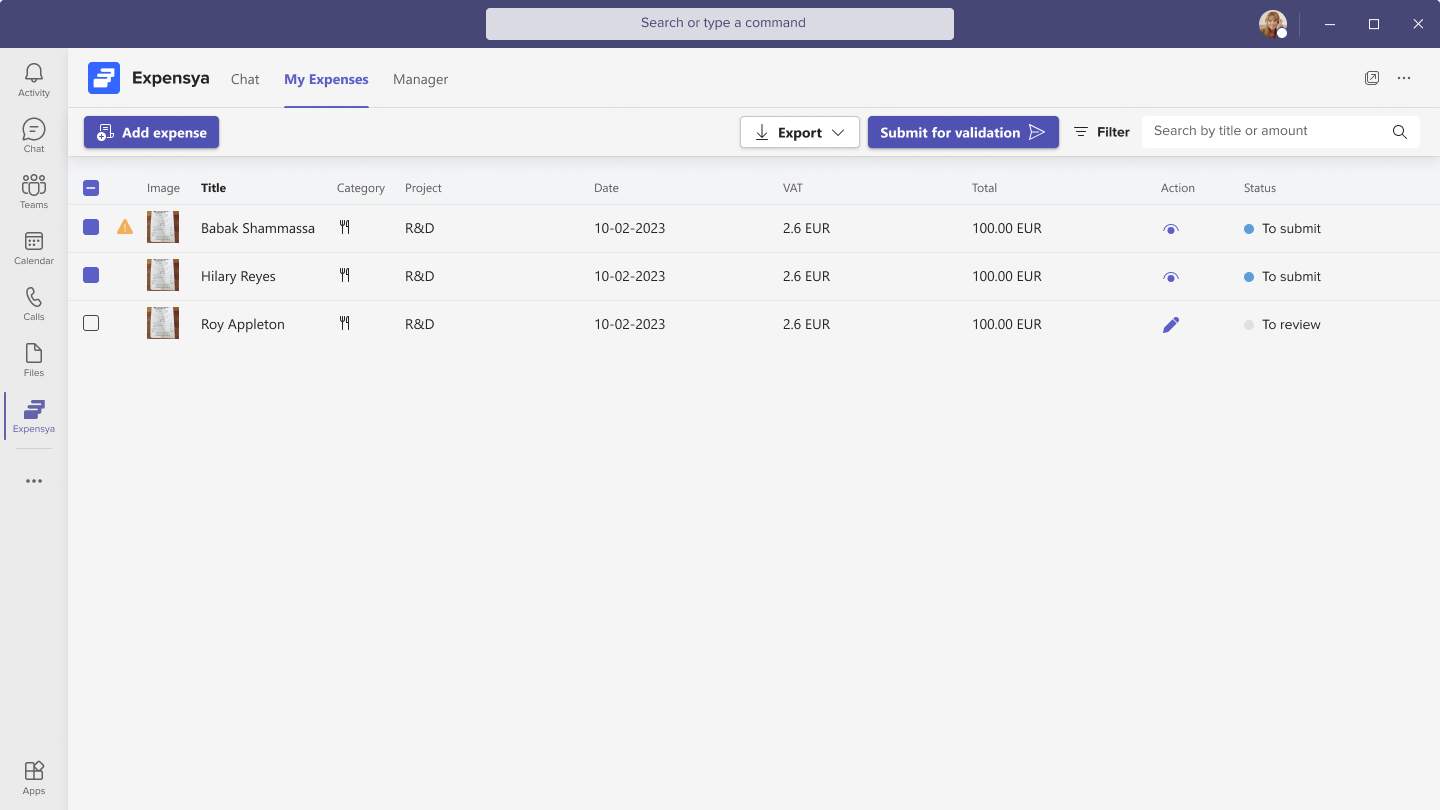
- Submit an Expense: From the My Expenses tab, you can submit expenses for validation. Select one or multiple expenses and click the Submit for Validation button. This feature is available on the web and mobile versions of Microsoft Teams.
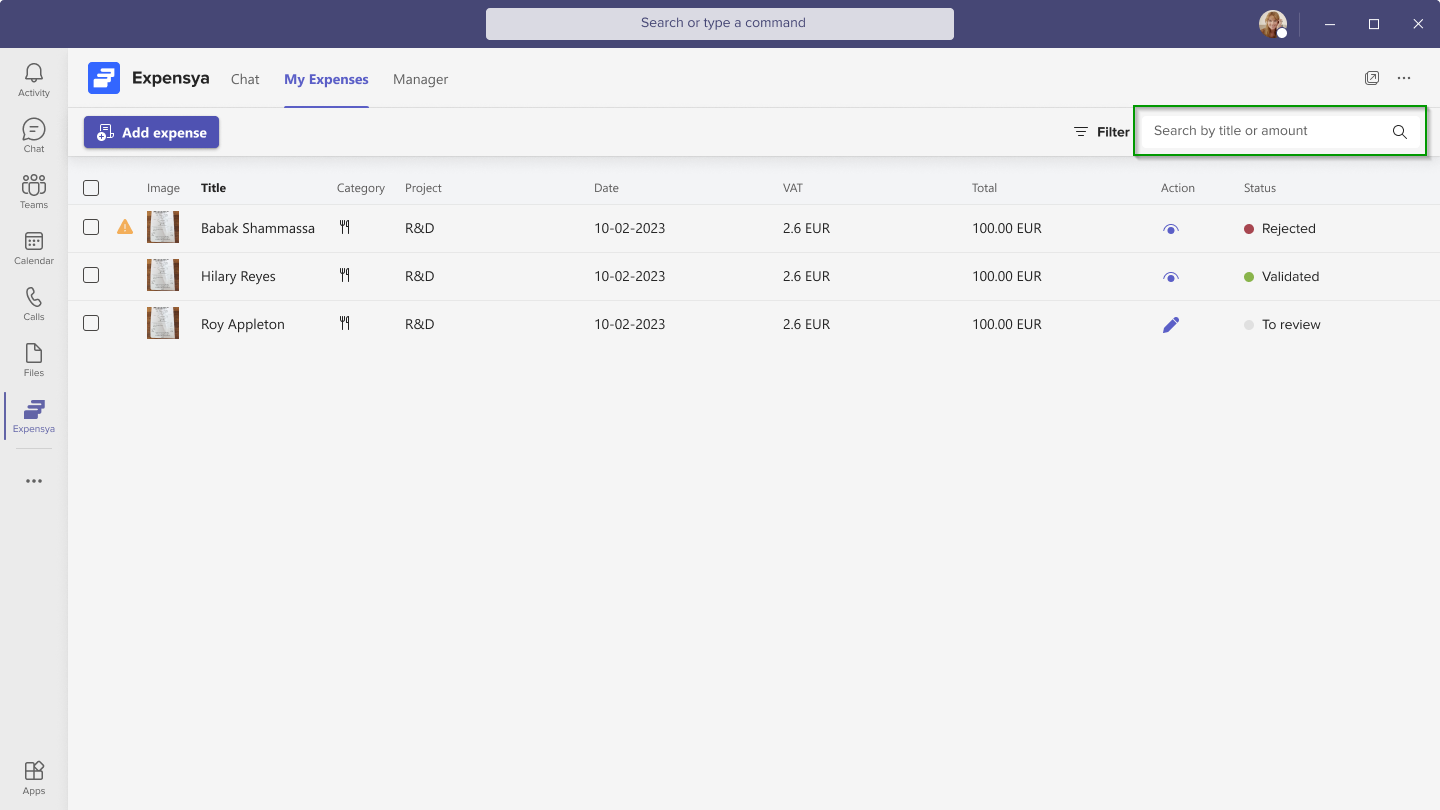
- Expense Search: The My Expenses tab allows you to search for specific expenses based on the amount or description of the expense. This function provides quick access to expenses of interest without manual searching.
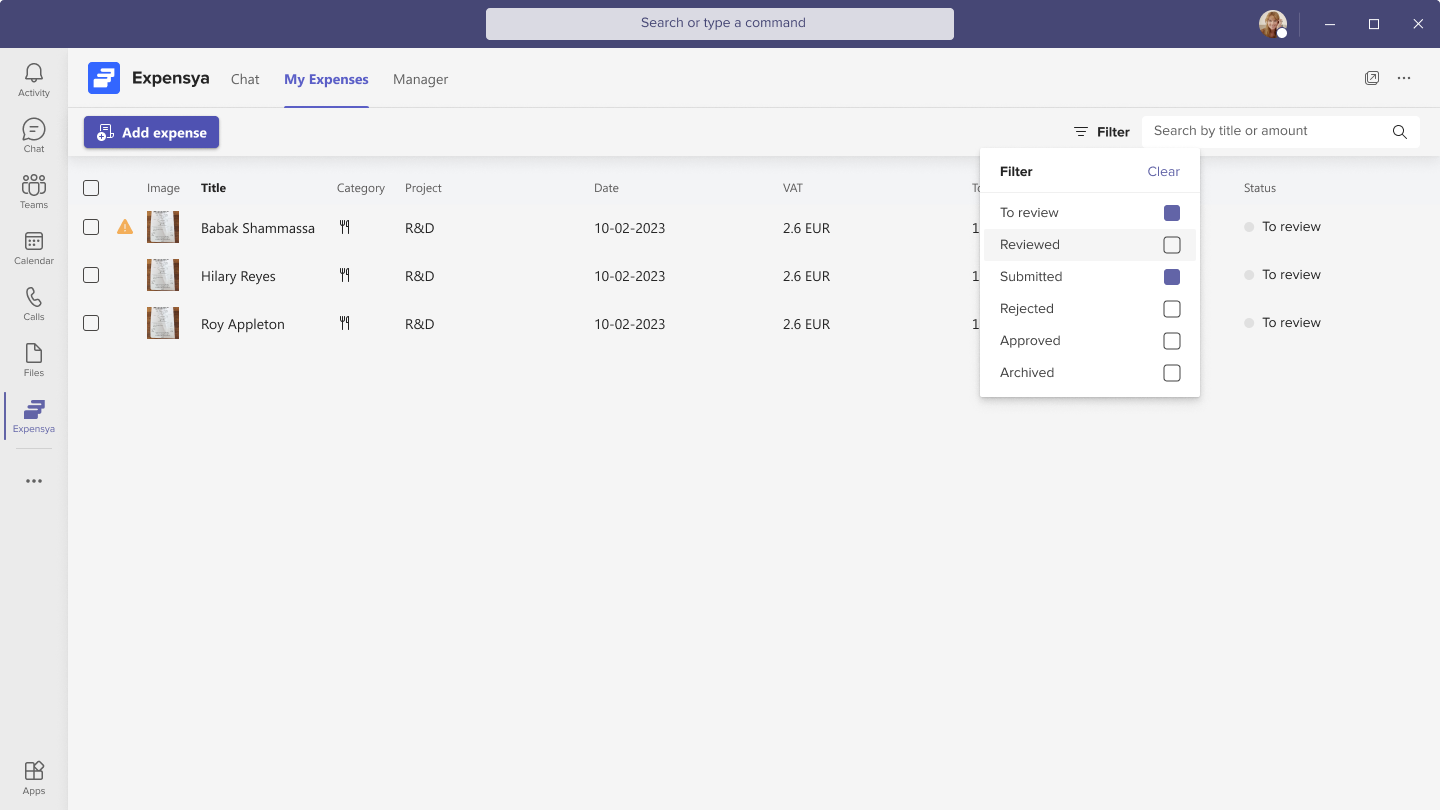
- Expense Filters: The My Expenses tab allows users to filter expenses by status. This function helps identify expenses requiring attention or action.
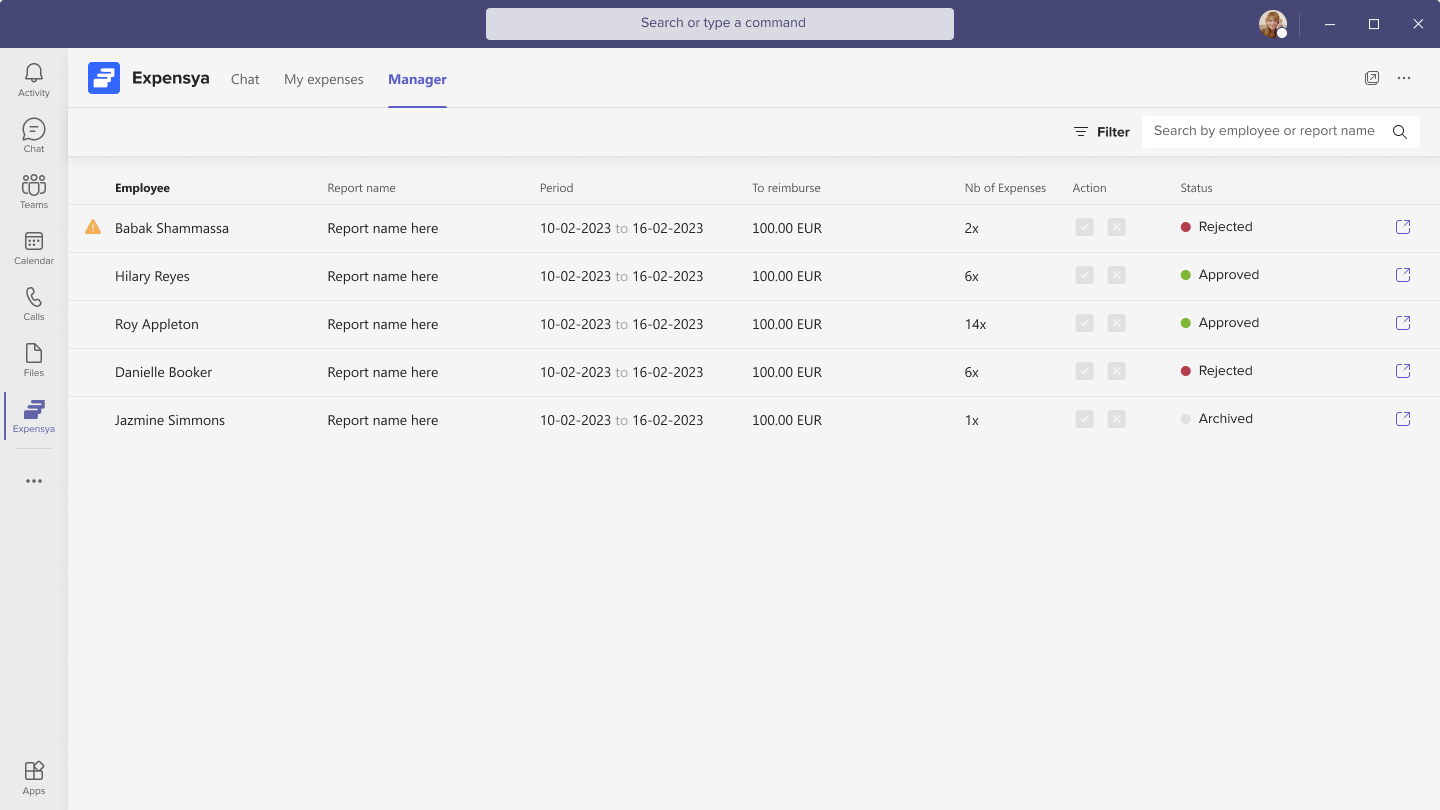
Manager Tab:
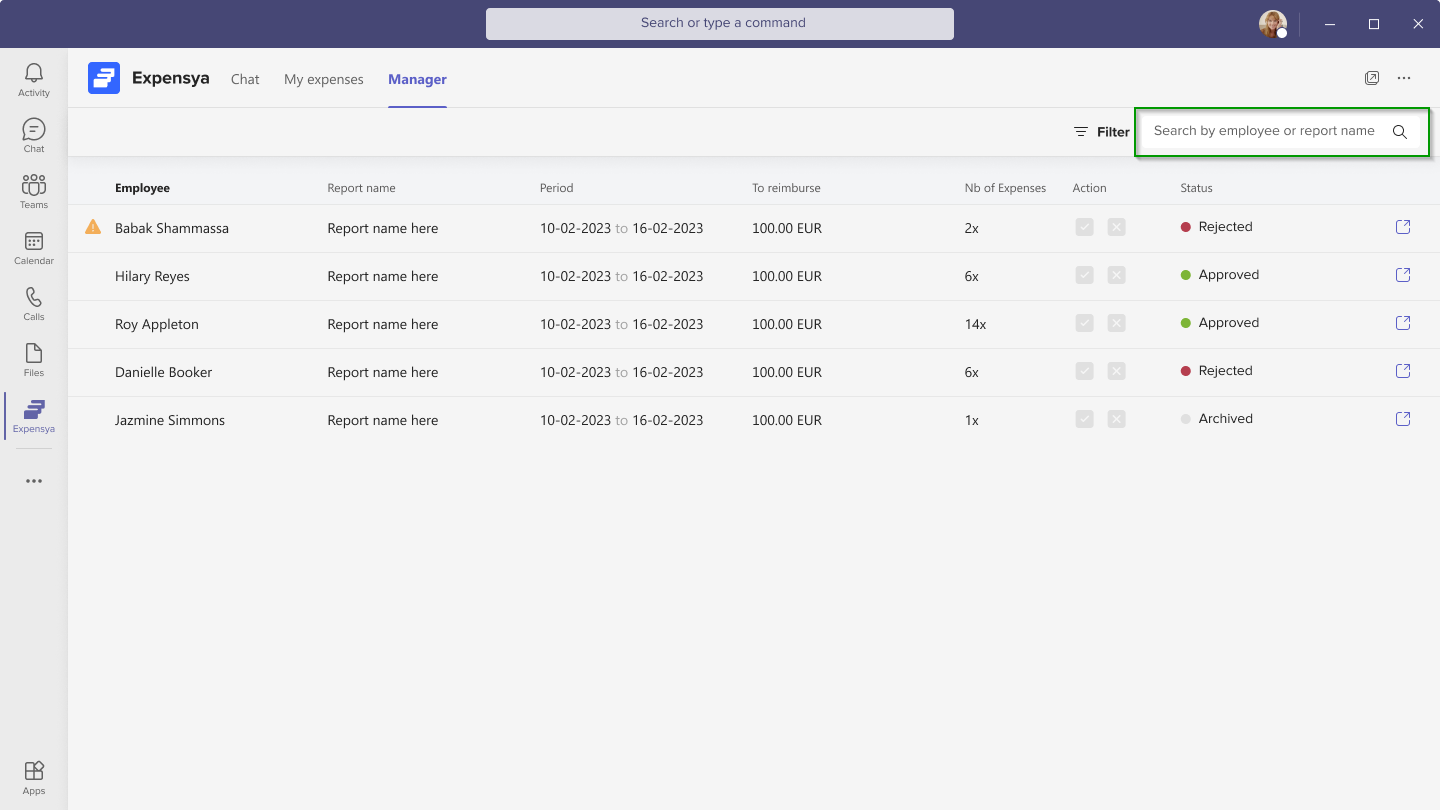
The Manager tab is designed specifically for managers to approve, track, and manage their team's expense reports. Managers can filter reports by status, search for reports, and open them in the Expensya web application for more details.
- Data History: Reports created and submitted by employees are reflected in the Manager tab under their respective managers. This ensures transparent tracking for managers.
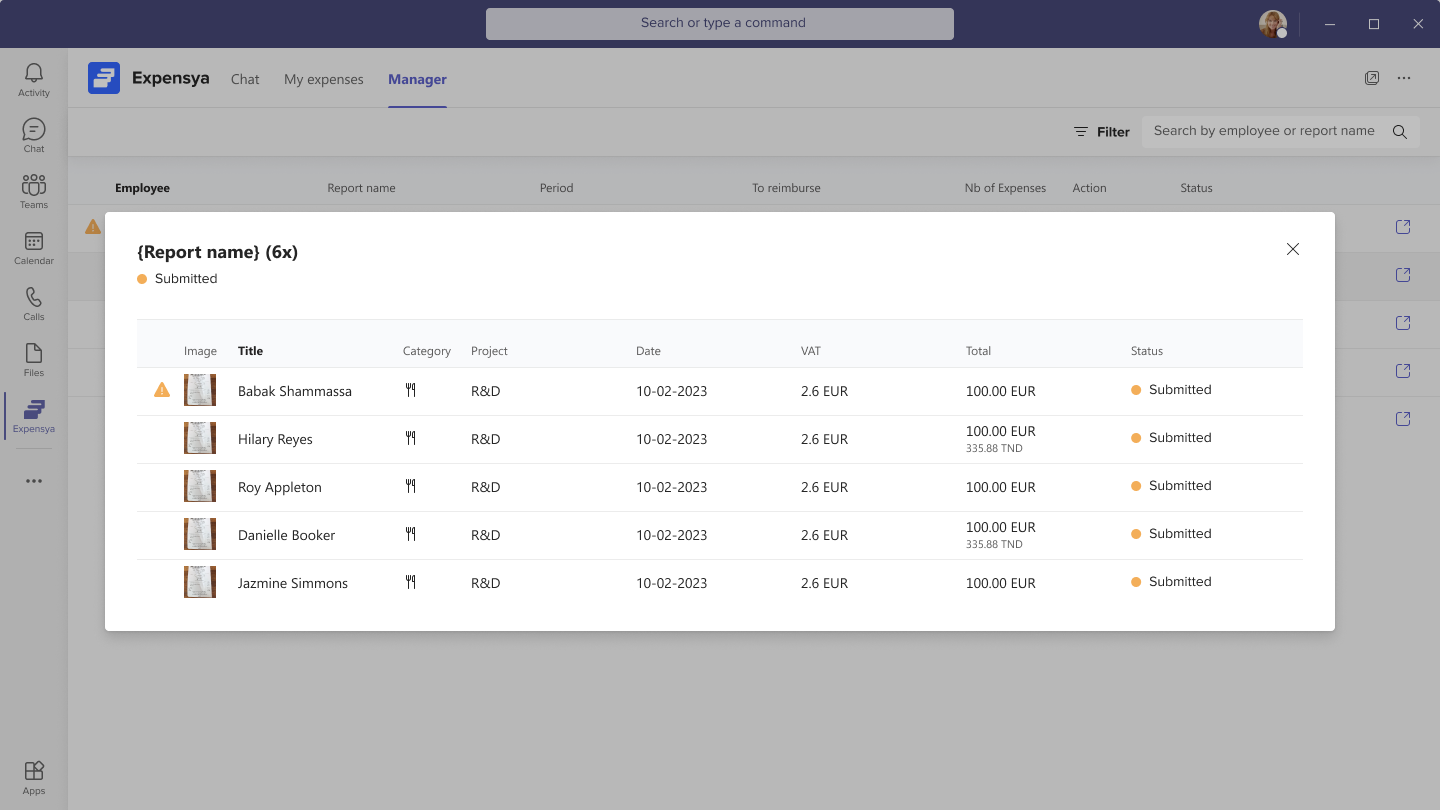
- Display Reports: As a manager, you can view the details of a report in Teams by clicking on it in the Manager tab. This opens a modal window displaying the list of expenses within the selected report. This feature is available on the web and mobile versions of Microsoft Teams.
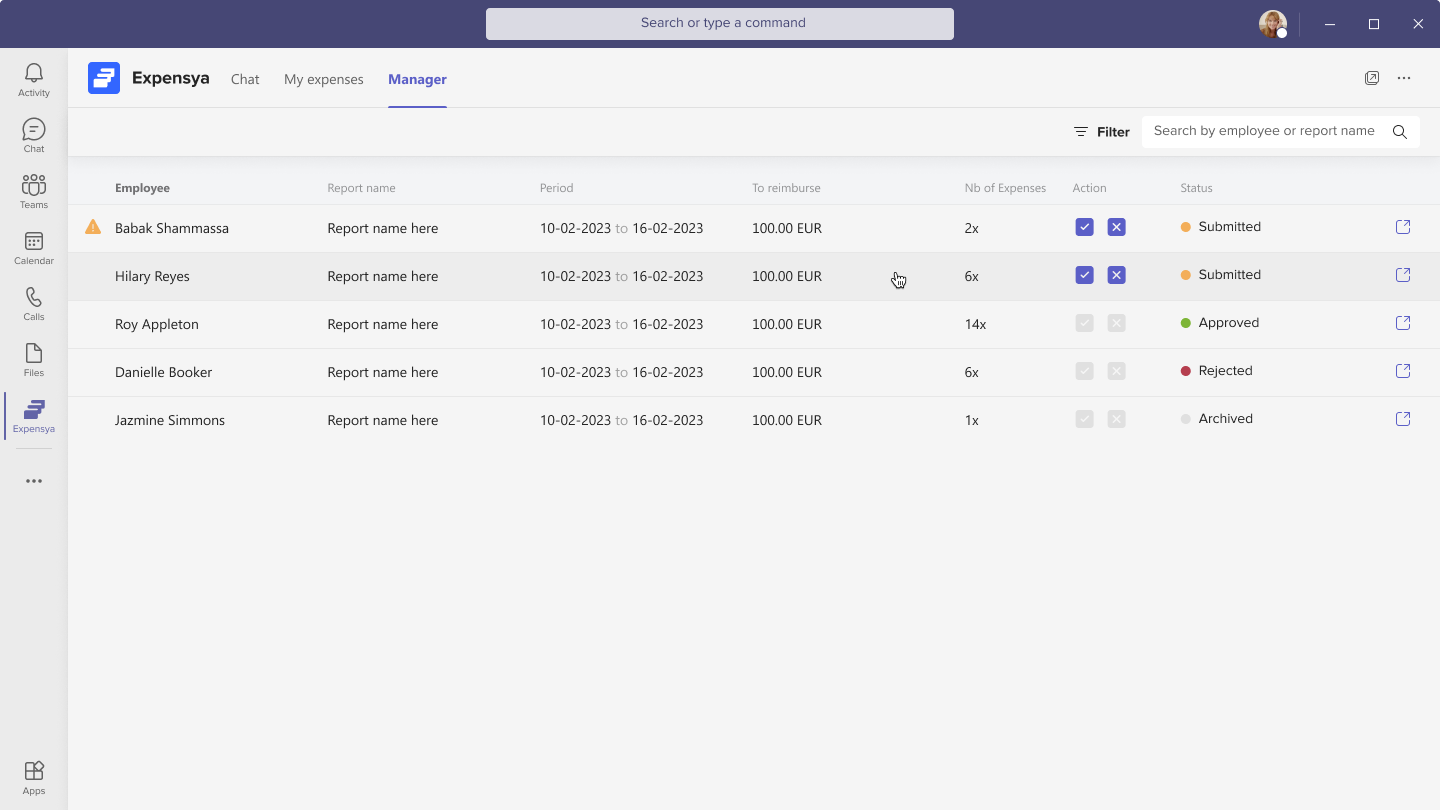
- Approve Expenses: Managers can approve reports in the Teams application by clicking the Approve button. This action instantly approves the report. This feature is available on the web and mobile versions of Microsoft Teams.
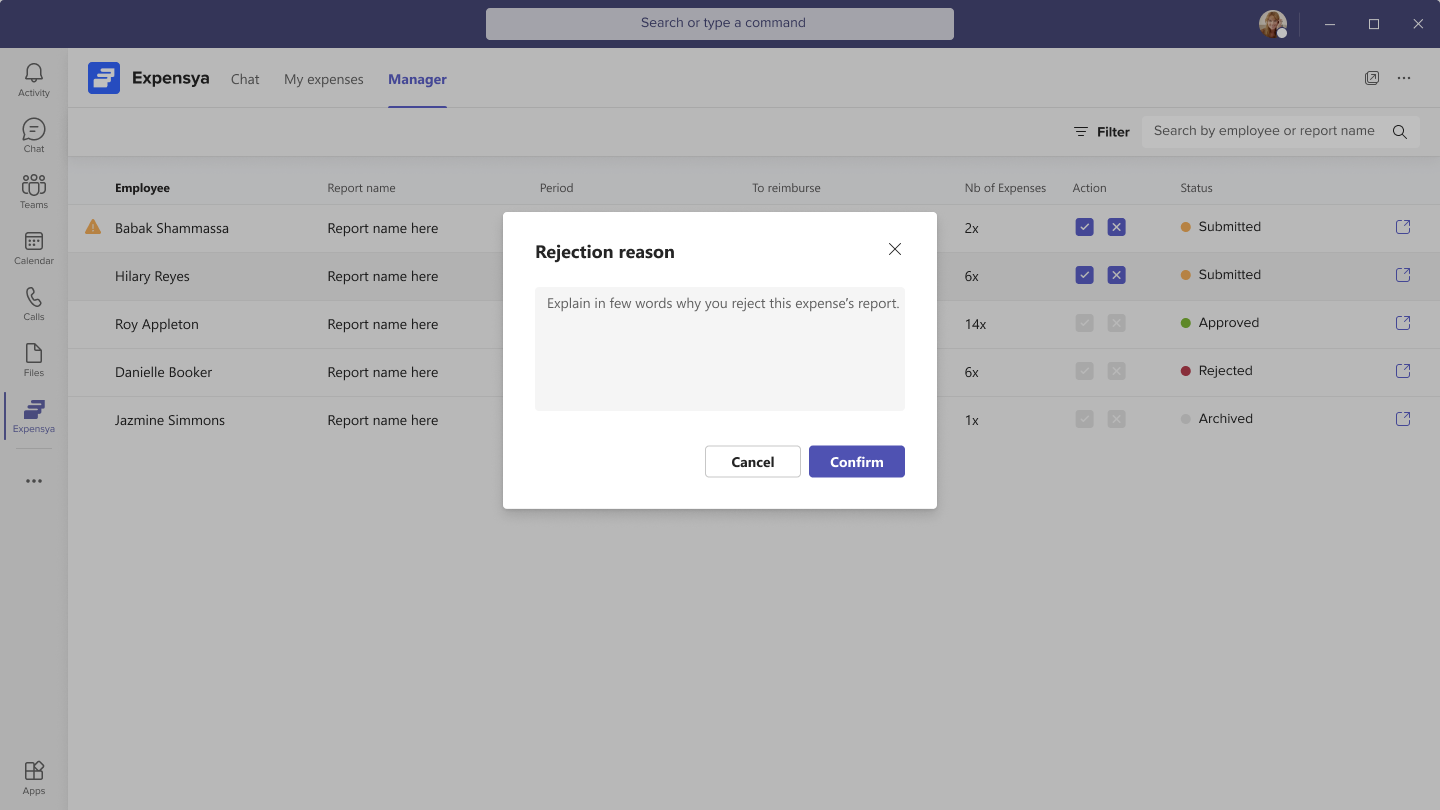
- Reject an Expense: Managers can reject reports in the Teams application. By clicking the reject button, a window opens where the reason for rejection can be entered. After entering the reason, the manager needs to click the Confirm button to finalize the rejection. This feature is available on the web and mobile versions of Microsoft Teams.
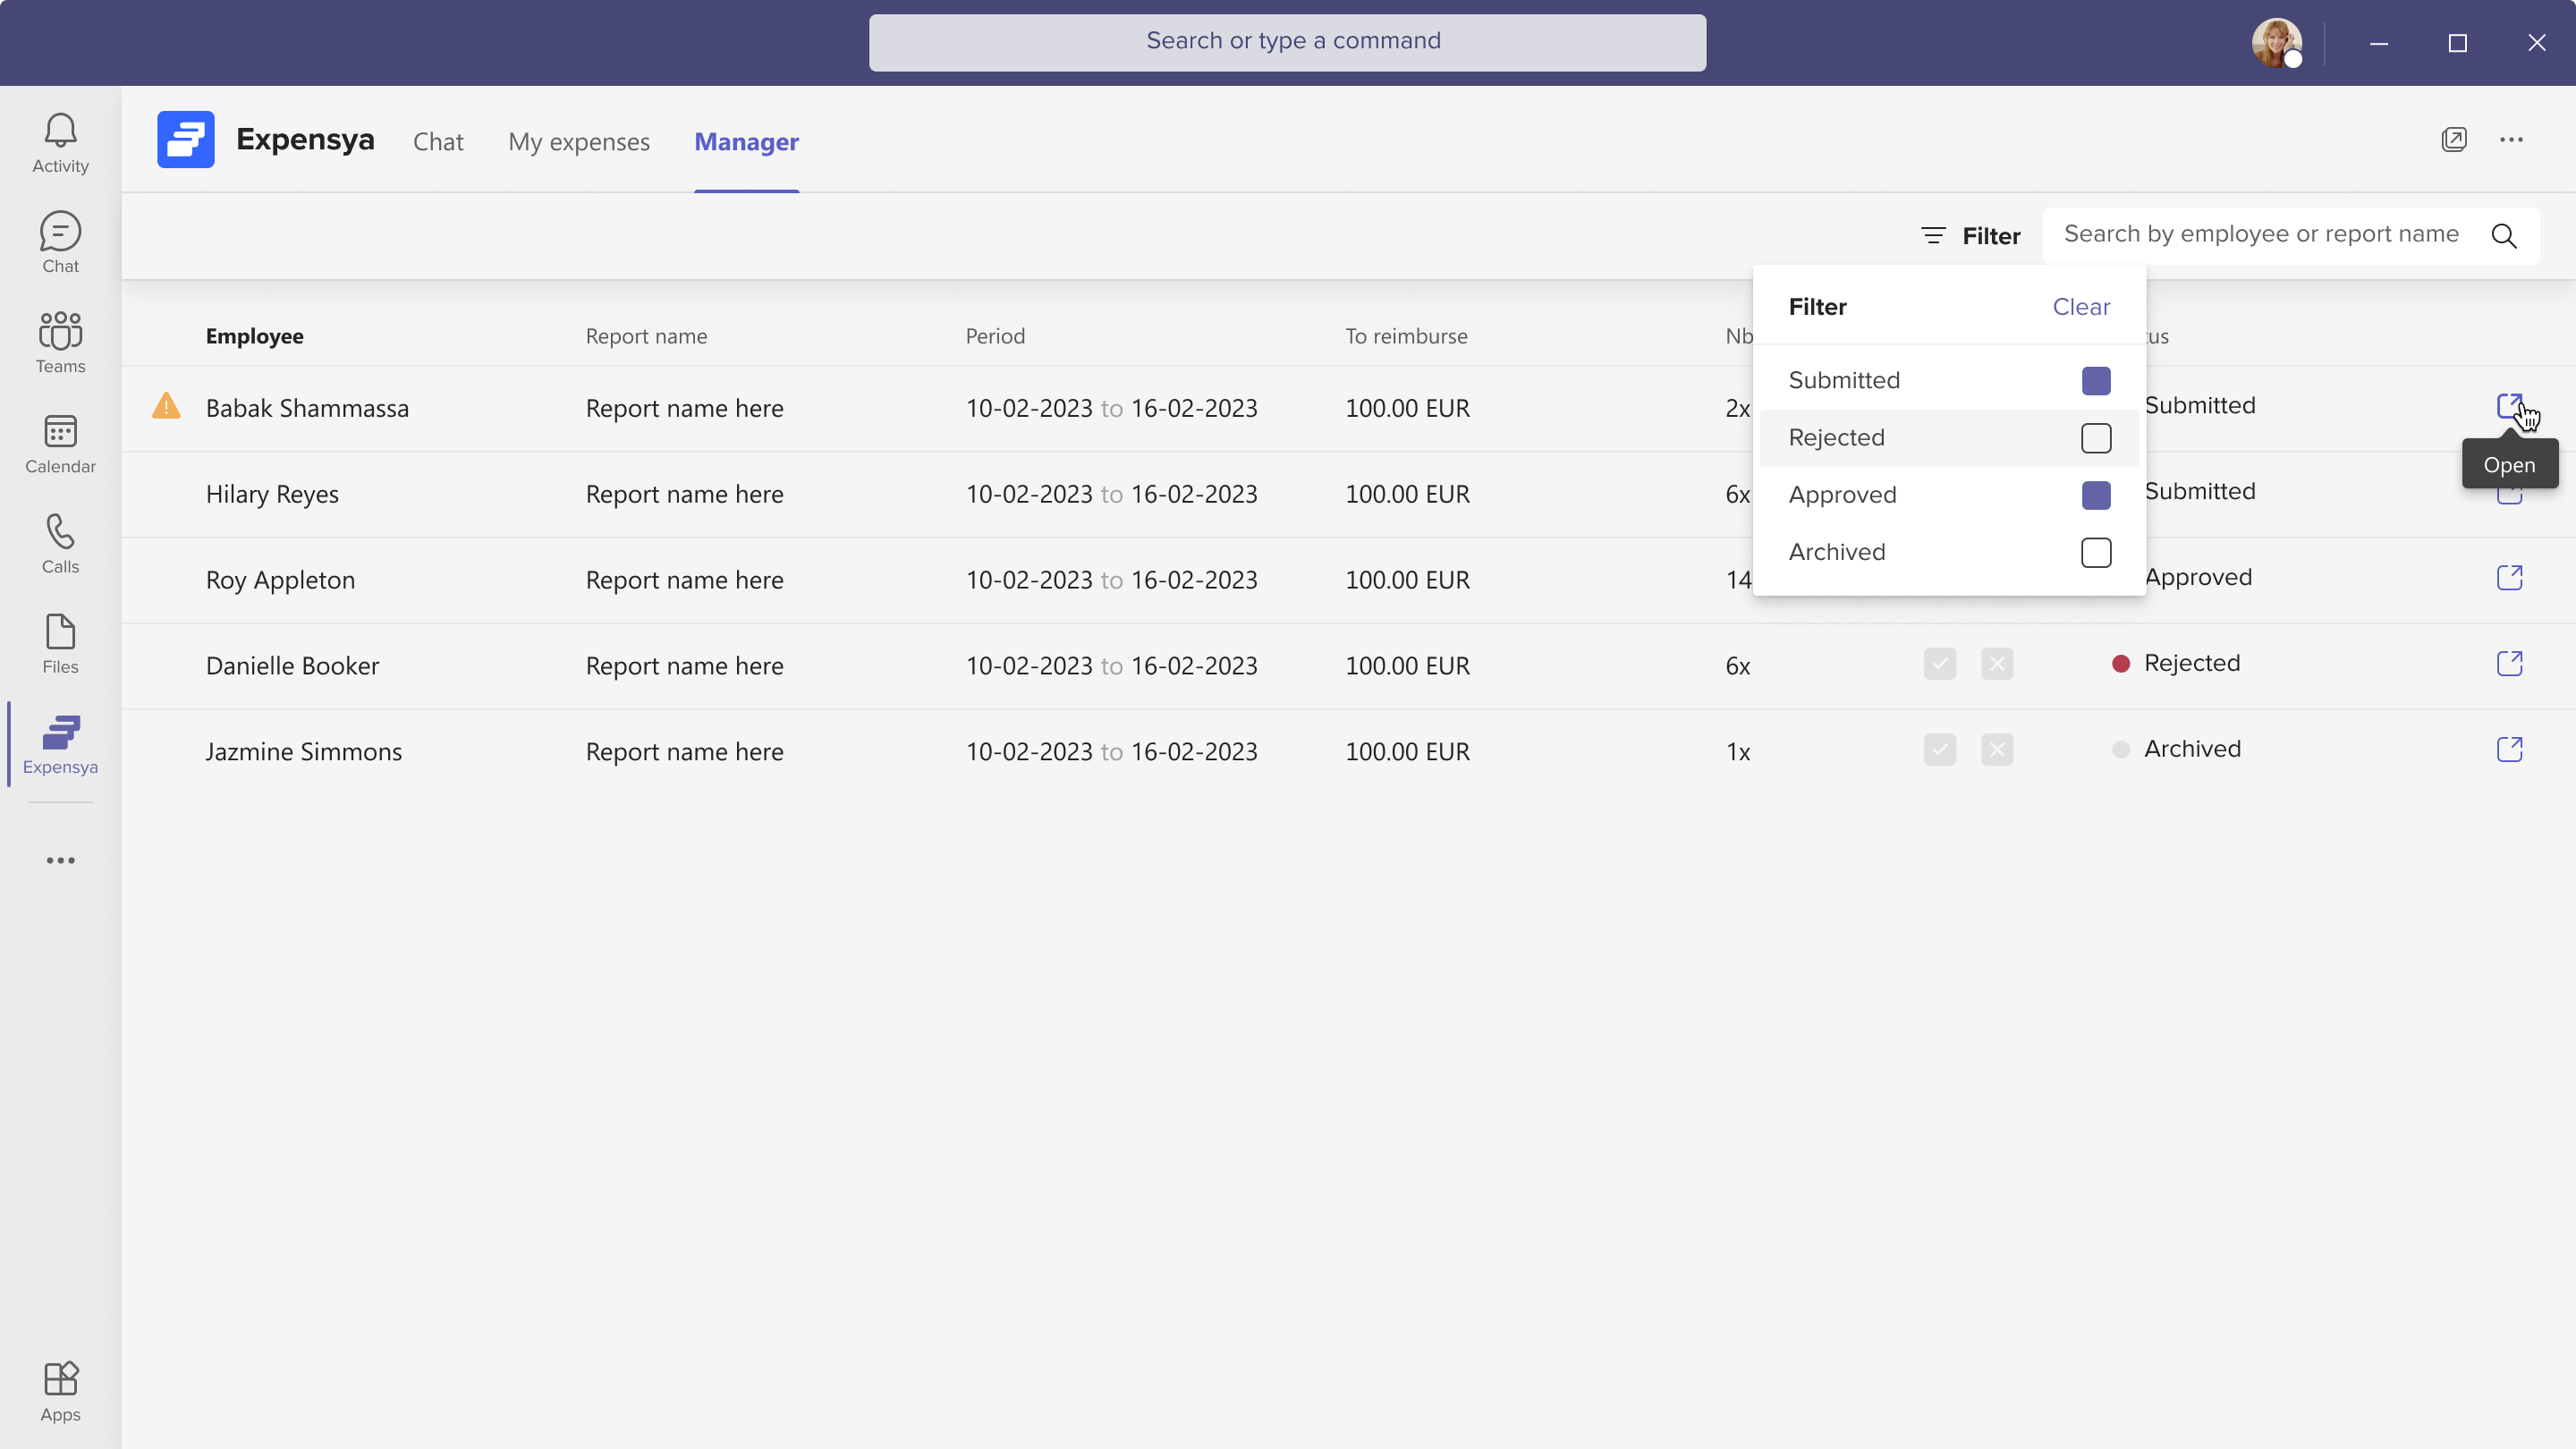
- Open in Expensya: Managers can open reports in the Expensya web application by clicking the Open in Expensya icon. This provides a more detailed view of the report and allows managers to take additional actions if needed.
Please note that this feature is only available in the desktop version of Microsoft Teams.
- Report Search: In the Manager tab, managers can search for specific reports based on the report title. This function helps quickly locate relevant employees without manual searching.
Please note that this feature is only available in the desktop version of Microsoft Teams.
- Report Filters: The Manager tab allows managers to filter reports by status. This function helps identify reports requiring attention or action.
Please note that this feature is only available in the desktop version of Microsoft Teams.
