Expenses Approval on the Web and Mobile App
After an employee submits a report for approval, the approver receives an email to review the expenses. The manager can then either approve or reject the expenses.
In this article, we will guide you through the approval steps on both the web and the mobile app.
- On the web:
When connecting to their accounts, the approvers find a message informing them of the presence of reports that need to be reviewed.

The manager will then:
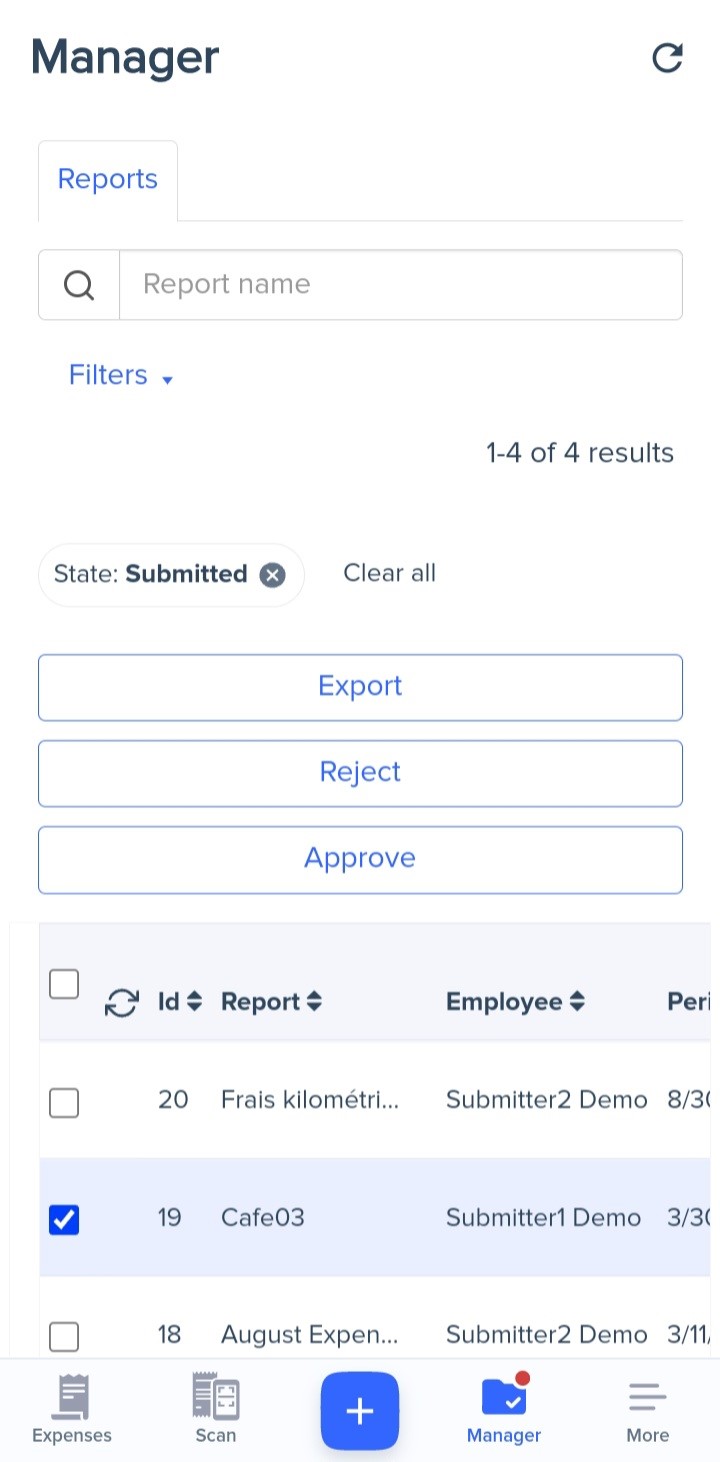
- Click on the message shown above or go to the Manager tab.
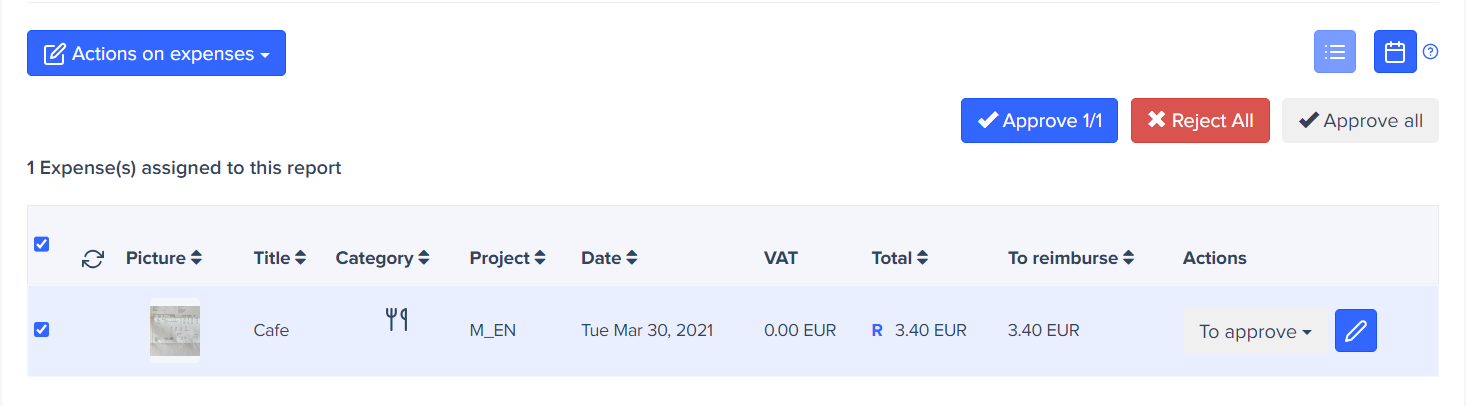
- Select the report to review. Here, the manager has the choice between seeing the expenses assigned to this report or approving/rejecting the entire report in just one click.
- Click on the Approve or Reject buttons.
The report’s status will then change to the status: approved or rejected, and the submitter will also receive a notification mail informing him of this update.
- On the mobile app:
The manager can also review the expenses through the mobile app following these steps:
- Go to the Manager tab.
- Select the report to review.
- Click on Approve or Reject.
Just like the Expensya web application, the status of the report will automatically change, and the submitter will be notified of this update via email.