Importing Credit Card Statements
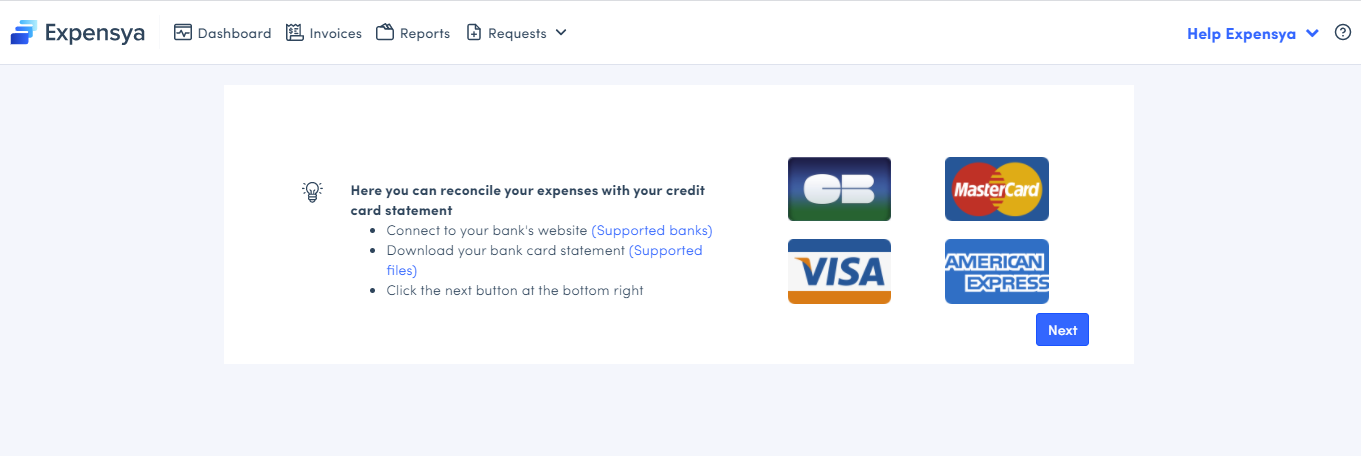
The web version of Expensya enables you to import your credit card statement, so that you can compare more effectively what exists in Expensya and the transactions shown on your statement.
To do this:
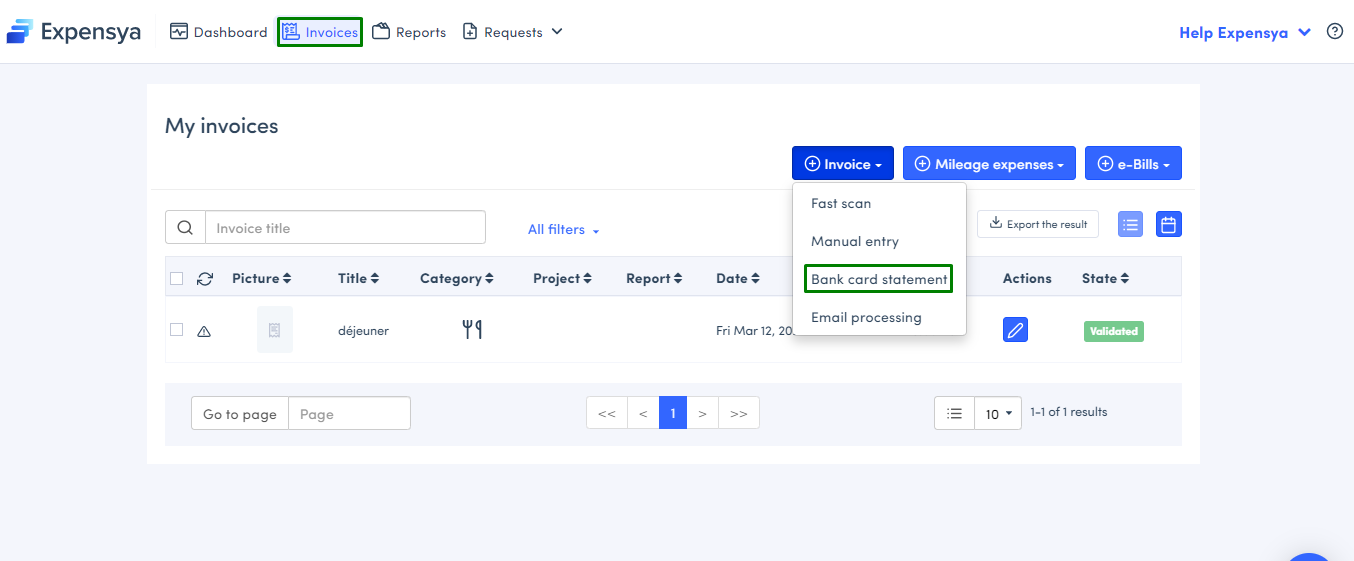
- Go to the Expenses tab.
- Click on the + Add button, then on Import credit card statement.
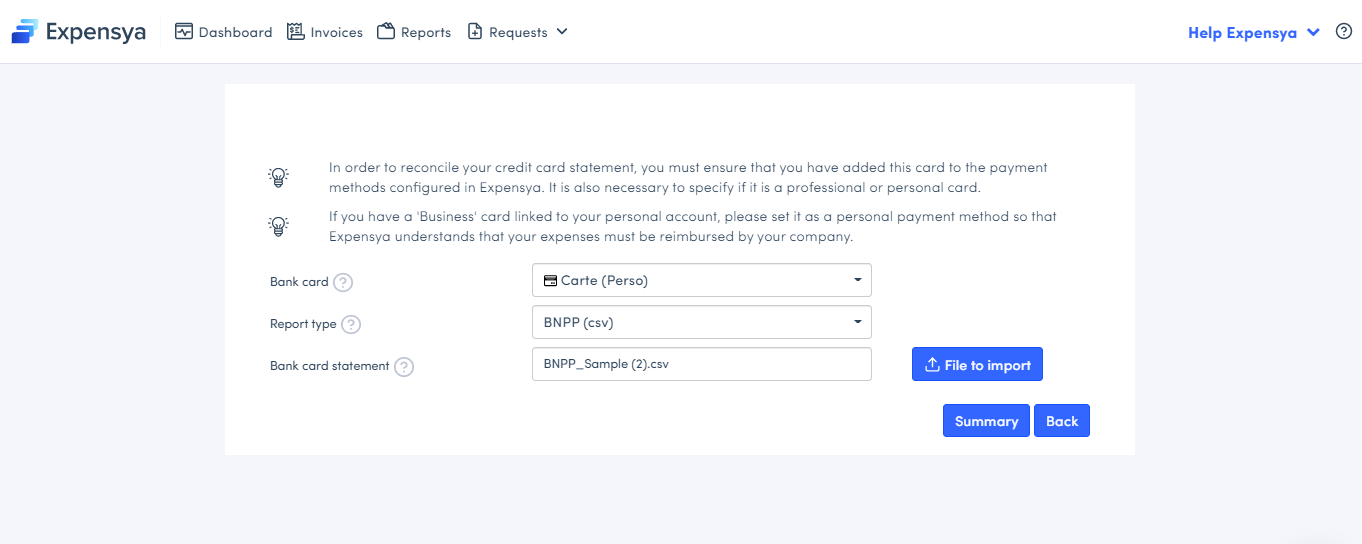
Indicate whether it is a business or personal card, choose the type of statement and then click on Import File to import your credit card statement.
- Click on Summary.
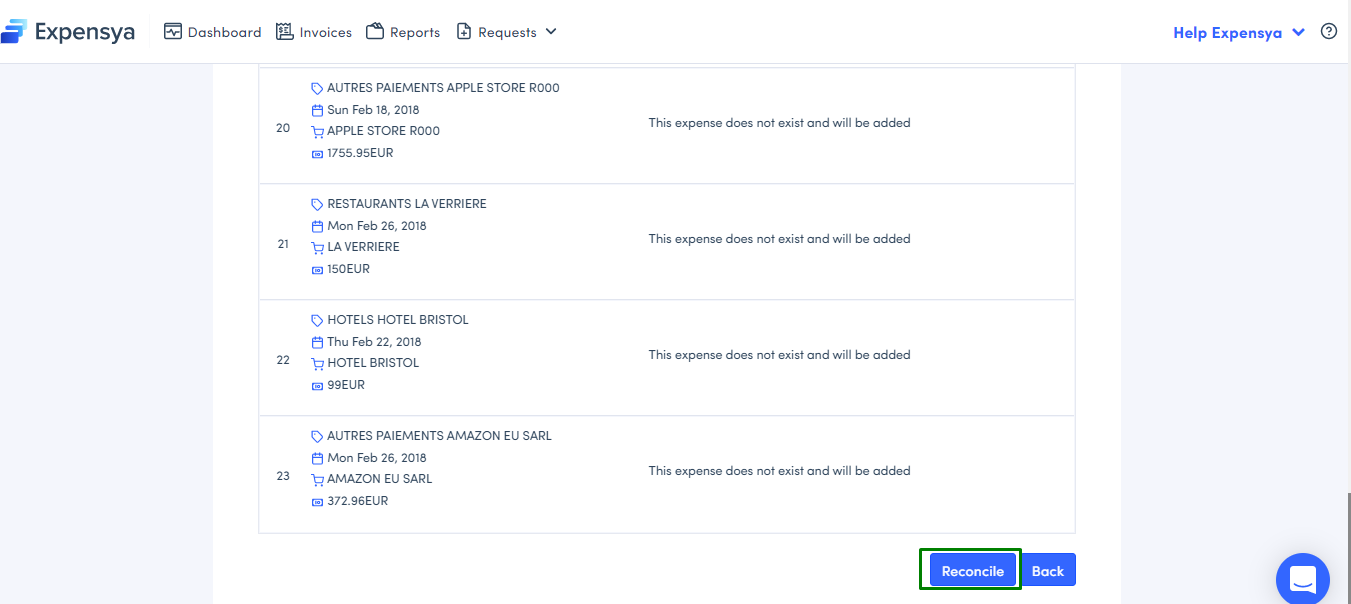
Then you will see a summary table showing the lines that exist in the bank statement and the expenses that exist in Expensya enabling you to reconcile them.
- Click on Reconcile
Once this step is complete, your expenses will be created in Expensya with the credit card icon and the T for the transaction. This enables you to differentiate between expenses originating from the bank statement and expenses you created previously.
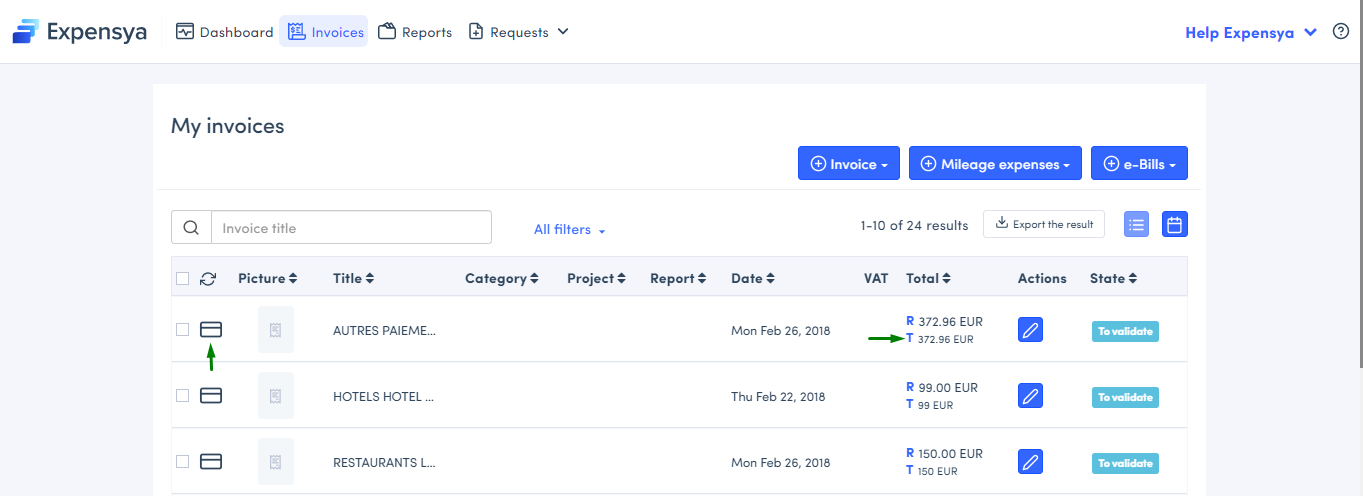
If you have already entered your expense and it is shown in the bank statement, it will also have the credit card icon and the “T” for the transaction next to it.
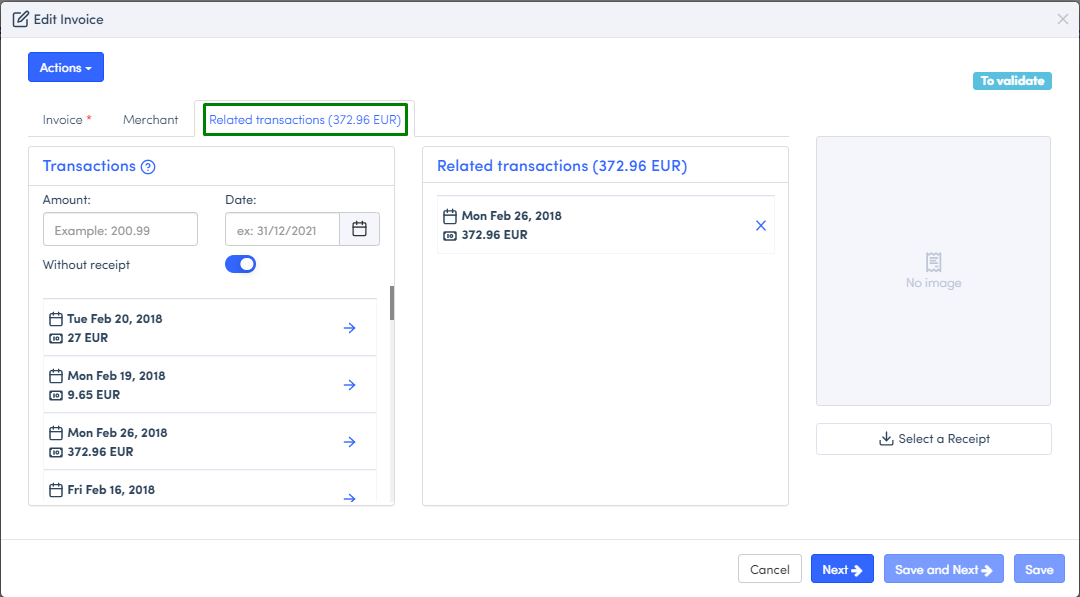
Access the details of the transaction as below:

From the mobile, the expenses created from a bank card import are also marked with "T"
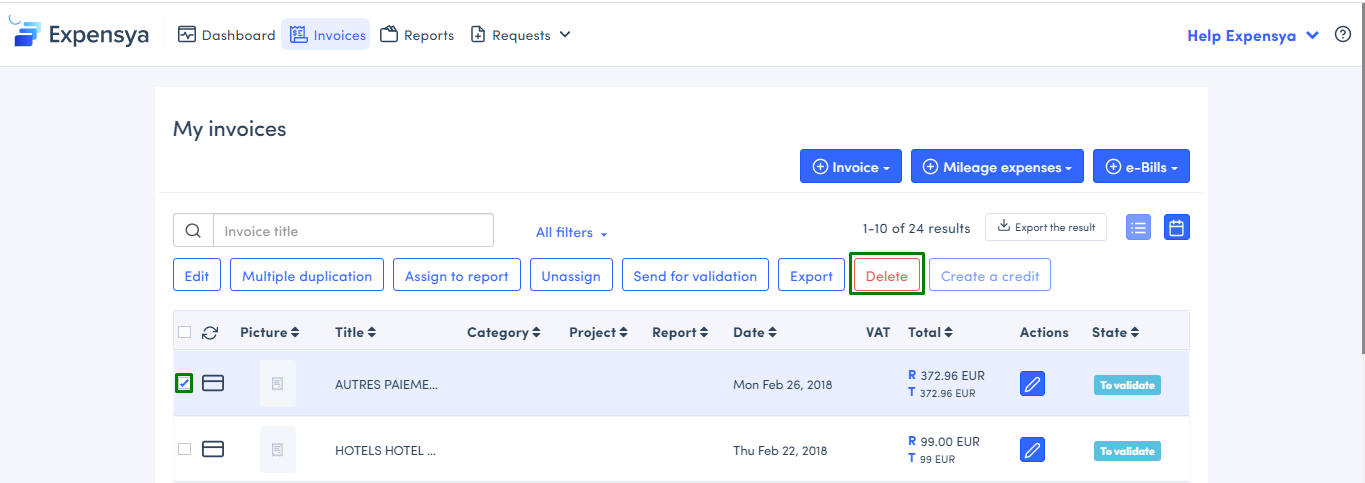
To delete an expense originating from a bank statement:
- Check the box for the relevant expense,
- Click on Delete