Custom Fields - The Basics
Custom fields are used to add more information to the expense form. These fields can be in the form of text fields, a drop-down list, numbers, or even tick boxes.
They make it possible to enrich the data that you collect from expense reports according to the needs of your activity: to indicate the reason for an expense, analytical allocation, the place of departure, the place of arrival, and the name of a training course.
Custom fields is a feature available with all Expensya offers. It is managed by the account administrator.
Creating and configuring custom fields:
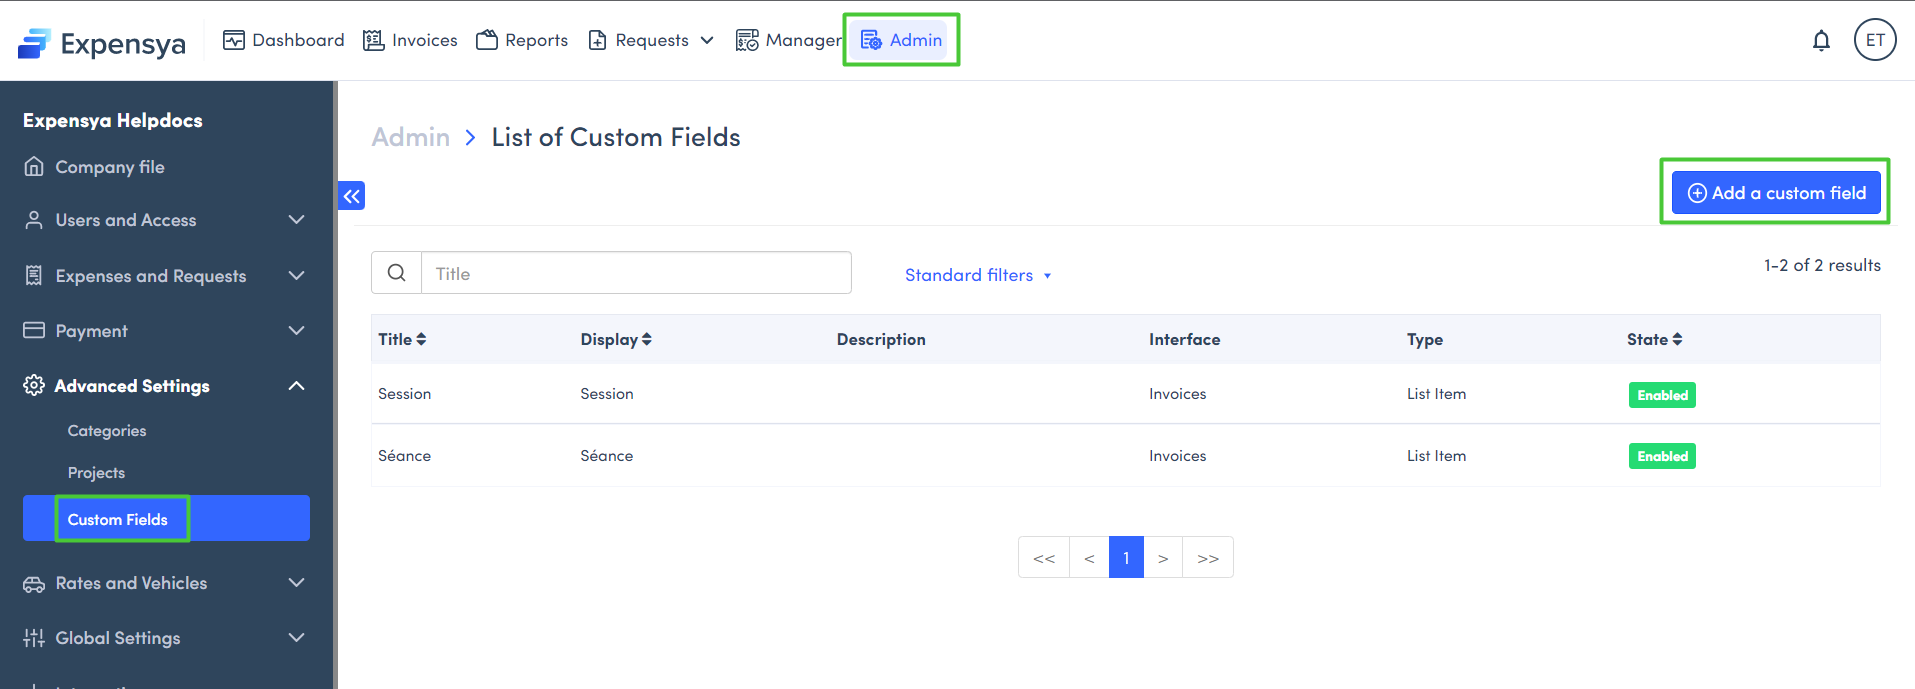
To create a custom field, the administrator must:
- Go to the Admin tab, under the Advanced settings menu, and then to the Custom fields section
- Click the Add custom field button
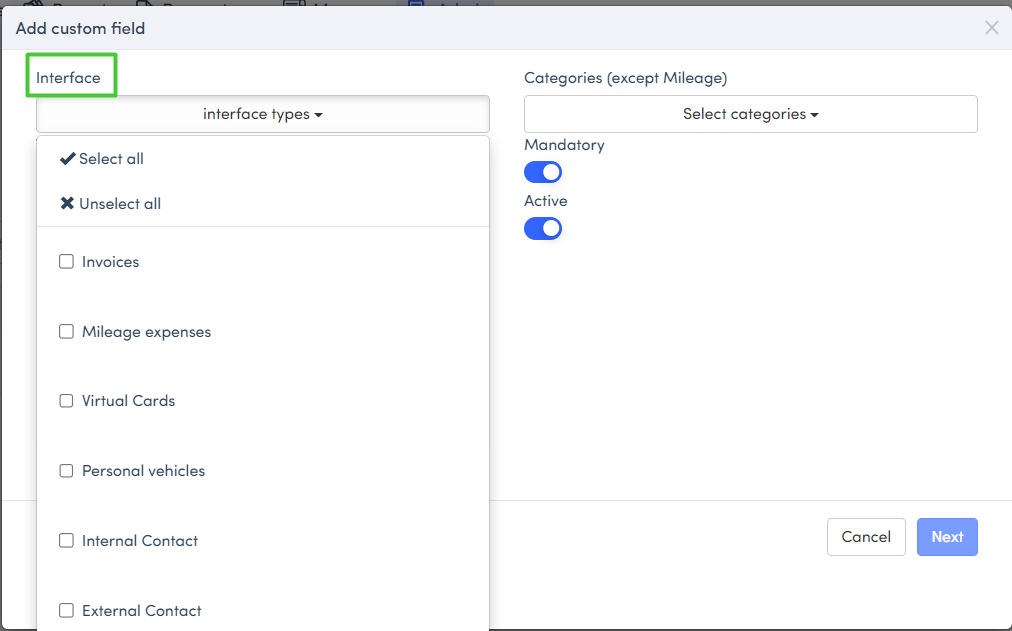
- Choose the type(s) of interface(s) to which you want to add the custom field
- Assign the added custom field to one or more categories
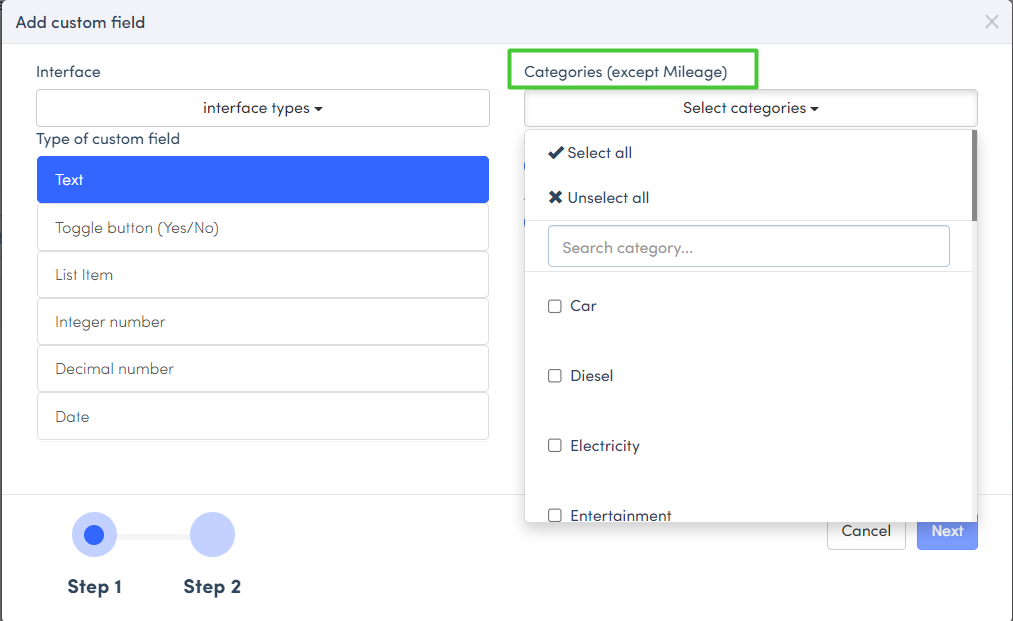
- Choose the type of custom field to add:
There are several types of custom fields that you can use depending on your requirements.
A custom field can be:
- Text
- A tick box (Yes/No)
- A custom select list
- A whole number
- A decimal number
- A date
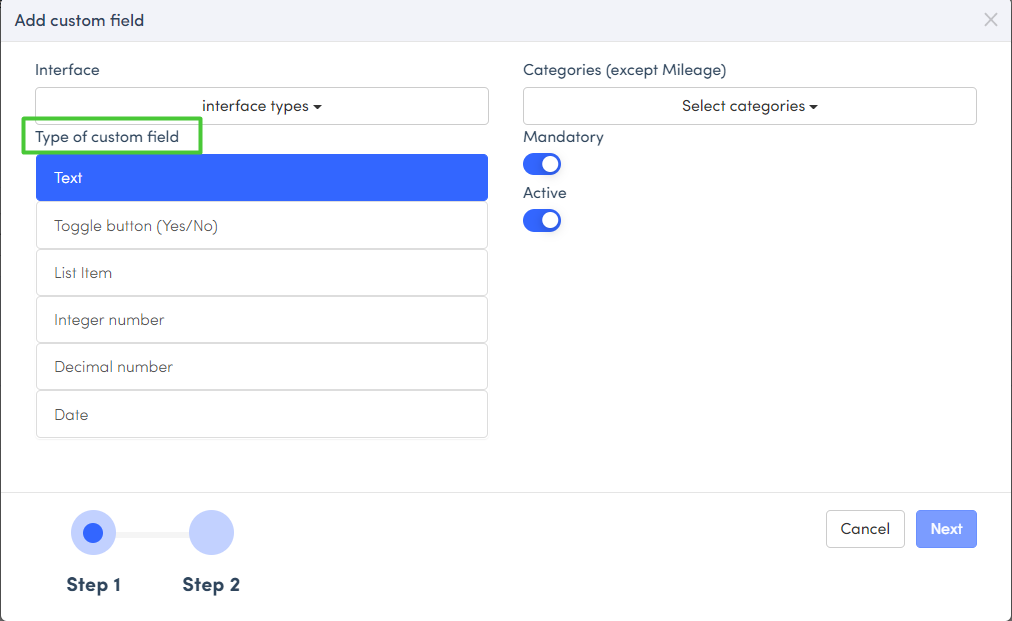
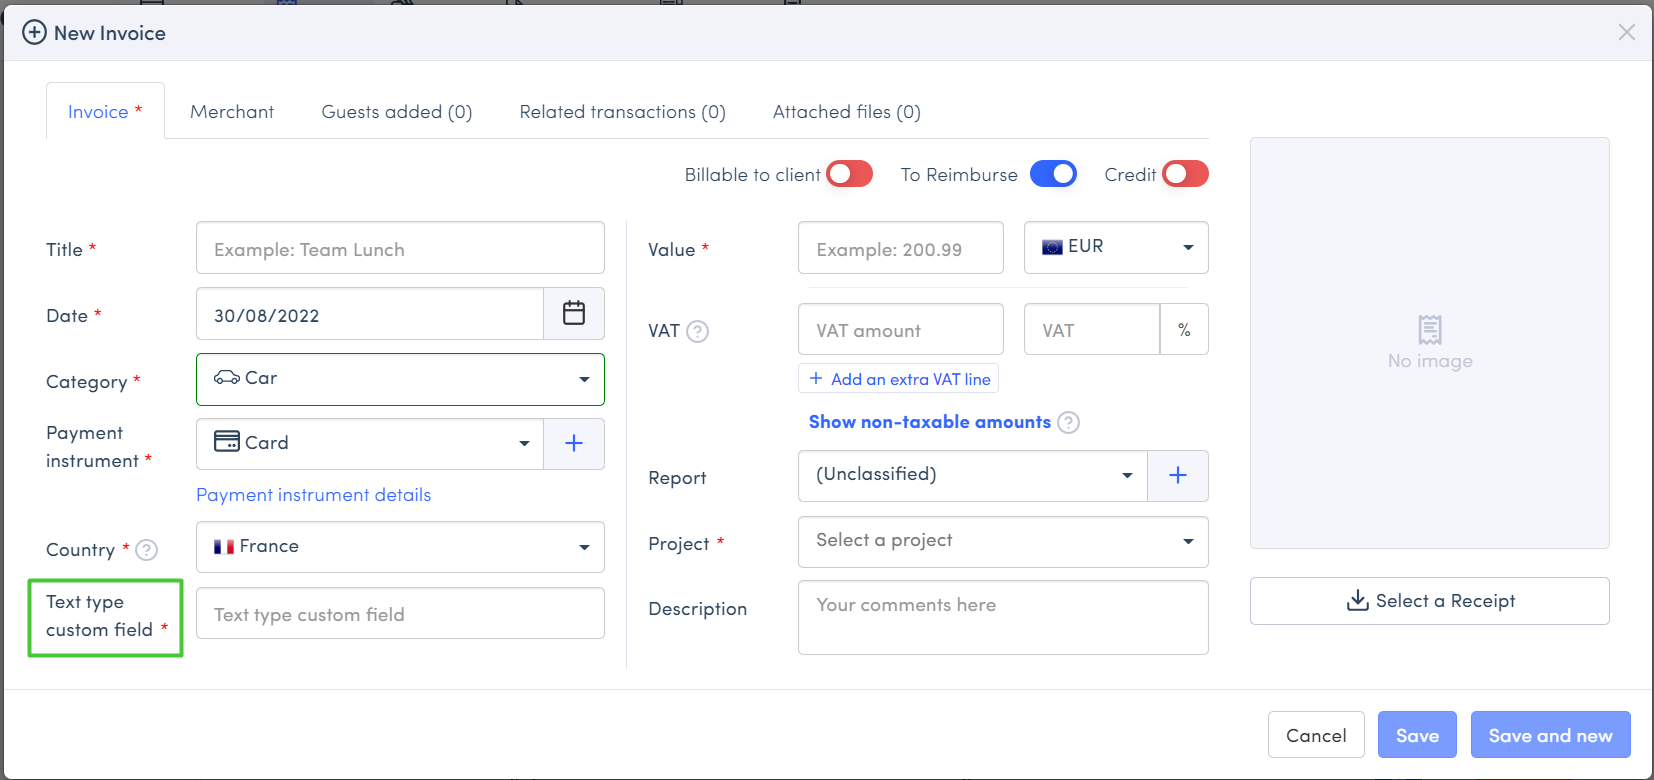
- Text type custom field : A set of short alphanumeric values, such as a name or an address...
To add this field, just follow the steps below :
 |  |
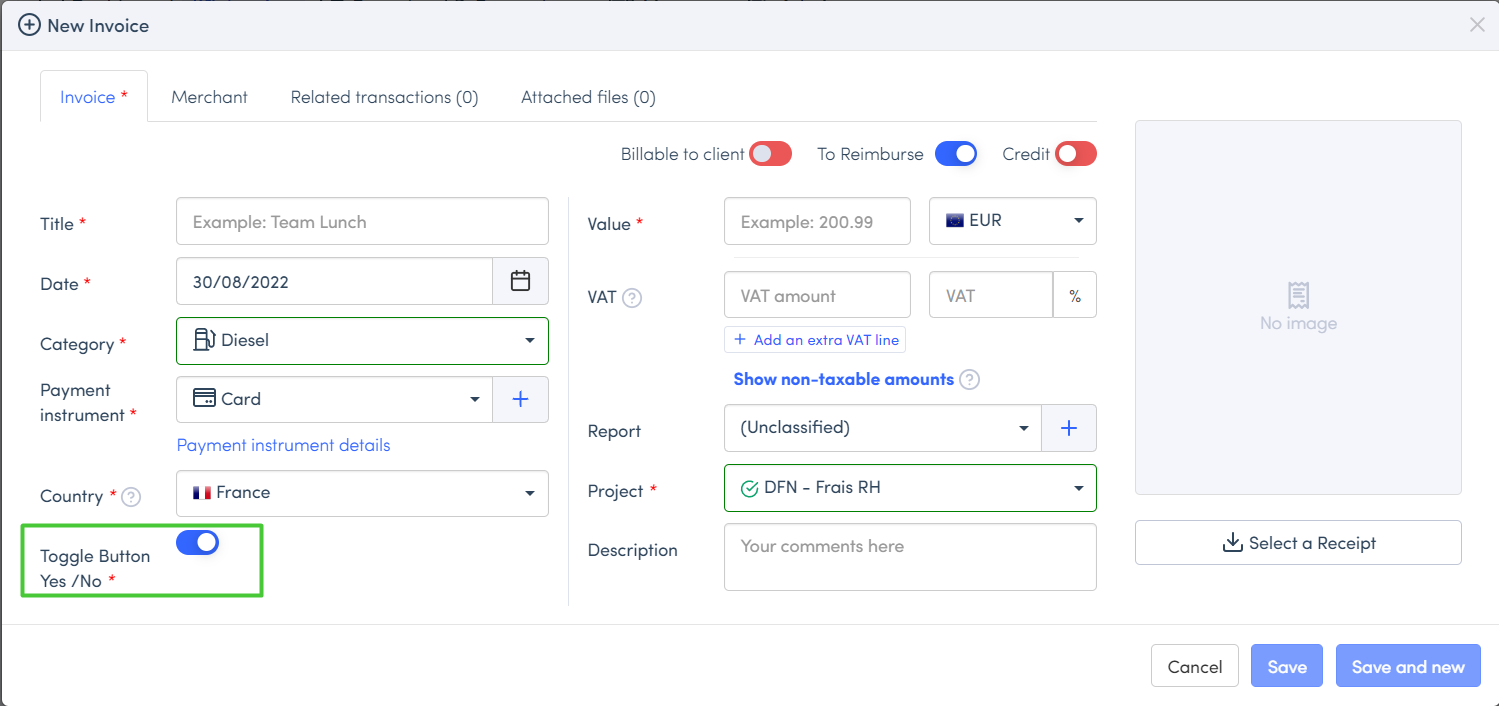
- Tick box type custom field (Yes/No): this is a field that includes the values ’Yes’ and ‘No’; the field can only contain one of the two values.
To add this field, just follow the steps below :
 |  |
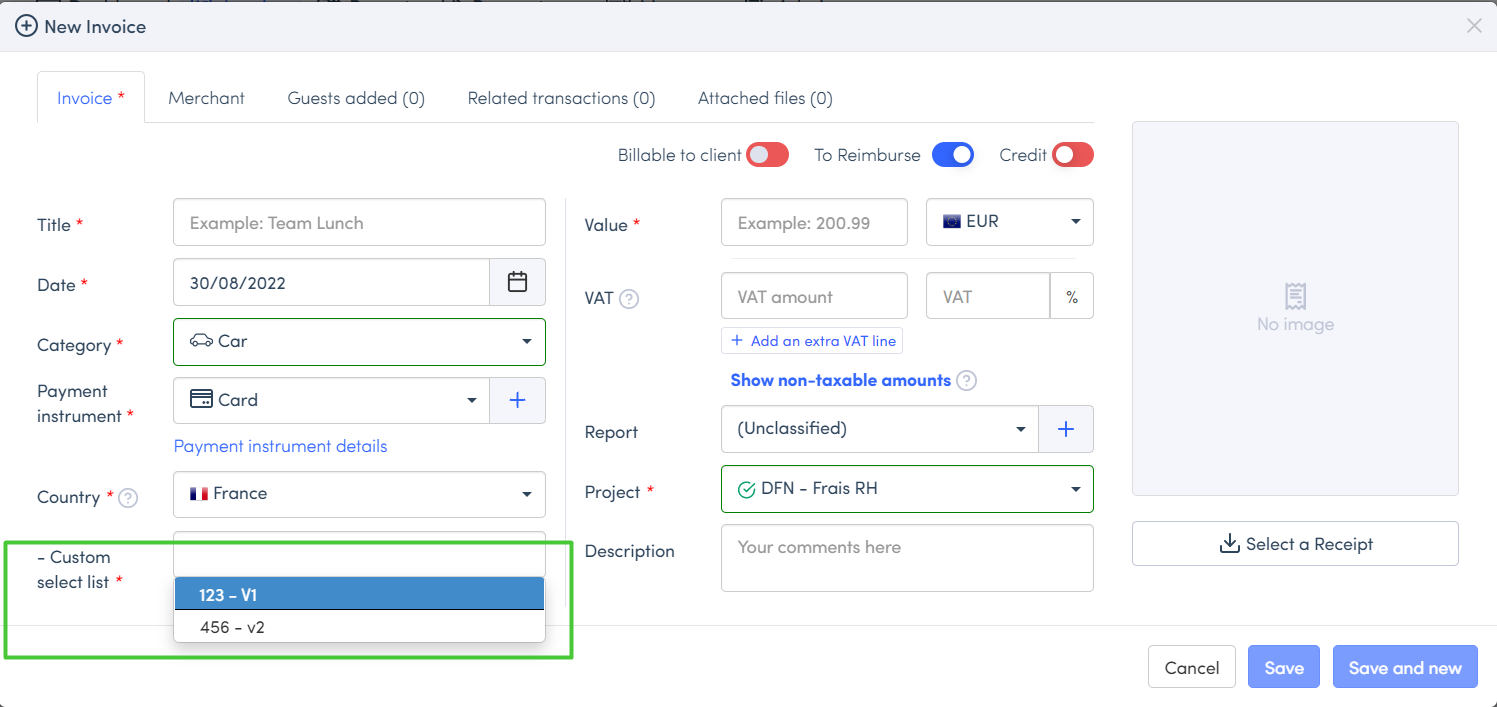
- Custom select list: a set of values that you specified when creating the field. The value type of a custom select list field can be text or numbers.
To add this field, just follow the steps below :
 |  |
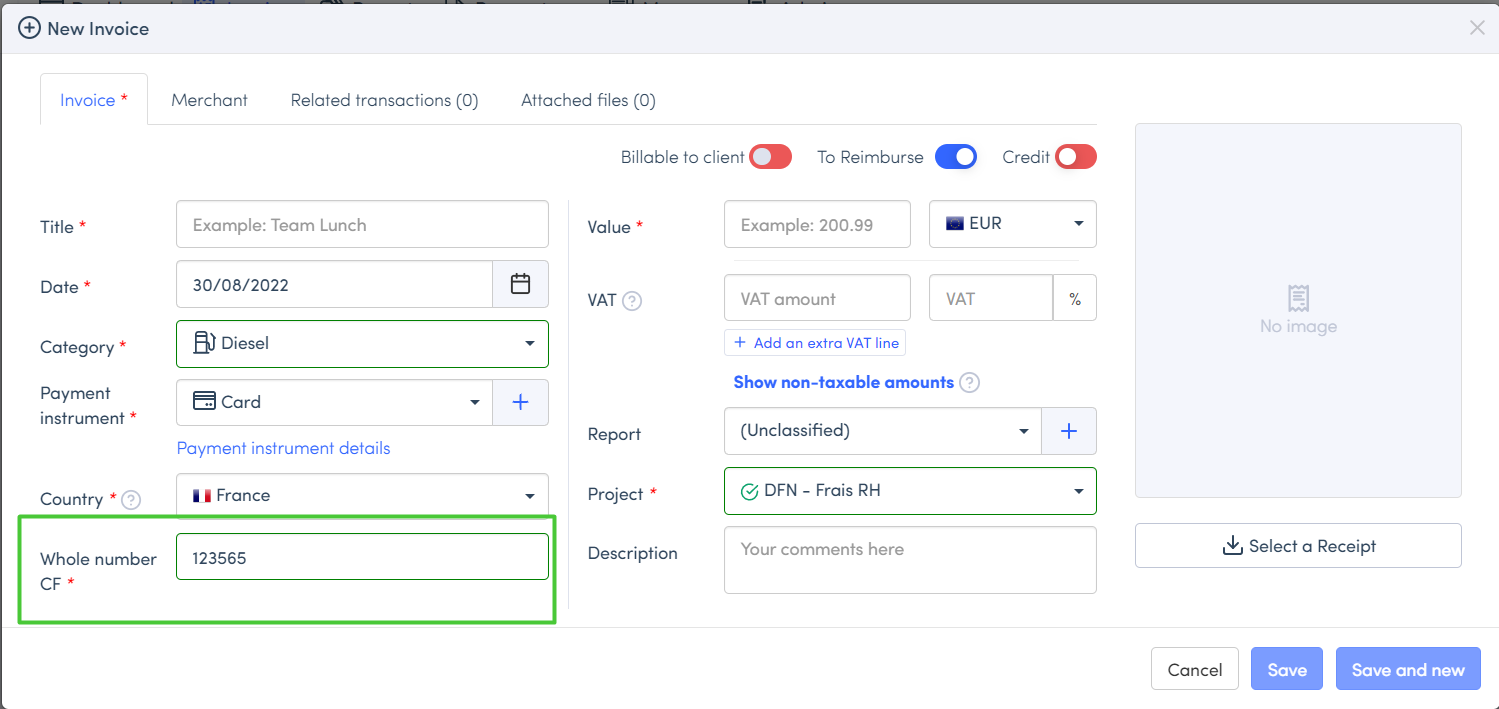
- Whole number custom field: numeric data in the form of a whole number. Values entered are between a minimum and maximum limit value which should be defined when creating the field.
To add this field, just follow the steps below :
 |  |
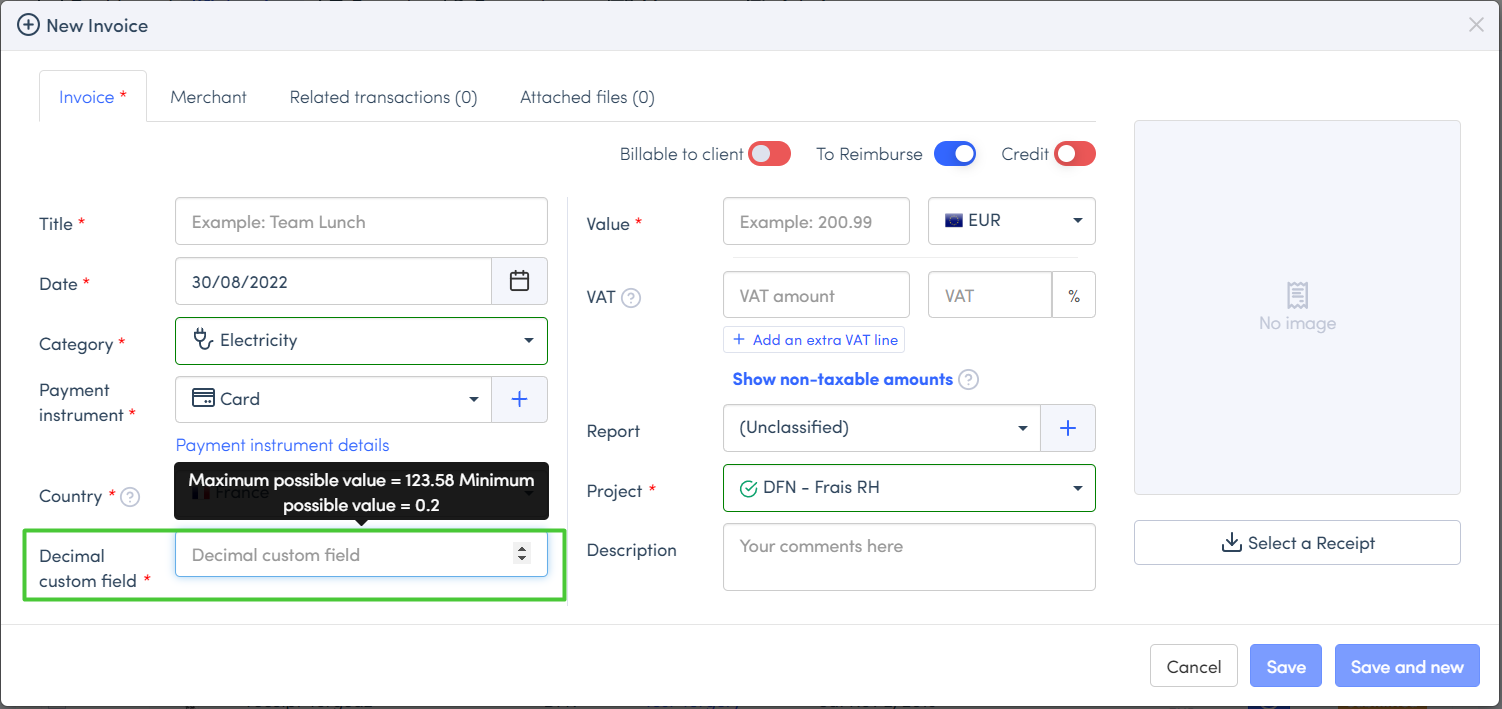
- Decimal custom field: numeric data with decimals. Values entered are between a minimum and maximum limit value which should be defined when creating the field.
To add this field, just follow the steps below :
 |  |
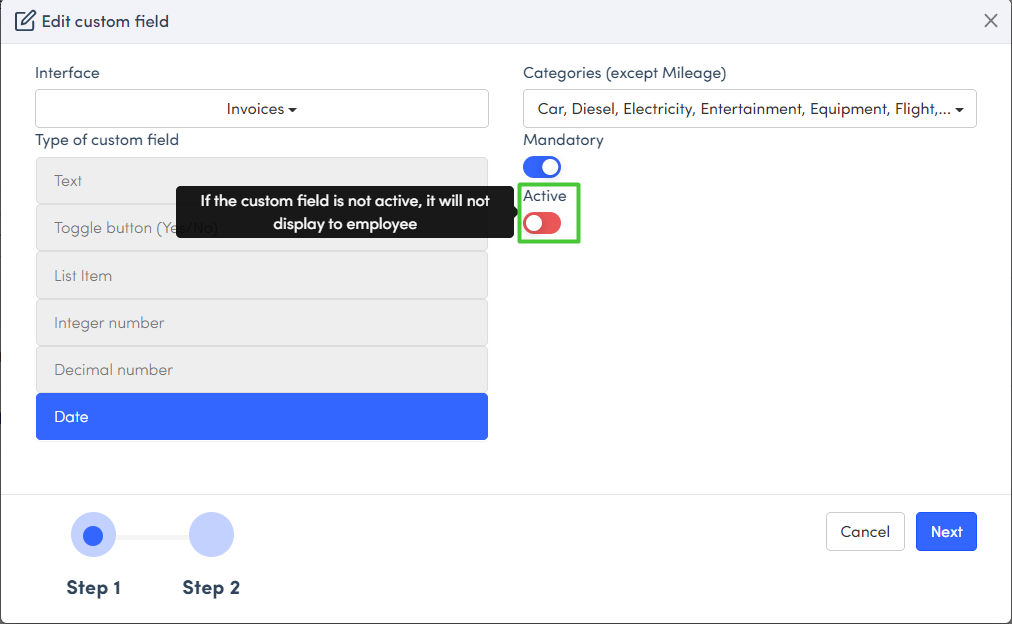
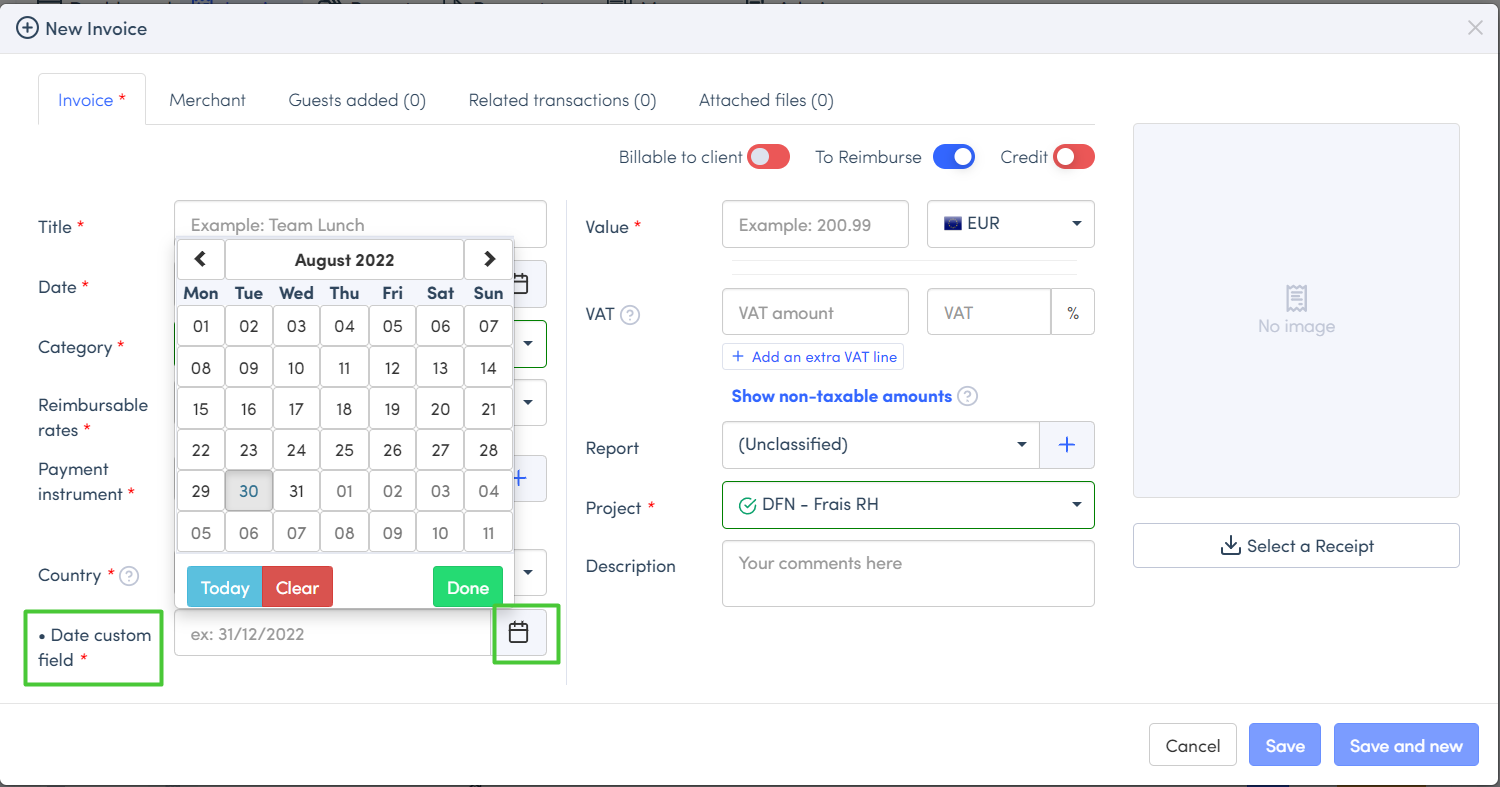
- Date custom field: Display the date in a short format e.g., 14/1/2022. The user can select the date from a calendar.
To add this field, just follow the steps below :
 |  |

Editing a custom field :
The account administrator can make changes to a custom field that has already been created. To do this, simply :
- Go to the Admin tab, under the Advanced settings menu, and then to the Custom fields section
- Go to the field you wish to modify
- Make the required changes
- Click on save
Deactivating a custom field :
It is not possible to delete a custom field. However, the administrator has the option of deactivating it. To do this, simply :
- Go to the Admin tab, under the Advanced settings menu, and then to the Custom fields section
- Go to the field you wish to deactivate
- Uncheck the Active button
- Save